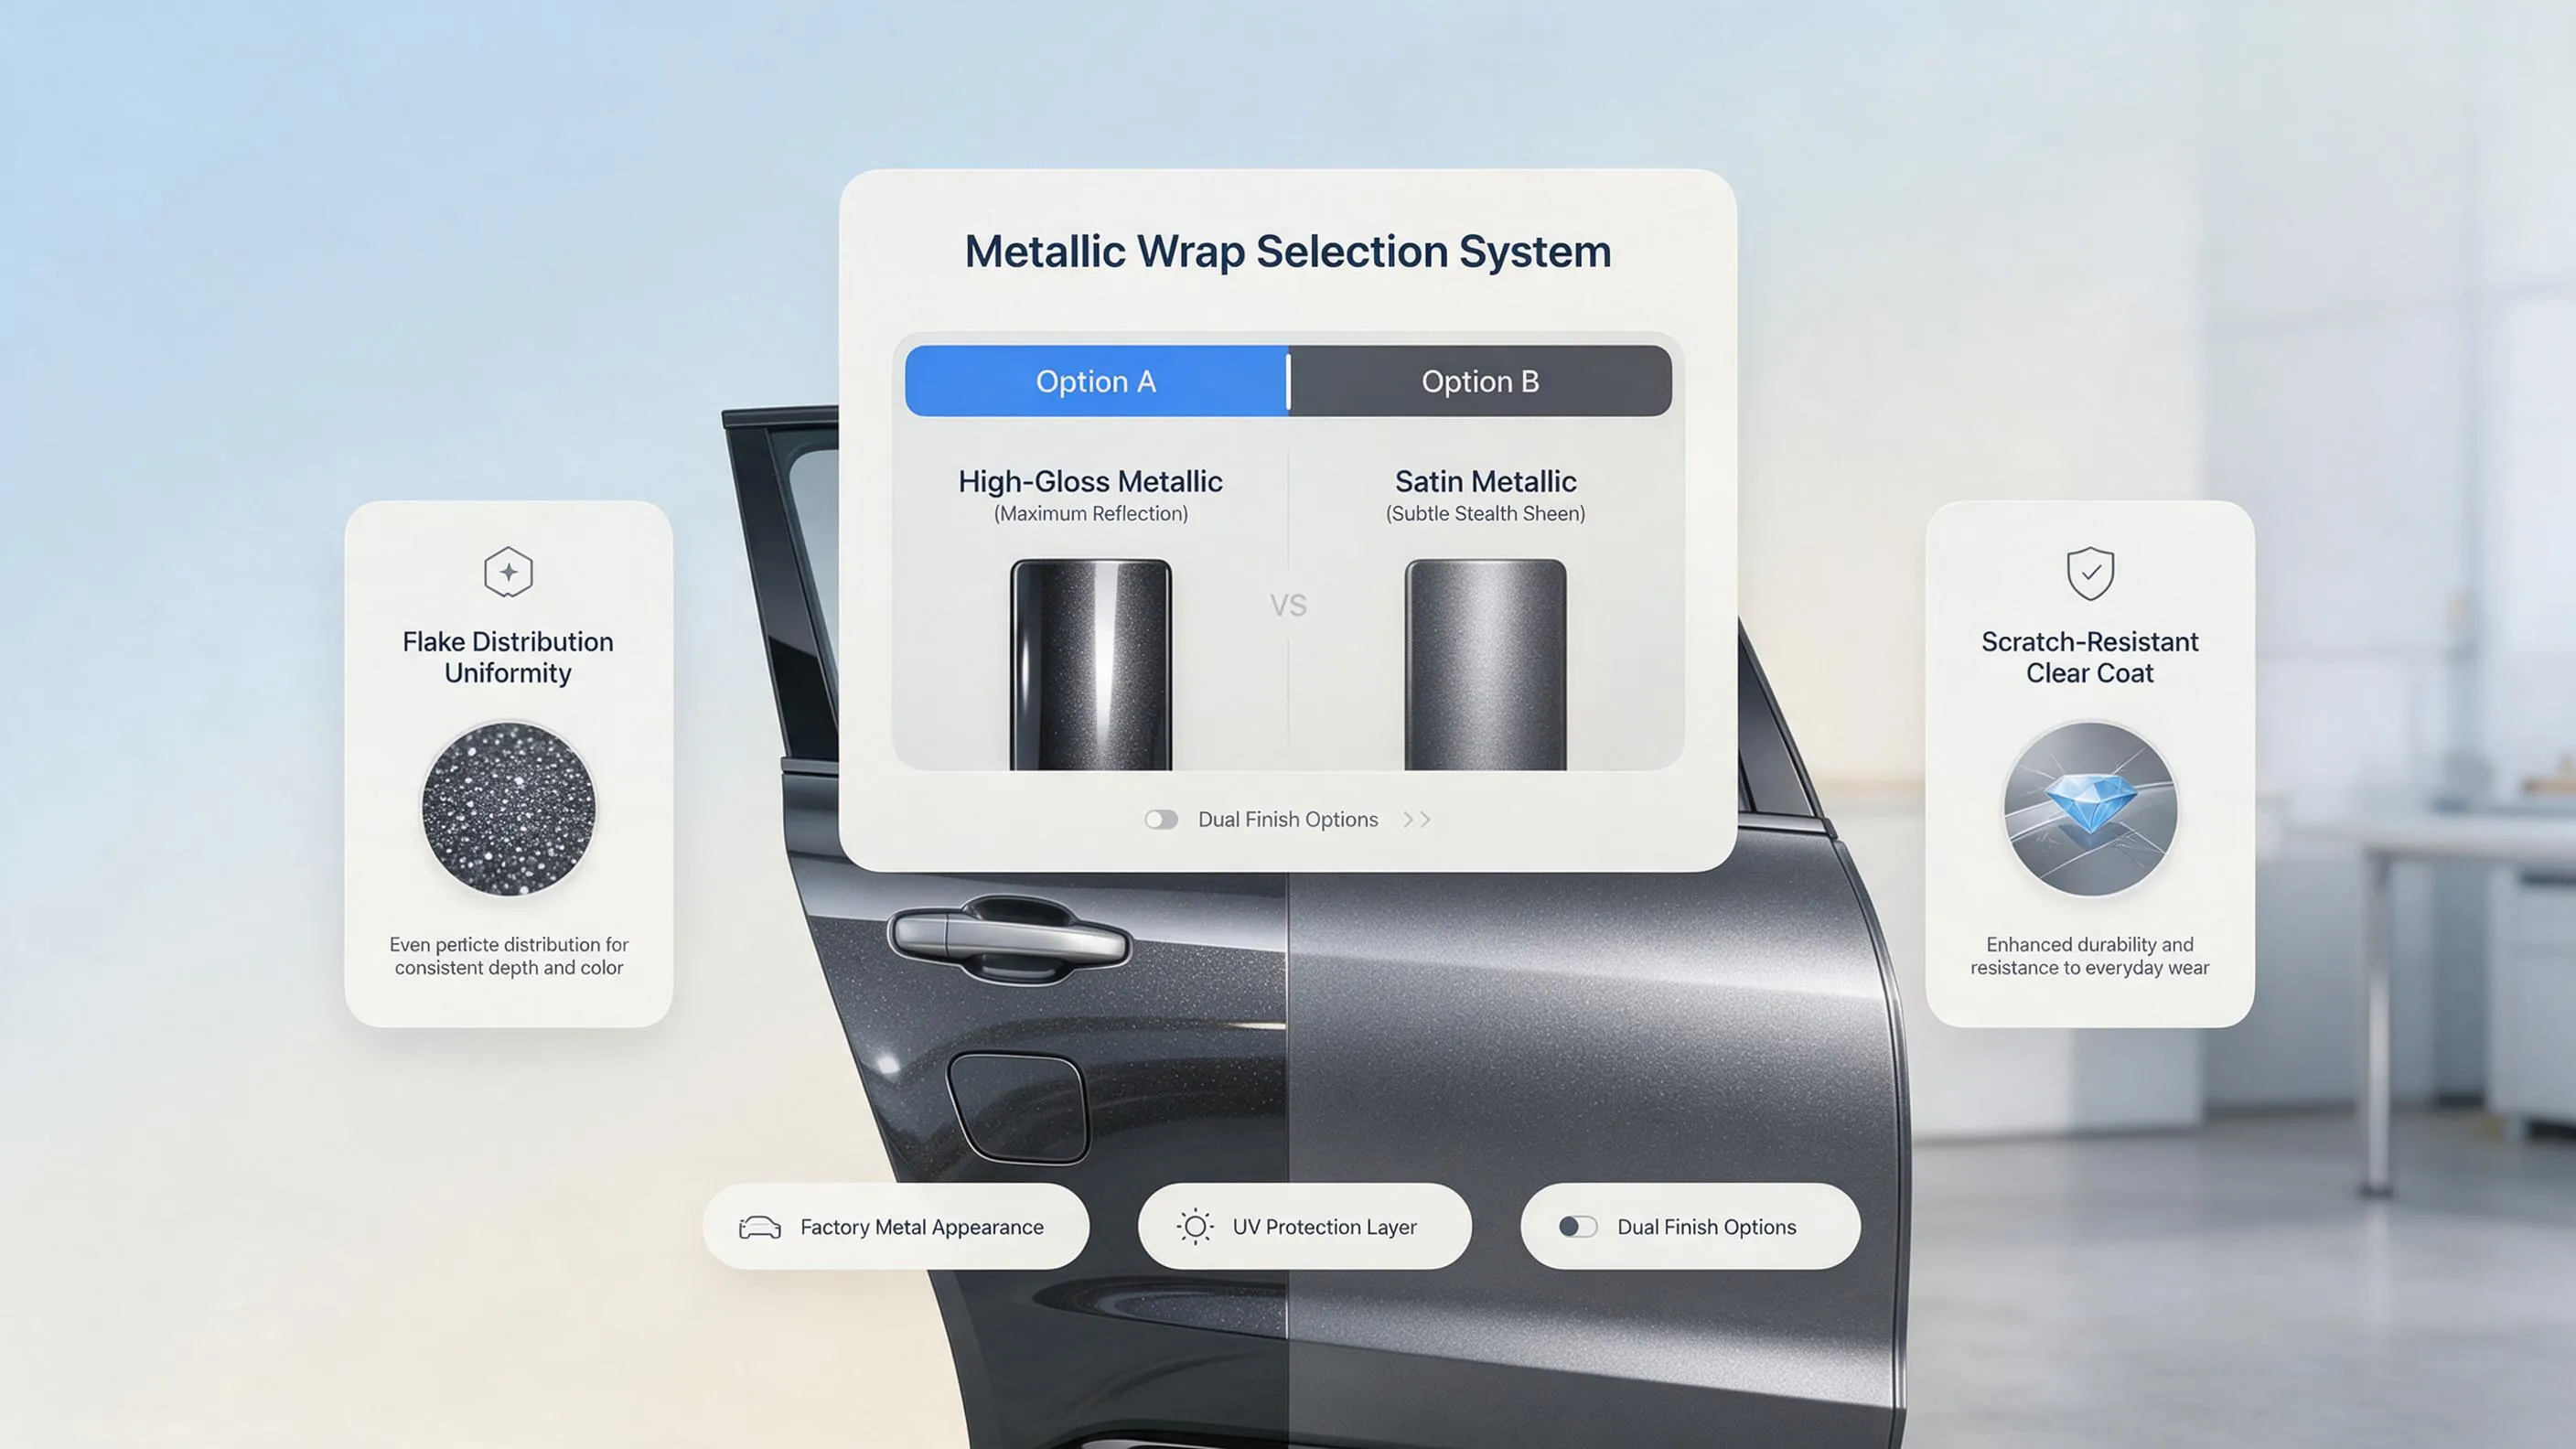

You walk out to your machine, ready to hit the road, when a small detail catches your eye right along the door pillar: a tiny shadow where two vinyl sheets overlap. You run your finger over it and feel a microscopic ridge starting to curl upward.
That micro-gap is the beginning of total seam failure.
Once atmospheric moisture, pressure-washer blasts, and road grime breach an overlap seam, the pressure-sensitive adhesive underneath breaks down rapidly. What starts as a hairline separation can turn into a lifted panel edge flapping in high-speed highway wind. Protecting your wrap seams isn't just about preserving aesthetic detail—it's protecting your investment from costly premature replacements. This guide walks you through the exact placement strategies, heating techniques, and detailing routines needed to seal your vinyl seams flat for years to come.
1. How to Protect Vinyl Wrap Seams From Lifting and Peeling
Discovering a lifting seam on an otherwise flawless build triggers immediate frustration for any car enthusiast. You find yourself asking: "My wrap looks great, but I'm worried the edges will start coming loose."
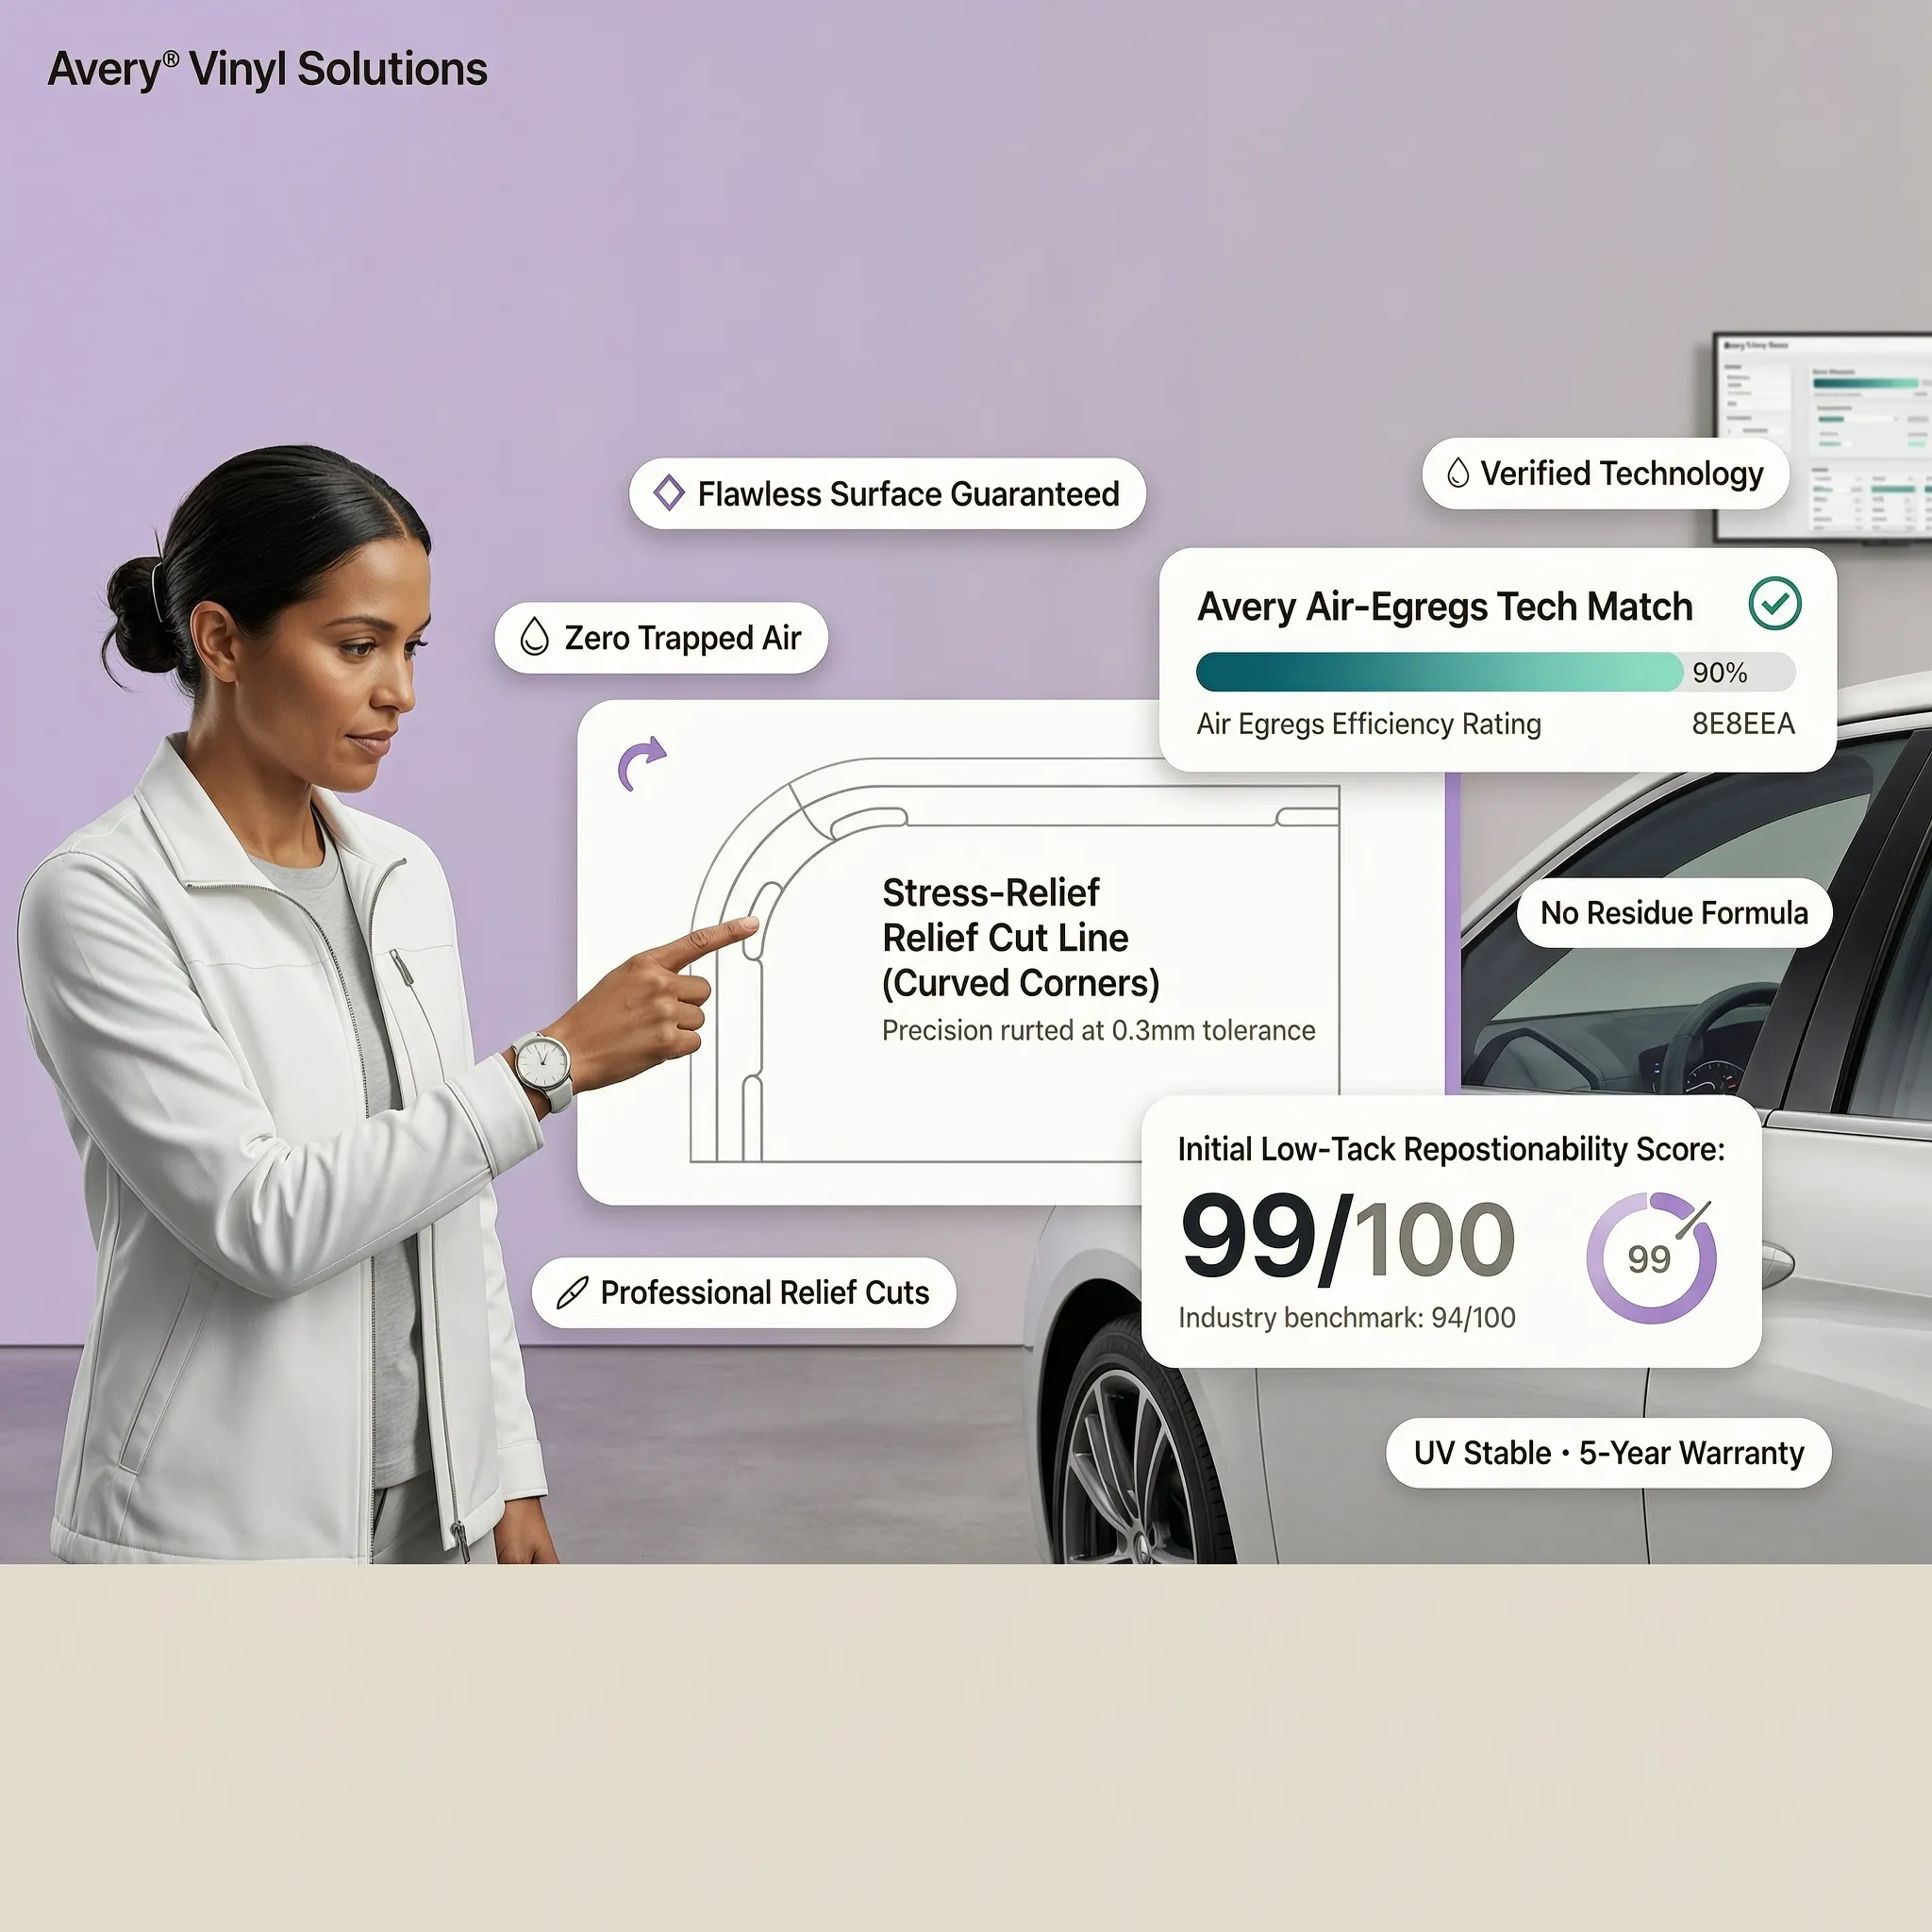
Locking down overlapping vinyl panels requires an unyielding chemical and physical bond right where the two sheets meet. Seams are inevitable on complex widebody panels, deep bumpers, and long roof rails, but proper execution renders them virtually indestructible. By using an intuitive vehicle wrap customizer, you can map out seamless panel runs and preview seam locations long before laying film onto paint.
Here is the absolute truth of vinyl wrap longevity: panels don't pull up from the center—your build fails or flourishes strictly along its seams.
2. Why Vinyl Wrap Seams Start Lifting Over Time
Understanding what causes an overlap to fail is the only way to safeguard your perimeter. Installers and vehicle owners naturally ask: "Why is the vinyl coming loose where two pieces meet?"
Seam lifting occurs when surface contamination, excess film tension, or improper heating breaks the pressure-sensitive adhesive bond. When top film layers are stretched over a bottom layer without post-heating, memory tension relentlessly pulls the upper sheet backward. To understand how underlying paint conditions dictate total adhesive stability, check out our guide on whether car wraps can be installed over factory paint.
3. Keep Seams Away From High-Stress Areas Whenever Possible
Where an installer places a seam dictates how long that joint survives against daily driving physics. You might wonder: "Does seam placement make a difference in how long the wrap lasts?"
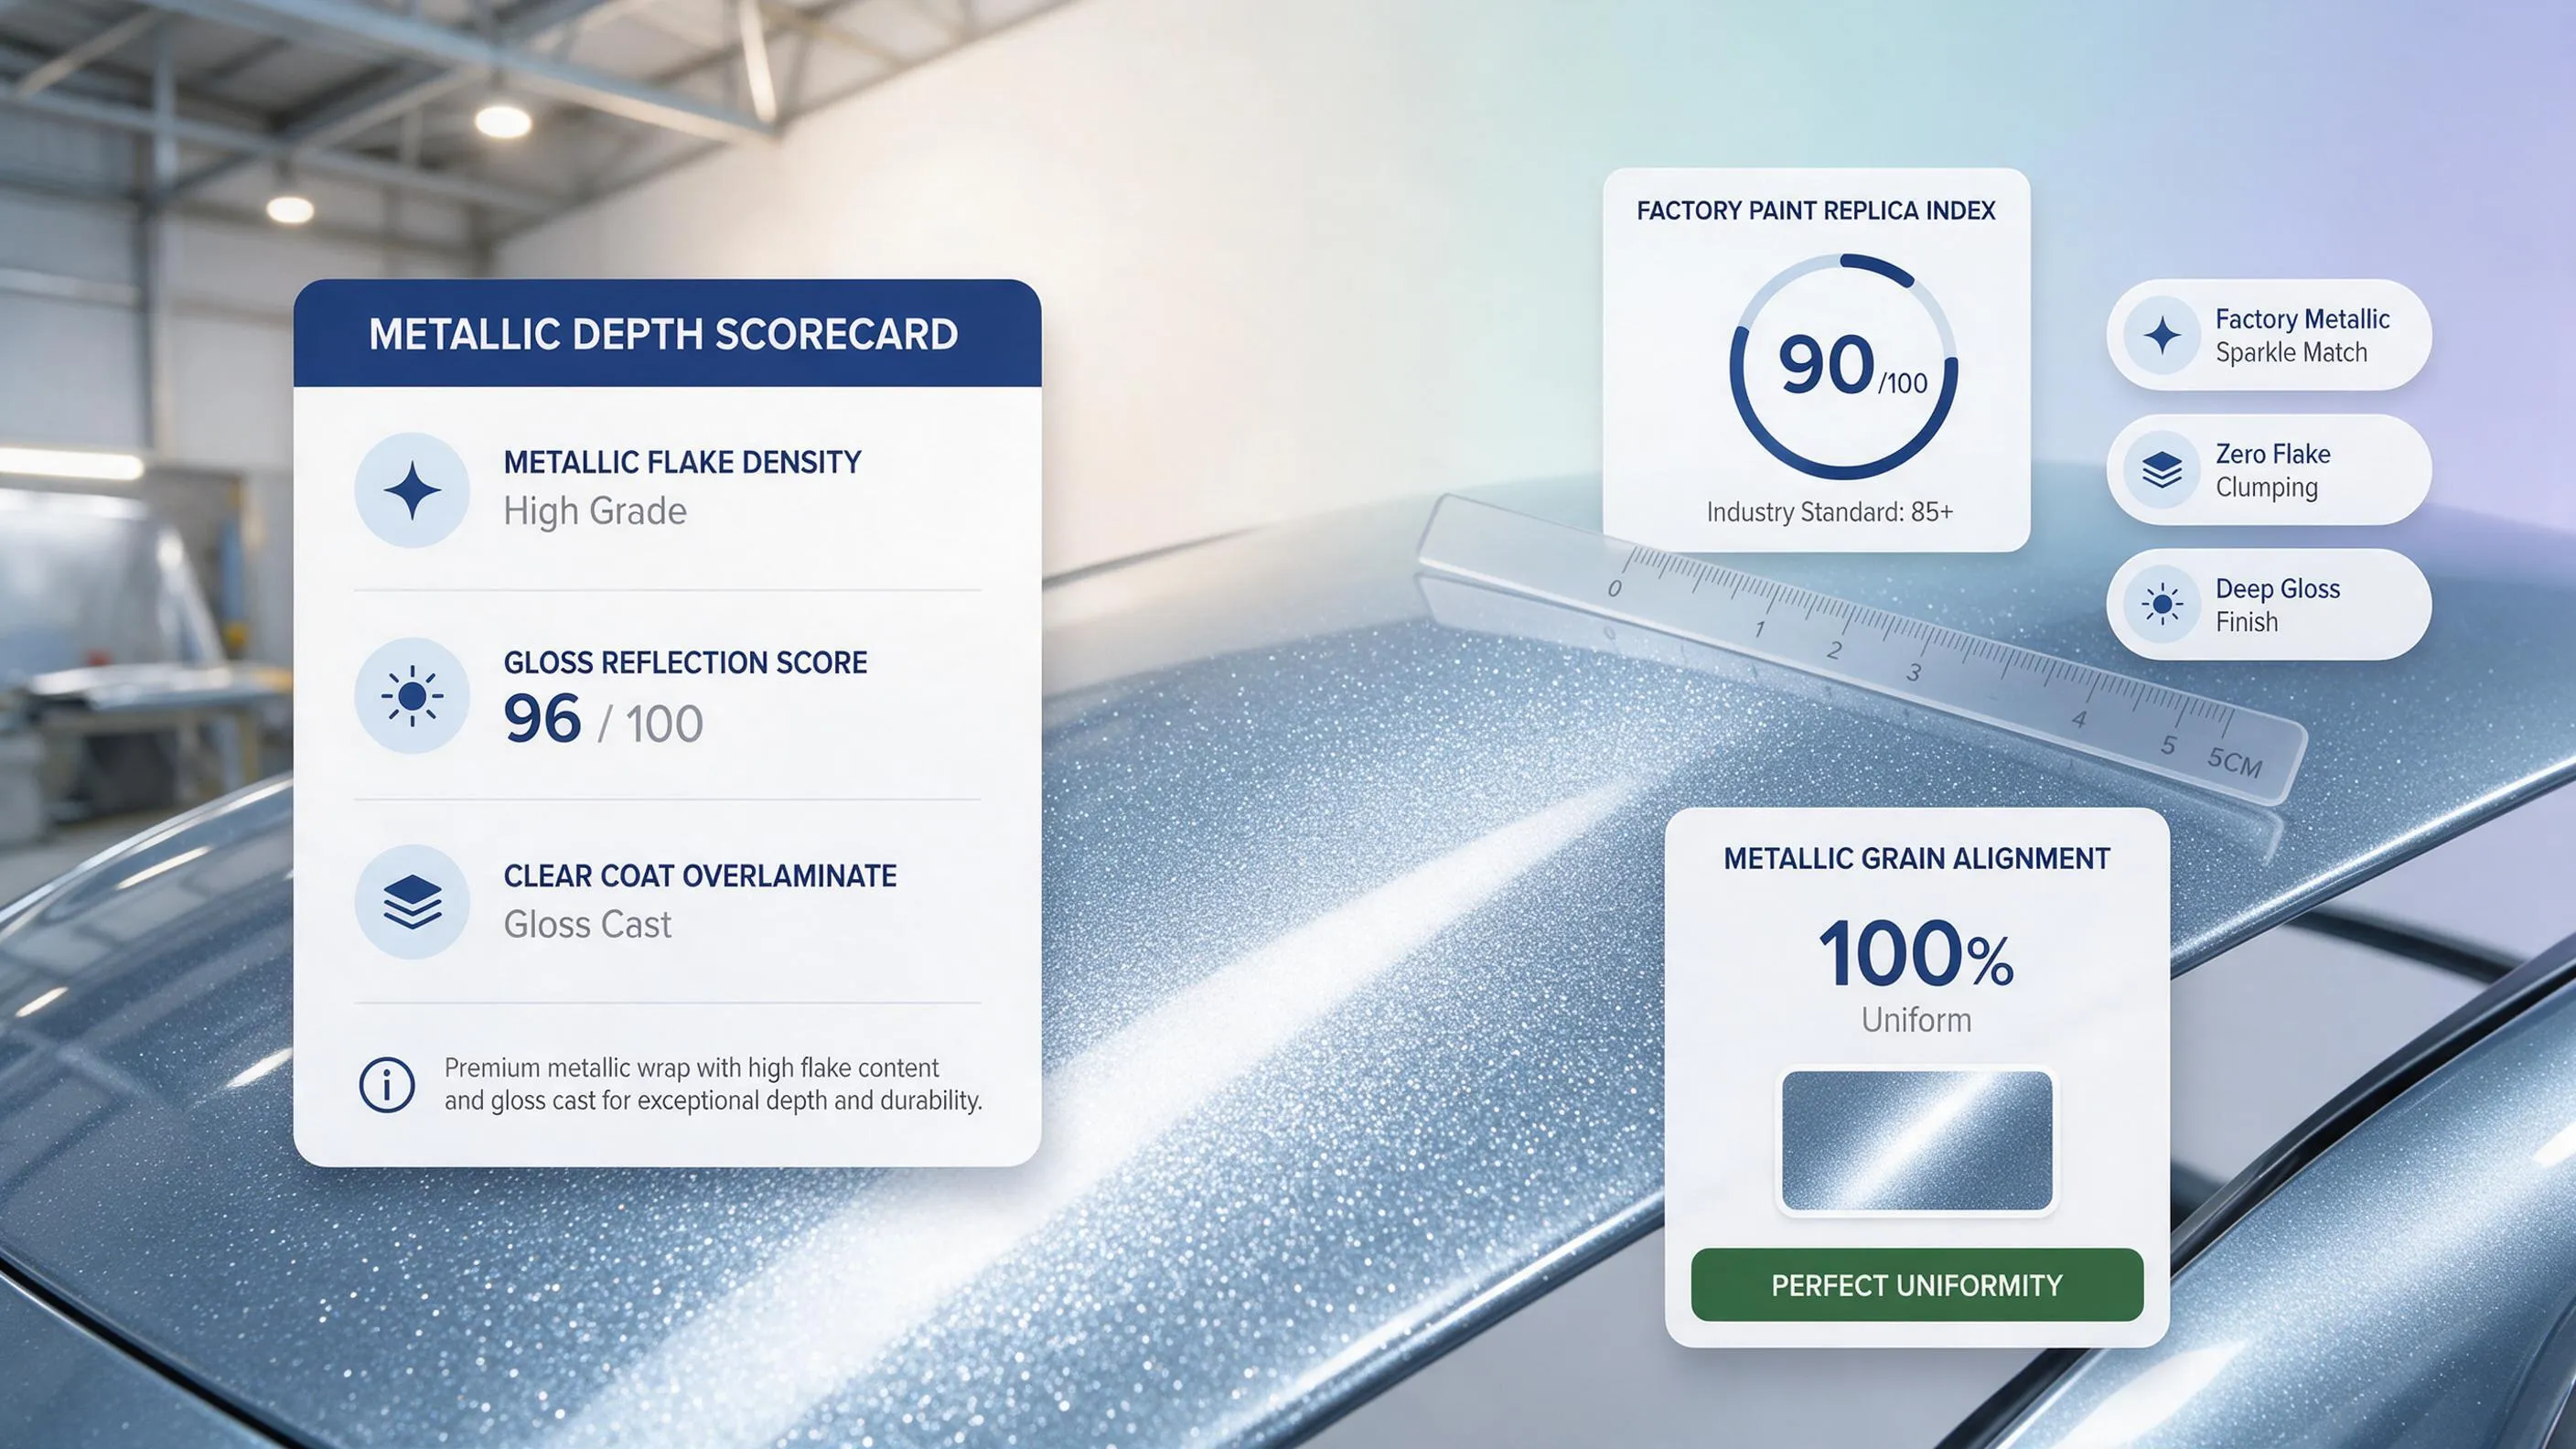
Placing a seam directly across a deep concave curve or directly over a high-velocity leading edge invites failure. Master installers hide overlaps along natural shadow lines, recessed panel joints, or beneath trim moldings where aerodynamic wind force cannot catch the leading lip of the film. To learn more about working around complex body shapes and tight curves, read our guide on whether you can wrap car mirrors.
4. Make Sure the Surface Is Clean Before Applying Vinyl
Laying an overlapping vinyl seam over hidden dust or oil creates an instant point of failure. Installers hear it constantly: "Can a little dust, wax, or grease really affect the seam?"
Vinyl adhesive cannot bond to microscopic road film, wax residue, or skin oils. When overlapping film pieces, the base layer must undergo a meticulous isopropyl alcohol (IPA) wipe down to ensure the top layer fuses directly to clean vinyl film. If you're prepping a vehicle for installation day, follow our master guide on how to prepare a car for a wrap.
5. Use the Right Vinyl Overlap and Seam Placement
Guessing the width of a panel overlap leads to weak joints or bulky, unsightly ridges. You pause during installation asking: "Should vinyl pieces overlap, or should their edges meet?"
Never attempt to butt-joint two vinyl pieces flush against each other, as film shrinkage will leave an exposed gap of raw paint. Always execute a clean 1/4-inch to 1/2-inch overlap, running the top piece with the airflow of the vehicle (front-to-back, top-to-bottom) so wind and rain slide smoothly over the joint without lifting the seam edge.
6. Avoid Excessive Stretching Around Seams and Curved Panels
Stretching a vinyl sheet past its physical limits right at a seam creates severe internal stress. You might catch yourself asking: "Can pulling the vinyl too much make the edges lift later?"
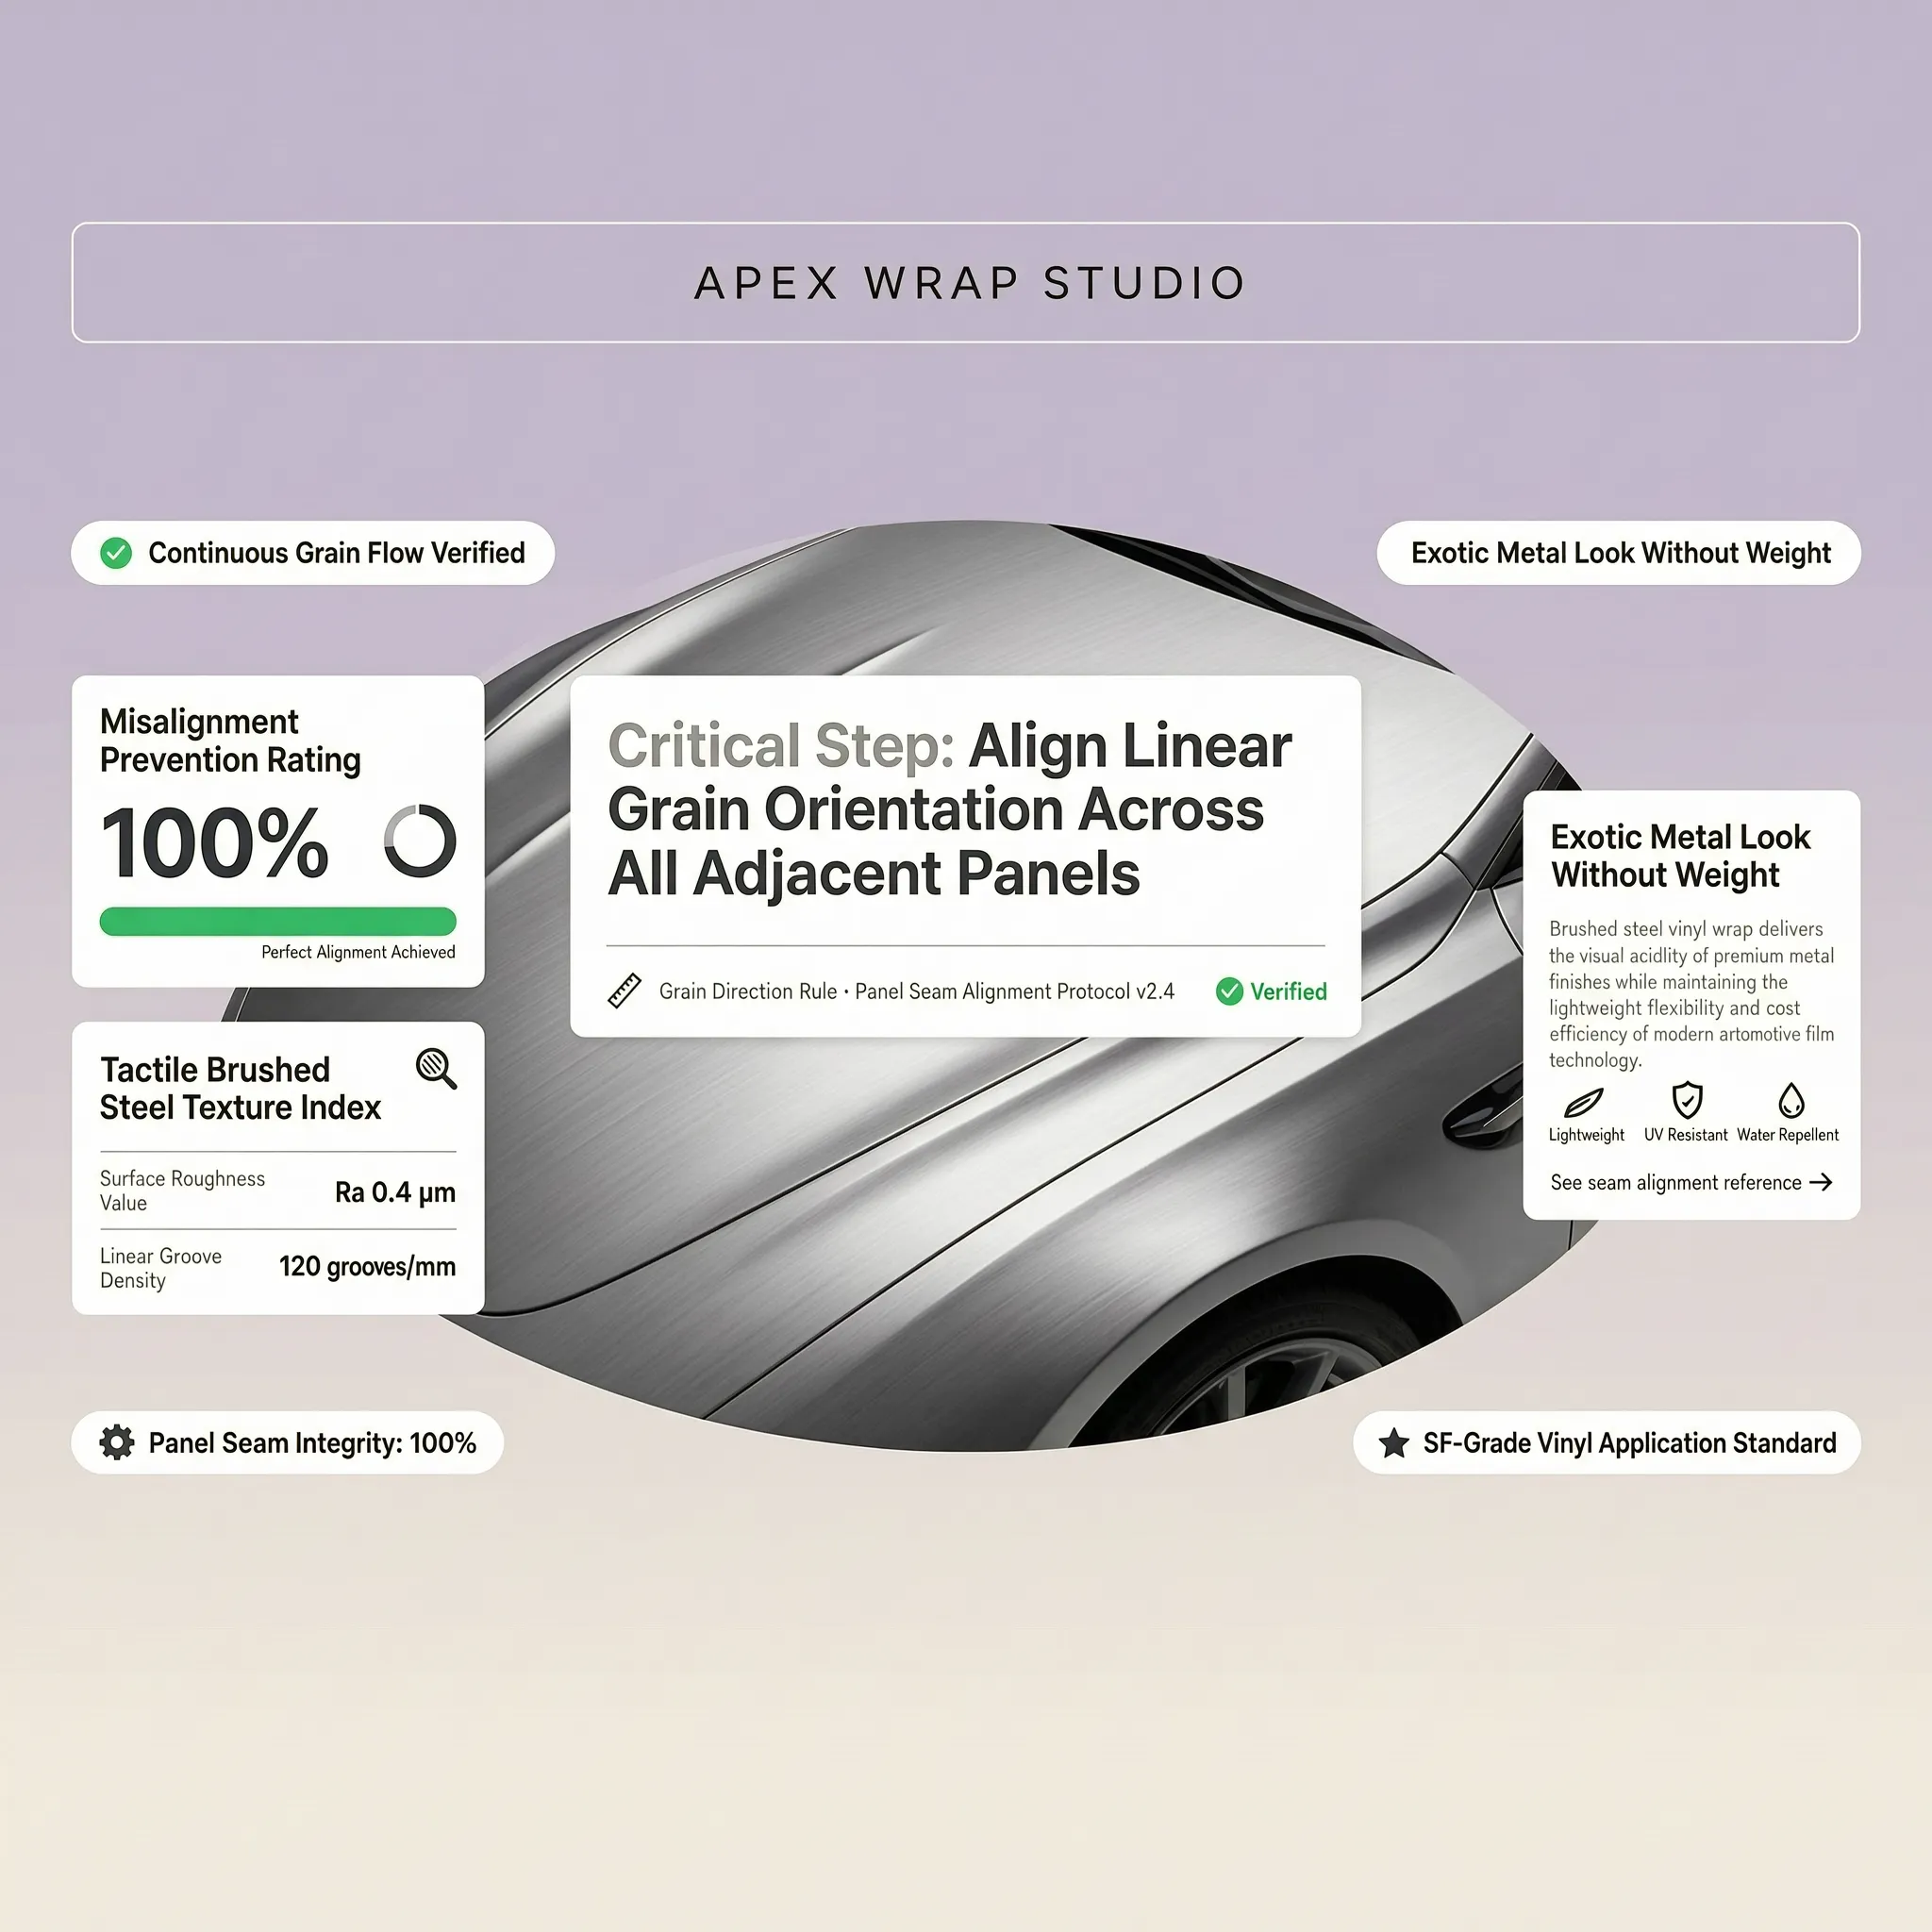
Vinyl film possesses a permanent shape memory. If an installer over-stretches material to reach a seam line, heat from the summer sun will cause that vinyl to snap back toward its unstretched state, popping the seam open. Read our detailed breakdown on why vinyl wrap loses adhesion to see how film tension destroys glue bonds.
7. Apply Proper Heat and Post-Heating During Installation
Skipping the post-heating phase on overlap seams guarantees premature edge curling. You naturally wonder: "Does heating the vinyl help keep the seams in place?"
Post-heating is the ultimate safeguard step. Running a heat gun or infrared lamp over finished seams raises the vinyl temperature past its glass transition point (around 195°F–200°F / 90°C–95°C), permanently resetting the film's memory to its new flat shape and curing the adhesive bond completely.
8. Press Down Seams and Edges Correctly Without Damaging the Vinyl
Failing to apply uniform squeegee pressure across an overlap seam leaves microscopic air channels behind. Installers ask: "How do installers make sure every edge stays attached?"
Securing a seam requires firm, overlapping squeegee passes using a soft felt-edge buffer, followed by a firm thumb-roll using a cotton installer glove along the entire seam line. This forces out all trapped air and seats the pressure-sensitive adhesive deep into the underlying vinyl substrate.
9. How to Wash Your Wrapped Car Without Damaging the Seams
Aggressive wash habits ruin immaculate seams faster than years of driving exposure. You rightly worry: "Can pressure washing or scrubbing make the seams come loose?"
Directing high-pressure water jets perpendicularly at a vinyl seam can tear the overlap apart instantly. Always keep pressure washer nozzles at least 12 to 18 inches away, spray along the direction of the seam rather than against it, and use soft microfiber mitts. For complete maintenance guidance, read our driver's tutorial on how to wash a wrapped car.
10. Protect Vinyl Wrap Seams From Sun, Heat, and Harsh Chemicals
Environmental contamination and harsh chemicals dry out vinyl wrap adhesives over time. Vehicle owners ask: "Will parking in the sun or using strong cleaners weaken the edges?"
Harsh solvents, petroleum-based waxes, and unshielded UV rays bake vinyl film, causing it to shrink and harden. As the material pulls tight, perimeter seams experience massive mechanical tension. To protect your investment against solar degradation, explore our technical breakdown on whether sun damage can ruin a car wrap.
11. What to Do When a Vinyl Wrap Seam Starts Lifting
Catching an open seam early prevents dirt from ruining the underlying adhesive layer. You might ask: "Can I fix a small lifted edge before it gets worse?"
If you spot an edge lifting, take immediate action:
Carefully clean beneath the lifted film with a mild alcohol wipe to remove fine dust.
Allow the zone to dry completely.
Apply gentle heat with a heat gun to soften the film, then press it down firmly with a felt squeegee.
If a micro-lift persists, consult a professional installer to apply a microscopic drop of specialized edge sealer promoter or execute a clean seam trim.
If a section suffers tearing or permanent damage, review our guide on how to repair a small cut in vinyl wrap.
12. How Often to Inspect Vinyl Wrap Seams and Edges
Building a quick inspection habit ensures you catch minor seam issues long before they spread across an entire panel. You naturally ask: "How can I catch a problem before the wrap starts peeling?"
Spend two minutes inspecting your vehicle during every wash routine:
Run a soft microfiber cloth along panel gaps, door pillars, and bumper overlaps to feel for snagging edges.
Check high-impact seams on the front fascia for water intrusion or road-grime buildup.
Verify that all seam overlaps remain sealed flat before embarking on long highway trips.
Planning your next custom transformation or calculating exact yardage for overlap seams? Jump into our vinyl wrap calculator to measure precise roll requirements and execute your build with absolute perfection!
Frequently Asked Questions: How to Protect Vinyl Wrap Seams From Lifting & Peeling
1. I just got my car wrapped and noticed microscopic overlap ridges. Are seams supposed to be exposed like that?
The Reality: Yes, overlapping seams are a mandatory engineering necessity on complex widebody panels, deep bumper recesses, and long roof rails where a single flat vinyl roll physically cannot cover the contour without over-stretching. Professional installers execute a clean 1/4-inch to 1/2-inch overlap laid strictly with vehicle airflow (front-to-back, top-to-bottom) so wind and rain slide smoothly over the joint without lifting the leading edge.
Design Optimization: Testing your panel breakdown in a vehicle wrap customizer before booking lets you visualize seam placements along natural shadow lines long before film touches paint.
2. Why do vinyl wrap seams start peeling or curling open after a few months on the road?
The Reality: Seam failure isn't random—it's driven by a combination of hidden surface contamination, excessive film tension, and skipped post-heating steps. If an installer stretches the top vinyl layer over a bottom piece without resetting the film's thermal memory, summer solar heat causes the upper layer to contract and snap back toward its original flat shape, popping the seam open.
Adhesion Pitfalls: Discover how underlying surface issues break pressure-sensitive glue bonds in our technical report on why vinyl wrap loses adhesion.
3. Can aggressive pressure washing at a car wash split my wrap seams wide open?
The Reality: Absolutely. Holding a high-pressure water wand too close to an exposed overlap seam acts like a hydraulic razor, tearing through the adhesive bond and injecting water beneath the panel. Always keep pressure washer nozzles at least 12 to 18 inches away, spray along the direction of the overlap seam rather than directly against its leading edge, and stick to a 40-degree wide fan spray tip.
Washing Guidelines: For complete detailing protocols that keep overlap joints pristine, explore our driver's tutorial on how to wash a wrapped car.
5. What is post-heating, and how does it permanently lock down overlapping vinyl edges?
The Reality: Vinyl film possesses structural shape memory. Post-heating is the mandatory final safeguard step where technicians pass an infrared heat gun over every overlap seam, raising the material temperature to 195°F–200°F (90°C–95°C). This thermal pass breaks the film's original memory, permanently setting it to its new flat shape and fully curing the pressure-sensitive adhesive bond.
Perimeter Protection: Learn how thermal setting prevents edge curling and perimeter failure in our guide on how to protect car wrap edges.
6. I'm cleaning my wrapped ride. How do I scrub near seams without snagging the edges?
The Reality: Never scrub perpendicularly across an overlap seam with coarse sponges or stiff detail brushes. Accumulated dirt and road salt should be gently wiped using a soft microfiber towel moving strictly parallel along the seam line. This prevents towel fibers from catching under the microscopic edge lip and pulling the vinyl loose.
Surface Care: To protect your film finish from chemical degradation while cleaning, check out our full guide on how to prepare a car for a wrap.
7. Will parking my wrapped vehicle under direct baking sun weaken the seam adhesive over time?
The Reality: Intense solar radiation and unshielded UV rays bake vinyl film over time, causing raw material shrinkage and drying out pressure-sensitive adhesives. As panels pull tight, perimeter tension along seams spikes dramatically. Parking in a garage, using a car cover, or applying a wrap-safe ceramic seal coating shields your film against solar degradation.
Solar Impact: Read our technical analysis on environmental factors to learn whether sun damage can ruin a car wrap.
8. I just noticed a 1-millimeter lifted edge along a door pillar seam. Can I fix it myself?
The Reality: Yes, provided you act immediately before road grime contaminates the exposed glue pocket. Clean gently behind the lifted tab using an isopropyl alcohol swab, allow it to dry completely, apply mild heat with a hairdryer to soften the film, and press it down firmly with a felt-buffered squeegee. If the tack is completely gone, visit your wrap shop to apply a microscopic drop of professional edge sealer promoter.
Damage Control: If a lifting seam has led to tears or micro-cracks in the film, review our step-by-step tutorial on how to repair a small cut in vinyl wrap.
9. Does a dual-tone split design have a higher risk of seam peeling than a standard wrap?
The Reality: Multi-color split wraps carry more exposed seam footage than single-color builds because secondary accents sit directly over primary base layers. However, when installers use precision knifeless tape lines and post-heat every overlap joint, two-tone seams achieve the exact same durability as factory paint lines.
Multi-Tone Execution: For step-by-step advice on laying down crisp, durable multi-layer transition seams, explore our master guide on how to create a two tone car wrap.
10. How often should I inspect my wrap seams to catch lifting before a whole panel fails?
The Reality: Spend two minutes running a visual and tactile check during every regular wash routine. Lightly run a microfiber cloth along panel gaps, door pillars, and bumper recesses to feel for any snagging edges or raised film pockets. Catching a minor micro-lift early takes seconds to seal, saving you from a costly full-panel replacement later.
Clear Coat Baseline: To understand how underlying paint health protects your seams from day one, read our report on whether car wraps can be installed over factory paint.
Ready to calculate material footage for overlap seams or map out your next custom transformation down to the inch? Use our vinyl wrap calculator to measure your setup, confirm your roll requirements, and execute your build with absolute confidence!