

You stand inside the shop delivery bay under stark overhead LEDs. Your freshly wrapped car sits right in front of you, gleaming under a slick, flawless coat of new color.
From ten paces back, it looks like a million bucks.
Then you walk up close, drop down to eye-level with the front bumper, and touch your index finger against a hidden edge.
Wait. Why is there a tiny lifting finger near this wheel arch? Is that microscopic bubble normal, or is this wrap going to start peeling the second I take it out on the highway?
Here is an uncomfortable truth in the vehicle styling sector: A wrap can look breathtaking from ten feet away while harboring critical edge failures, stretched film distortion, and trapped contamination that will ruin your investment within months.
Evaluating a car wrap quality check requires moving past initial visual flash and analyzing the mechanical execution. True installation integrity lives in hidden details—clean tucked hems, undisturbed factory clear coats, razor-free panel transitions, and zero tension along compound curves.
If you are preparing for a handover inspection or trying to determine whether your recent installation meets proper standards, use this definitive assessment framework.

1. How to Tell if a Vinyl Wrap Is High Quality
Before analyzing how a technician handled their squeegee, you must evaluate the raw material itself.
Even a master installer cannot force cheap, rigid calendered sign vinyl to perform like a premium automotive wrap. Low-tier materials shrink under thermal stress, pull back from deep channels, and leave behind stubborn, aggressive glue residue that can damage clear coat during future removal.
┌────────────────────────────────────────────────────────────────────────┐ │ CAST vs. CALENDERED FILM ARCHITECTURE │ ├────────────────────────────────────────────────────────────────────────┤ │ [ Premium Cast Film ] --> Liquid-cast flat (3–4 mil); zero memory │ │ [ Cheap Calendered Film ] --> Extruded plastic; high shrinkage tension│ │ [ Air-Release Backing ] --> Micro-channels prevent trapped air │ └────────────────────────────────────────────────────────────────────────┘
A high quality vinyl wrap relies on dual-cast or premium cast PVC architecture. Cast films are manufactured without internal stress memory, meaning they conform smoothly to complex body lines without shrinking or pulling back over time.
When examining your film's specification or discussing material with professional car wrap installers, look for trusted industry standards like 3M (2080 Series), Avery Dennison (SW900), or KPMF. Premium cast films mirror the optical clarity and deep reflective gloss of factory paint without looking like cheap plastic.

2. Inspect the Edges: Are They Smooth, Secure, and Even?
The perimeter of every single body panel serves as the ultimate test of installer discipline.
Rushed shops use exposed utility blades to slice vinyl flush along outer panel gaps, leaving raw edges exposed directly to high-speed wind, pressure washers, and road grit.
EDGE EXECUTION BENCHMARKS [ Professional Hem Tuckle ] [ Rushed Cut Defect ] │ │ • Wrapped 1/8" to 1/4" around back • Trimmed flush with outer edge • Lays completely flat on inner metal • Shows jagged, freehand razor lines • Zero lifting fingers or bubbles • Exposes raw factory paint gaps
Walk around the vehicle and open every door, hood, and trunk lid:
Inspect the Hems: The film should fold smoothly around panel edges by 1/8 to 1/4 inch, adhering flat to the inner door jamb without lifting fingers.
Check Corner Folds: Corner transitions on doors and hood tips should be rounded off smoothly—never bunched into thick, messy knots of overlapping plastic.
If you spot lifted corners or suspect an installer scored your underlying finish with razor blades, check our guide on verifying clear coat safety during wrap installations.
3. Look for Bubbles, Wrinkles, Creases, and Trapped Air
Stand three feet away from broad sheet metal like the hood, doors, and roof. Angle your perspective so light glides flat across the panel surface.
The reflection should appear uniform and unbroken.
┌────────────────────────────────────────────────────────────────────────┐ │ SURFACE DEFECT BREAKDOWN │ ├────────────────────────────────────────────────────────────────────────┤ │ • Trapped Air Pockets --> Soft squishy bubbles; poor squeegee glassing │ │ • Contamination Nibs --> Hard pin-head bumps; rushed surface prep │ │ • Silvering / Creases --> Cloudy whitish lines; forced tension stretch│ └────────────────────────────────────────────────────────────────────────┘
Distinguish between minor handling artifacts and genuine workmanship failures:
Air Bubbles: Micro-bubbles occasionally settle after installation and dissipate naturally within 10 days of outdoor sun exposure. However, large air pockets near panel centers indicate poor squeegee technique.
Dust Contamination: Hard, raised bumps under the film mean the installer skipped proper chemical iron decontamination and clay bar prep.
Proper surface preparation is what keeps film anchored long-term. Review how complete decontamination protects wraps in our guide on preparing a car for a professional wrap.

4. Check Seams, Overlaps, and Panel Alignment
While 60-inch roll widths allow technicians to cover most compact and mid-size panels using continuous sheets, massive truck quarter panels or aggressive front bumpers sometimes require seams.
Where two sheets of vinyl meet, the seam execution separates master installers from amateur shops.
PROFESSIONAL SEAM STANDARDS [ Placement ] ----> Tucked inside natural factory body creases or shadow lines [ Overlap ] ------> Measures a strict 1/8" to 1/4" maximum width [ Direction ] ----> Top piece overlaps bottom piece so rainwater sheds off
A professional car wrap installation conceals seams along natural body lines where eyes don't focus.
The upper piece of film must always overlap the lower piece, creating a shingle effect that prevents wind stress and car wash water pressure from catching the vinyl edge.
5. Inspect Curves, Bumpers, Mirrors, and Recessed Areas
Anyone can lay vinyl flat across a wide hood. The real test of car wrap installation quality happens in compound curves, recessed fog light pockets, and door handle cups.
┌────────────────────────────────────────────────────────────────────────┐ │ HIGH-STRESS AREA CHECKLIST │ ├────────────────────────────────────────────────────────────────────────┤ │ [ ] Side Mirror Caps: Wrapped in single sheets without heavy wrinkling│ │ [ ] Handle Recesses: Material fed deep into cups without bridge lifts │ │ [ ] Front Air Intakes: Color saturation stays rich inside deep pockets│ └────────────────────────────────────────────────────────────────────────┘
Inspect these challenging zones closely:
Side Mirrors: The film should cover the rounded mirror housing smoothly without heavy color fading or bunching near the mounting stalk. To see how installers handle complex curves without creasing, read our walkthrough on wrapping car side mirrors cleanly.
Deep Bumper Recesses: Look closely inside air intakes. If the vinyl lifts or forms bridge gaps across deep corners, the installer forced the film across the opening instead of feeding it down into the channel.

6. Does the Color and Finish Look Consistent Across the Car?
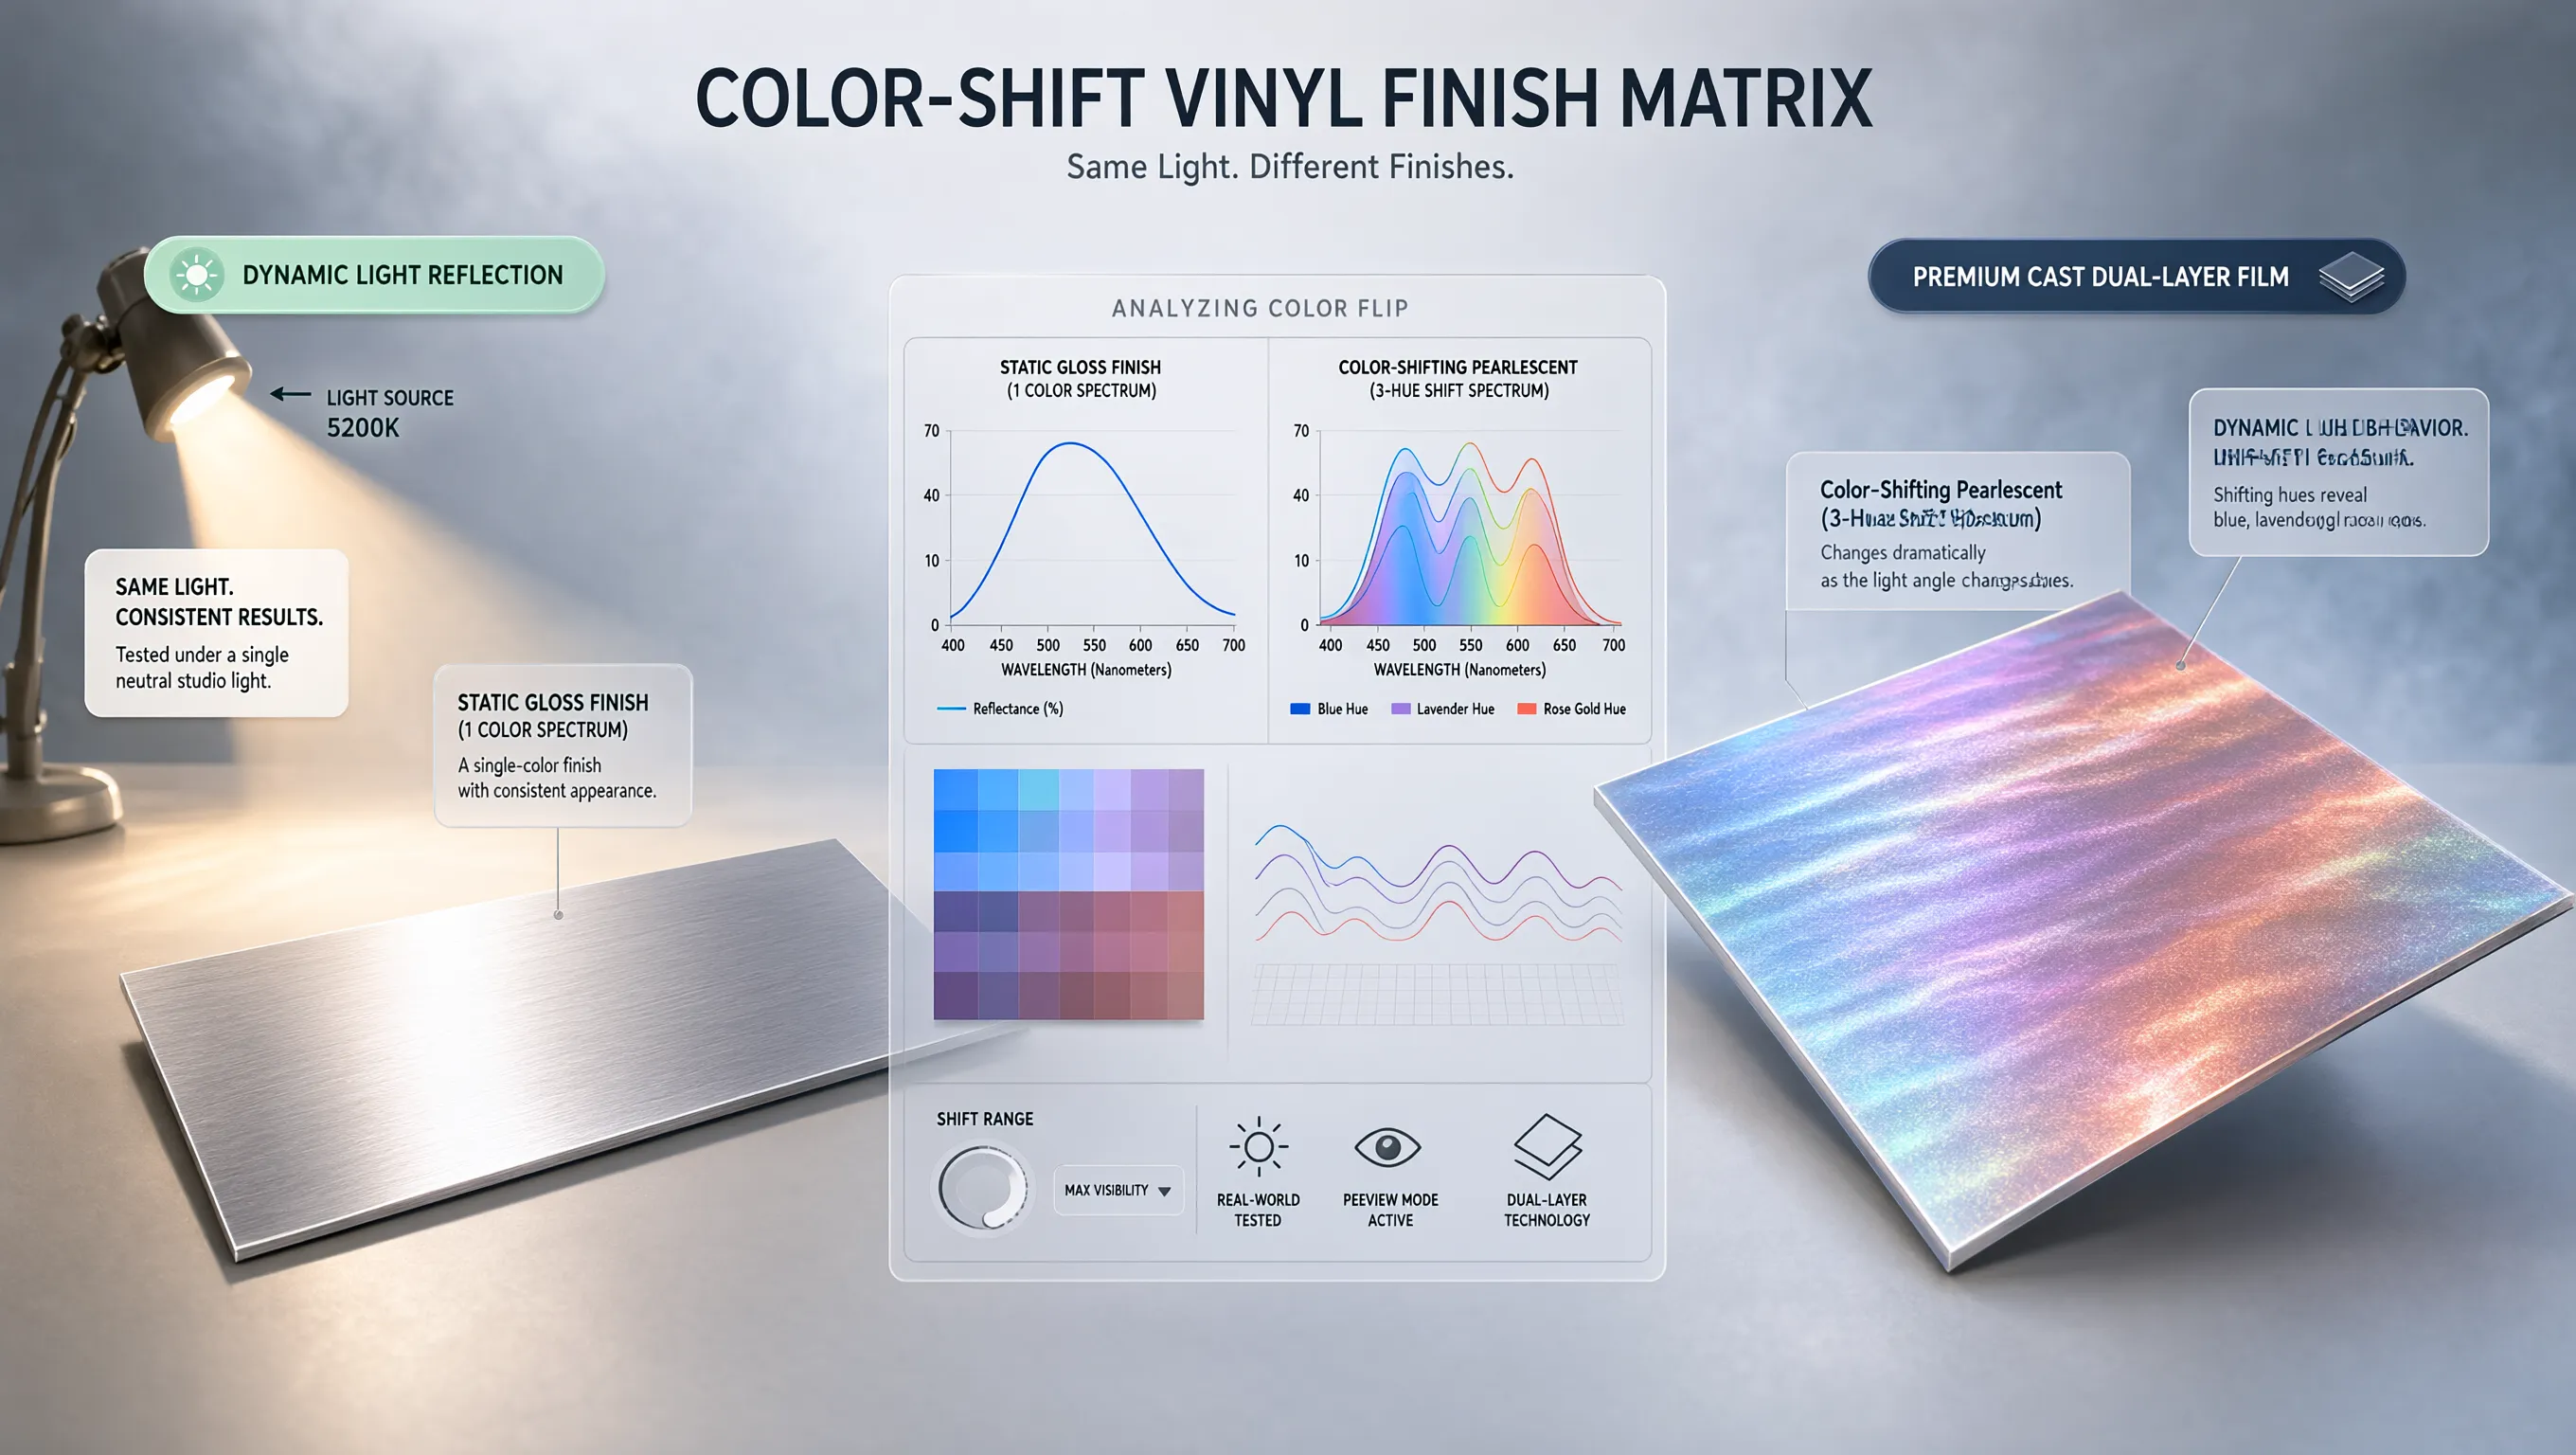
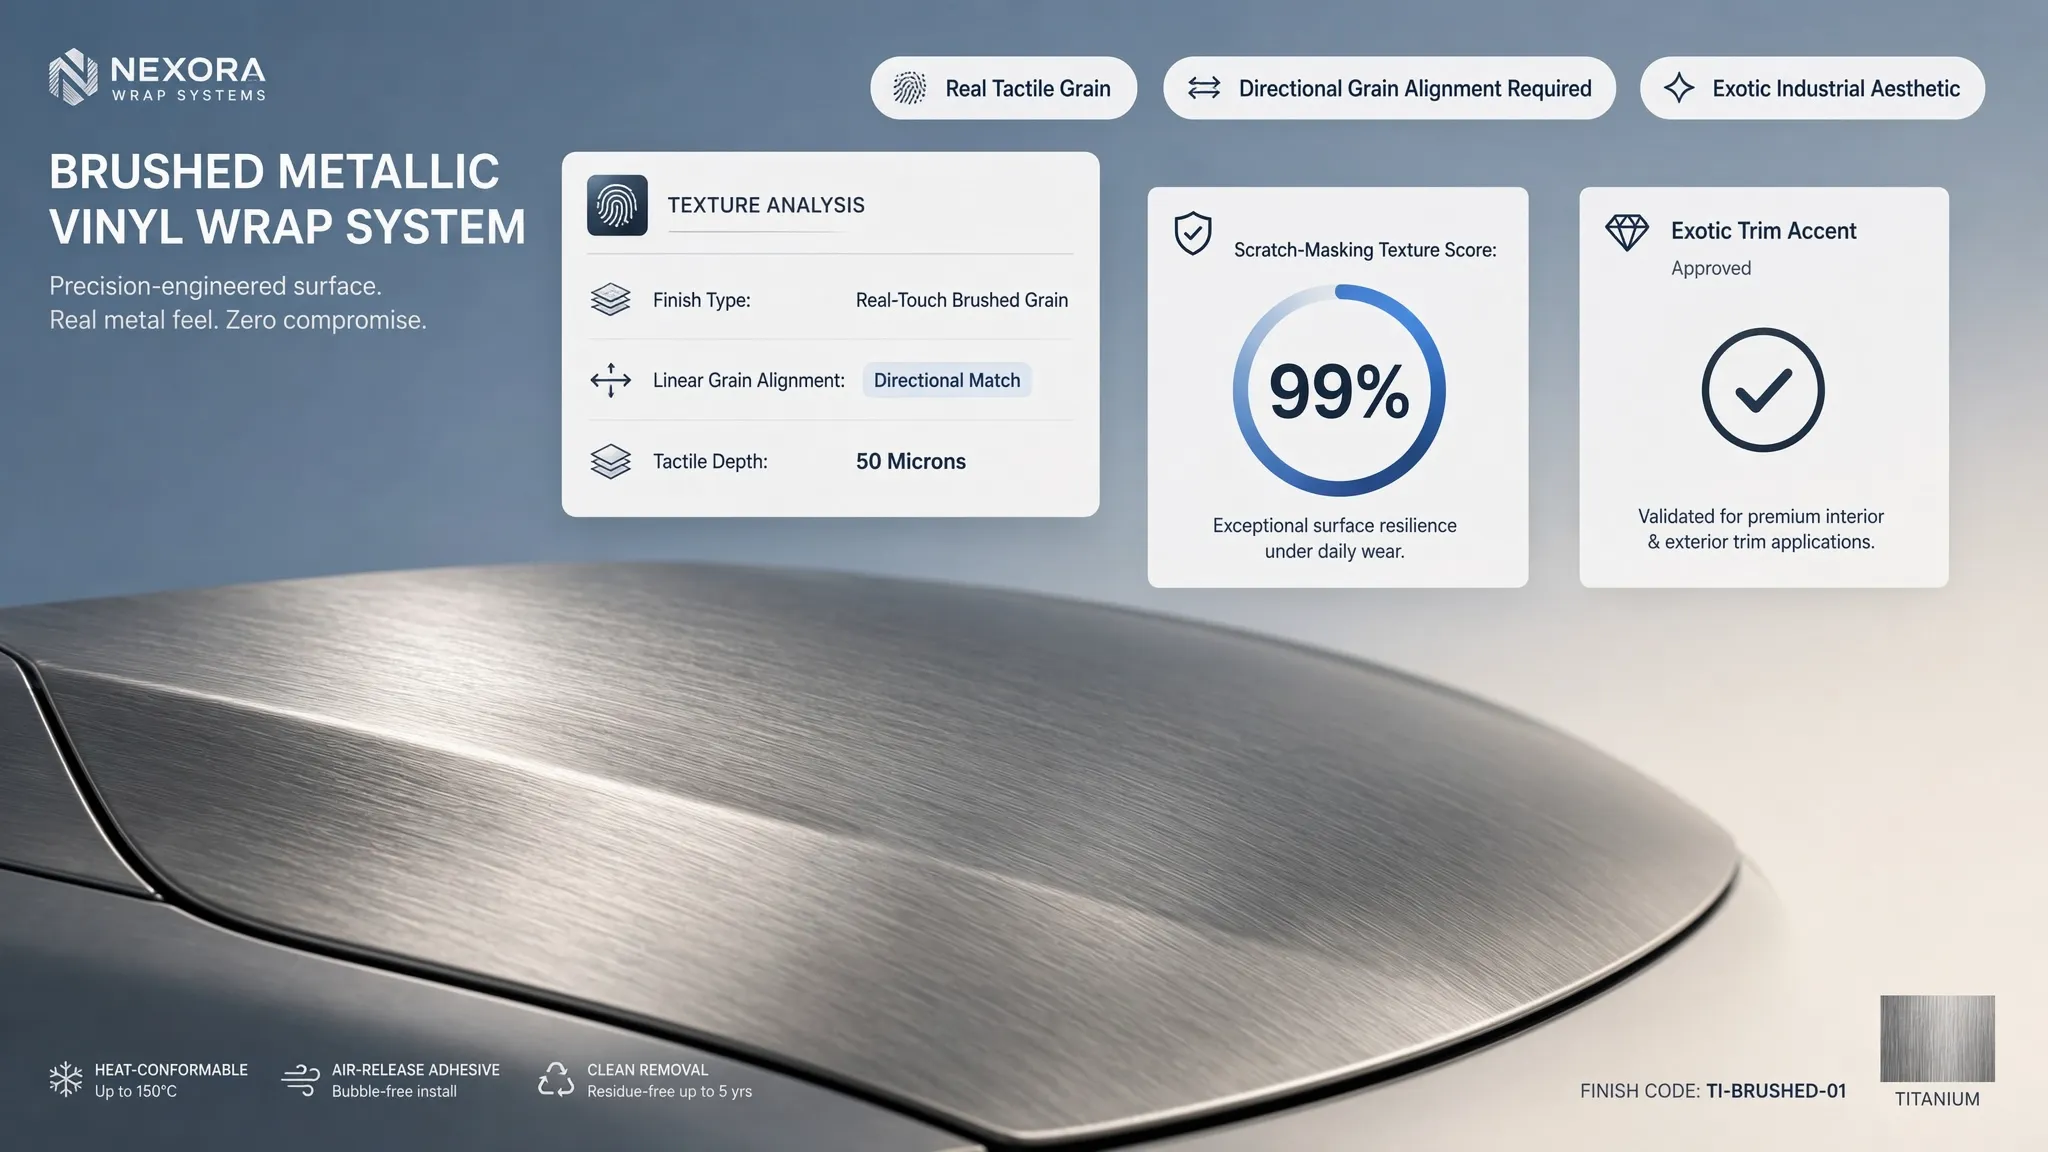
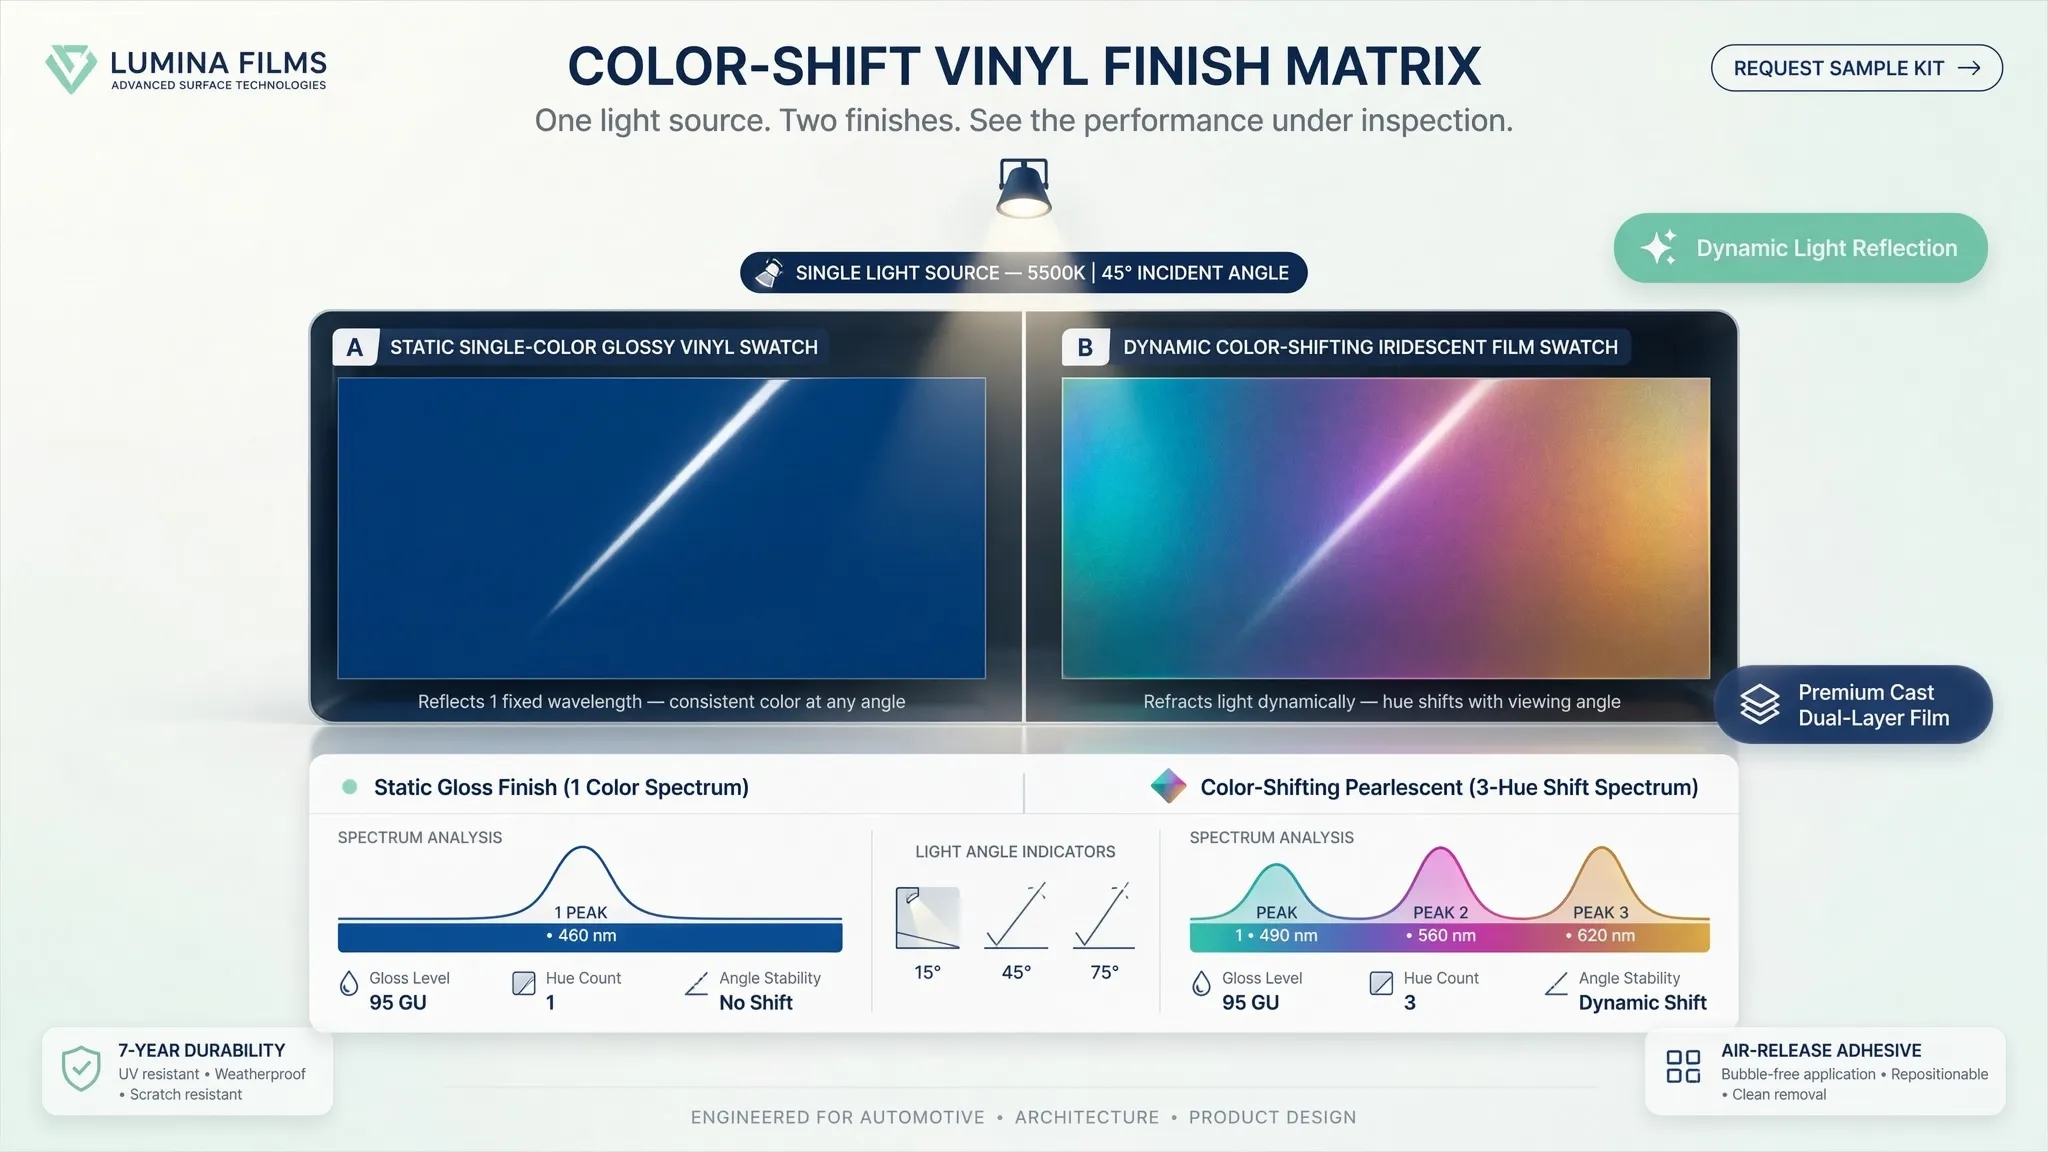
Directional films—including metallics, satins, brush finishes, and color-flip series—possess a distinct manufacturing grain structure during production.
If a technician rotates a sheet 90 degrees to save material on a fender, that panel will reflect light differently under direct sun, appearing off-color compared to the adjacent door.
GRAIN ALIGNMENT vs. COLOR MISMATCH [ Hood Panel ] =========> Rolled 0° (Matches Roll Direction) [ Fender Panel ] =========> Rolled 0° (Matches Roll Direction) --> Uniform Gloss & Shade [ Door Panel ] ║║║║║║║║║ Rotated 90° (Misaligned Grain) --> Visual Color Shift
Stand back ten feet under open sunlight and slowly walk around the vehicle. The metallic flake depth, gloss reflection, and shade saturation should remain consistent from front bumper to rear quarter panel.

7. How to Check for Stretch Marks and Distorted Vinyl
When installers overheat film while forcing it into deep bumper channels, they thin out the PVC matrix. This over-stretching causes noticeable visual defects.
[ Over-Stretched Film ] ---> Pigment Thinning ---> White/Milky Haze ---> Early Edge Recoil
Signs of over-stretched vinyl:
Color Bleaching: Dark satin or gloss colors turn pale, milky, or white around tight bumper curves.
Orange Peel Distortion: High-gloss finishes develop an uneven, cloudy texture along complex contours.
Adhesive Thinning: Thinning out glue through over-stretching leads to premature edge lift within weeks.
To understand how proper heating technique prevents over-stretching during application, read our guide on using a heat gun on car wraps safely.
8. What to Check After the Wrap Has Been Installed
A thorough wrap evaluation involves two distinct phases: the immediate delivery inspection and a follow-up check after 10 to 14 days of real-world driving.
┌────────────────────────────────────────────────────────────────────────┐ │ TWO-PHASE INSPECTION TIMELINE │ ├────────────────────────────────────────────────────────────────────────┤ │ Phase 1: Delivery Day --> Check edge hems, bubbles, and paint gaps │ │ Phase 2: Day 10-14 Check --> Inspect edge recoil after sun exposure │ └────────────────────────────────────────────────────────────────────────┘
During the initial handover, inspect all high-stress areas. Then drive the vehicle normally for two weeks, exposing it to sun heat, ambient rain, and highway wind.
This short break-in period lets the pressure-sensitive adhesive settle completely, exposing any tension spots that require minor post-heat adjustment.

9. How to Check Car Wrap Quality Before Paying the Installer
Before signing final receipts, hand-over inspection under bright lighting is essential.
Bring this physical car wrap inspection checklist with you to the delivery bay:
┌────────────────────────────────────────────────────────────────────────┐ │ PRE-PAYMENT INSPECTION CHECKLIST │ ├────────────────────────────────────────────────────────────────────────┤ │ [ ] Hemmed Edges: Are door gaps and fender edges folded and flat? │ │ [ ] Hardware Fitment: Do handles, emblems, and lights sit flush? │ │ [ ] Sensor Operation: Do bumper parking sensors function accurately? │ │ [ ] Paint Coverage: Is original paint hidden across all panel seams? │ │ [ ] Surface Smoothness: Are broad panels free of trapped dirt nibs? │ │ [ ] Color Saturation: Do metallic flakes reflect uniformly in sun? │ └────────────────────────────────────────────────────────────────────────┘
If you spot minor defects like an unseated edge or a trapped air pocket, point them out immediately so technicians can address them while the car is still in the shop bay.
10. Signs of a Poor Car Wrap Installation You Shouldn't Ignore
Not all minor flaws are created equal. While a tiny micro-bubble near a wheel arch might settle under sun heat, certain severe defects signal major installation failure.
MINOR ARTIFACTS vs. MAJOR DEFECTS [ Cosmetic Minor Items ] [ Critical Failure Flags ] │ │ • Single 1mm air micro-bubble • Exposed razor scores in clear coat • Minor seam overlap under bumper • Lifting edges along door handles • Faint squeegee mark in clear coat • Color bleaching on bumper curves
Demand immediate rework if you find:
Lifting Edges: Film curling backward along door handles or bumper seams indicates forgotten post-heating or contaminated surface prep.
Razor Scores: Visible blade cuts in your clear coat along panel gaps indicate improper hand-trimming.
Severe Color Bleaching: White, cloudy streaks along bumper curves mean the installer over-stretched the material past its physical limit.
If you are dealing with a shop that refuses to fix lifting panels or want to know what professional installation services usually charge, review our guide on estimating professional car wrap installation quotes.
11. Does a High-Quality Car Wrap Need a Warranty?
Even master installers occasionally encounter a stubborn edge that lifts after exposure to summer sun. A shop's willingness to stand behind their work reflects their confidence in their installation standards.
Always confirm that your installation includes two distinct guarantees:
MATERIAL WARRANTY vs. WORKMANSHIP WARRANTY [ 3M / Avery Material Warranty ] [ Shop Workmanship Warranty ] │ │ • Covers premature film fading • Covers edge lifting & curling • Covers adhesive backing failure • Covers install bubbles & creases • Issued by material manufacturer • Issued directly by the local shop
Insist on a written car wrap workmanship warranty covering labor defects, lifting edges, and seam separation for at least 12 to 24 months.
Top-tier detailers usually offer a complimentary 14-day post-install checkup appointment to inspect all edges after the film has gone through its initial sun-cure cycle.
12. Preview Your Custom Wrap Vision Before Signing Shop Contracts
Once you know how to identify top-tier shop craftsmanship and know what to look for during delivery, you can plan your customization project with confidence.
Handing a shop vague descriptions or guessing how a finish will look across your car's lines leads to miscommunication and costly mid-project changes.
Testing different shades, gloss levels, and satin sheens across your vehicle's specific body lines beforehand removes all guesswork.
Experiment with custom colors, test contrasting roof accents, and view high-gloss vs. satin finishes across your exact make and model. Check out our interactive car wrap design tool to map your aesthetic details before locking in your shop appointment.

FAQs: How to Check Car Wrap Quality
1. How can I tell if a wrap defect is my fault or a bad installation?
If you notice lifting edges, channel fingers, or peeling along door handles within the first few weeks, that is a clear installation failure caused by improper surface prep or skipped post-heating. Physical defects caused by owner misuse—such as high-pressure wash burns, rock chips, or chemical staining from leaving bird droppings baking in the sun—show distinct localized abrasion or etching marks rather than clean adhesive release along panel hems.
2. Why does my wrapped hood look slightly bumpy when I look closely?
Run your palm gently across the hood surface. If the bumps feel hard and sharp like tiny sand grains, the installer skipped thorough chemical iron decontamination and clay bar treatment, sealing road dust permanently under the vinyl. If the surface feels soft and smooth but shows a faint textured reflection, you are looking at mild "orange peel" texture, which is a natural characteristic of certain gloss PVC films rather than dirt contamination.
3.Is it normal to see small air bubbles on a brand new car wrap?
Micro-bubbles smaller than a pinhead occasionally form right after installation as air trapped in the adhesive matrix settles. On quality cast films with micro air-release backing, these tiny bubbles usually dissipate naturally after 7 to 10 days of outdoor sun heat. However, if you see squishy, quarter-sized air pockets or raised creases near panel centers, the installer used poor squeegee glassing technique that requires professional correction.
4. How do I check if the wrap film used on my car is actually high quality?
Inspect the reflection and stretch quality along complex panel curves. Premium cast films (from manufacturers like 3M, Avery Dennison, or KPMF) maintain glass-smooth optical clarity, uniform gloss depth, and vibrant color saturation even inside deep bumper recesses. Cheap calendered films look thicker, exhibit a hazy plastic texture, show whitish color bleaching around curves, and pull away from deep channels within weeks.
5. What should I look for along the edges of my doors, hood, and trunk?
Open every door, hood, and trunk lid to inspect the inner panel hems. A quality installation features vinyl wrapped 1/8 to 1/4 inch around the back of every metal edge, adhering flat to the inner door jamb without lifting or bunching. If the vinyl was trimmed flush along the outer visible seam with a razor blade, wind stress and road moisture will catch that exposed edge and cause it to peel.
6. How can I tell if the installer damaged my paint while trimming the vinyl?
Examine the panel gaps around headlights, taillights, and door seams under direct, bright light. If you see faint, razor-thin cut lines or exposed clear coat scoring along the panel edges, the technician trimmed the film freehand with a utility blade directly on your car. Professional shops use Knifeless Tape—a specialized filament line laid down on the paint beforehand—to snap clean edges without a metal blade ever touching your clear coat.
7. Why does my front bumper look slightly milky or discolored in deep corners?
A milky or discolored appearance inside deep bumper air intakes means the installer over-stretched the vinyl while applying heat. Over-stretching thins out the PVC plastic and pigment matrix past its elasticity limit, causing color bleaching and weakening the glue bond beneath. Properly handled vinyl maintains rich, uniform color saturation across every deep curve and recess.
8. How do I check if seams were placed correctly on larger panels?
Walk around the vehicle and look for overlap lines on wide panels or complex bumpers. On high-standard installations, seams are tucked inside natural factory body creases or shadow channels where they blend in visually. Check the overlap alignment: the upper piece of film must overlap the lower piece to create a water-shedding shingle effect, preventing rain and highway wind pressure from lifting the seam lip.
9. What should I do during the final walk-around before paying the shop?
Conduct a structured 10-minute visual inspection under bright shop lights before signing off on final payment:
Open all doors, hood, and trunk to check hemmed edges and corner folds.
Walk a slow circle 10 feet back in sunlight to verify consistent metallic grain and color reflection.
Test parking sensors, door handles, and keyless entry buttons to confirm everything functions normally.
Check bumper intakes and mirror bases for any signs of lifting edges or color bleaching.
10. What should I do if I find lifting edges or defects two weeks after pickup?
Bring the car straight back to your installer for your post-install checkup. Because vinyl undergoes an initial thermal expansion cycle when exposed to real-world sun heat, minor edge tension can occasionally pop up on high-stress panels. Reputable shops expect to inspect these areas, adjust or post-heat small fingers, and re-wrap any failed panel under their labor warranty at zero cost to you.