
You walk into the delivery bay, stepping up to your freshly wrapped vehicle under bright LED shop lights.
At a quick ten-foot glance, the new color looks striking. But as you lean in closer to inspect the headlights, door handles, and bumper seams, a wave of hesitation hits.
Is this slight wrinkle along the mirror base normal? Should I be able to see a sliver of factory paint inside the door gap? How do I know if this finish is built to last three years, or if edges are going to start lifting after my next highway wash?
Distinguishing between an elite installation and a rushed, low-tier job isn't always obvious at a distance.
A high-standard professional car wrap installation relies on invisible technical discipline: deep paint decontamination, controlled heat manipulation, stress-free corner tucks, and safe filament trimming.
If you want to know whether your installation meets real shop standards before signing off on final payment, here are the non-negotiable signs of elite workmanship.

1. Clean, Even Edges That Don't Look Rushed
The perimeter of every panel is where installer skill is exposed immediately. Amateur shops tend to trim film directly along outer panel lines using freehand utility blades, leaving raw vinyl edges exposed to high-pressure wind and road grime.
┌────────────────────────────────────────────────────────────────────────┐ │ PANEL EDGE EXECUTION COMPARISON │ ├────────────────────────────────────────────────────────────────────────┤ │ [ Average / Rushed ] --> Film trimmed flush; raw edges catch wind │ │ [ Professional ] --> Film wrapped around hems into inner door gaps│ │ [ Hack Operation ] --> Jagged blade cuts; scored clear coat lines │ └────────────────────────────────────────────────────────────────────────┘
A technician delivering a quality car wrap installation wraps the film around the back of every panel hem, tucking the material neatly into inner body channels.
When you open your doors, hood, or trunk, inspect the inner metal seams:
Tucked Material: The film should extend 1/8 to 1/4 inch around the back edge of the panel, laying completely flat without fingers or lifted tension spots.
Paint Safety: Look for clean, smooth lines trimmed with filament tape rather than jagged hand-cut blade marks. If you suspect an installer scored your underlying finish with razor blades, review our guide on verifying clear coat safety during wrap installations.

2. Smooth Panels Without Distracting Bubbles or Creases
When inspecting broad sheet metal like hoods, roofs, and door faces, the finish should look as flat, deep, and reflective as fresh factory paint.
SURFACE INTEGRITY DIAGNOSTICS [ Acceptable Install Signs ] [ Workmanship Failure Signs ] │ │ • Glass-smooth reflections • Trapped dust nibs under film • Uniform adhesive clarity • Air bubbles near panel centers • Zero squeegee scratch lines • Heavy silvering / micro-creases
Inspect the panels from a 45-degree angle under direct light:
Zero Air Pockets: Quality cast films feature micro air-release channels within the adhesive. A bubble-free car wrap is achieved by glassing the sheet flat and sweeping air out uniformly—never by popping stubborn air pockets with sewing needles, which leaves visible pinholes.
No Trapped Dust: If you run your hand over a flat hood and feel tiny grit bumps, the installer skipped proper paint decontamination.

3. Neat Seams and Well-Placed Vinyl Overlaps
While master installers strive to cover major body panels using continuous 60-inch roll widths, certain massive vehicles or complex bumper contours require hidden seams.
Where two pieces of vinyl meet, the execution dictates whether the seam looks like an intentional factory line or an ugly patch.
┌────────────────────────────────────────────────────────────────────────┐ │ PROFESSIONAL SEAM ALIGNMENT RULES │ ├────────────────────────────────────────────────────────────────────────┤ │ 1. Directional Lap: Top pieces overlap bottom pieces to shed water │ │ 2. Shadow Placement: Seams hide inside factory body crease lines │ │ 3. Tight Tolerance: Overlaps measure a strict 1/8 to 1/4 inch max │ └────────────────────────────────────────────────────────────────────────┘
On a professional car wrap seams job, seams are strategically placed along natural body lines or shadow channels where the eye doesn't naturally focus.
Top sheets always overlap lower sheets so rainwater glides off smoothly without catching on the vinyl lip during highway driving.
4. Careful Work Around Bumpers, Mirrors, Handles, and Curves
Anyone can lay film flat across a wide, flat hood. The real test of a professional car wrapping expert happens around compound curves, recessed fog light pockets, and door handle cups.
HIGH-DIFFICULTY AREA INSPECTION [ Side Mirrors ] ----> Wrapped in a single continuous piece or hidden seam [ Door Handles ] ----> Recesses wrapped deep with zero finger lifting [ Front Bumpers ] ---> Recessed air intakes fed without color bleaching
Check these high-stress zones:
Side Mirrors: The film should conform smoothly over the rounded cap without heavy color fading or wrinkling near the base attachment. If you want to see how installers handle compound shapes without creasing, read our walkthrough on wrapping car side mirrors cleanly.
Door Handle Cups: The vinyl must be fed into deep door handle depressions without over-stretching, preventing premature lifting.

5. Consistent Color and Finish Across Every Panel
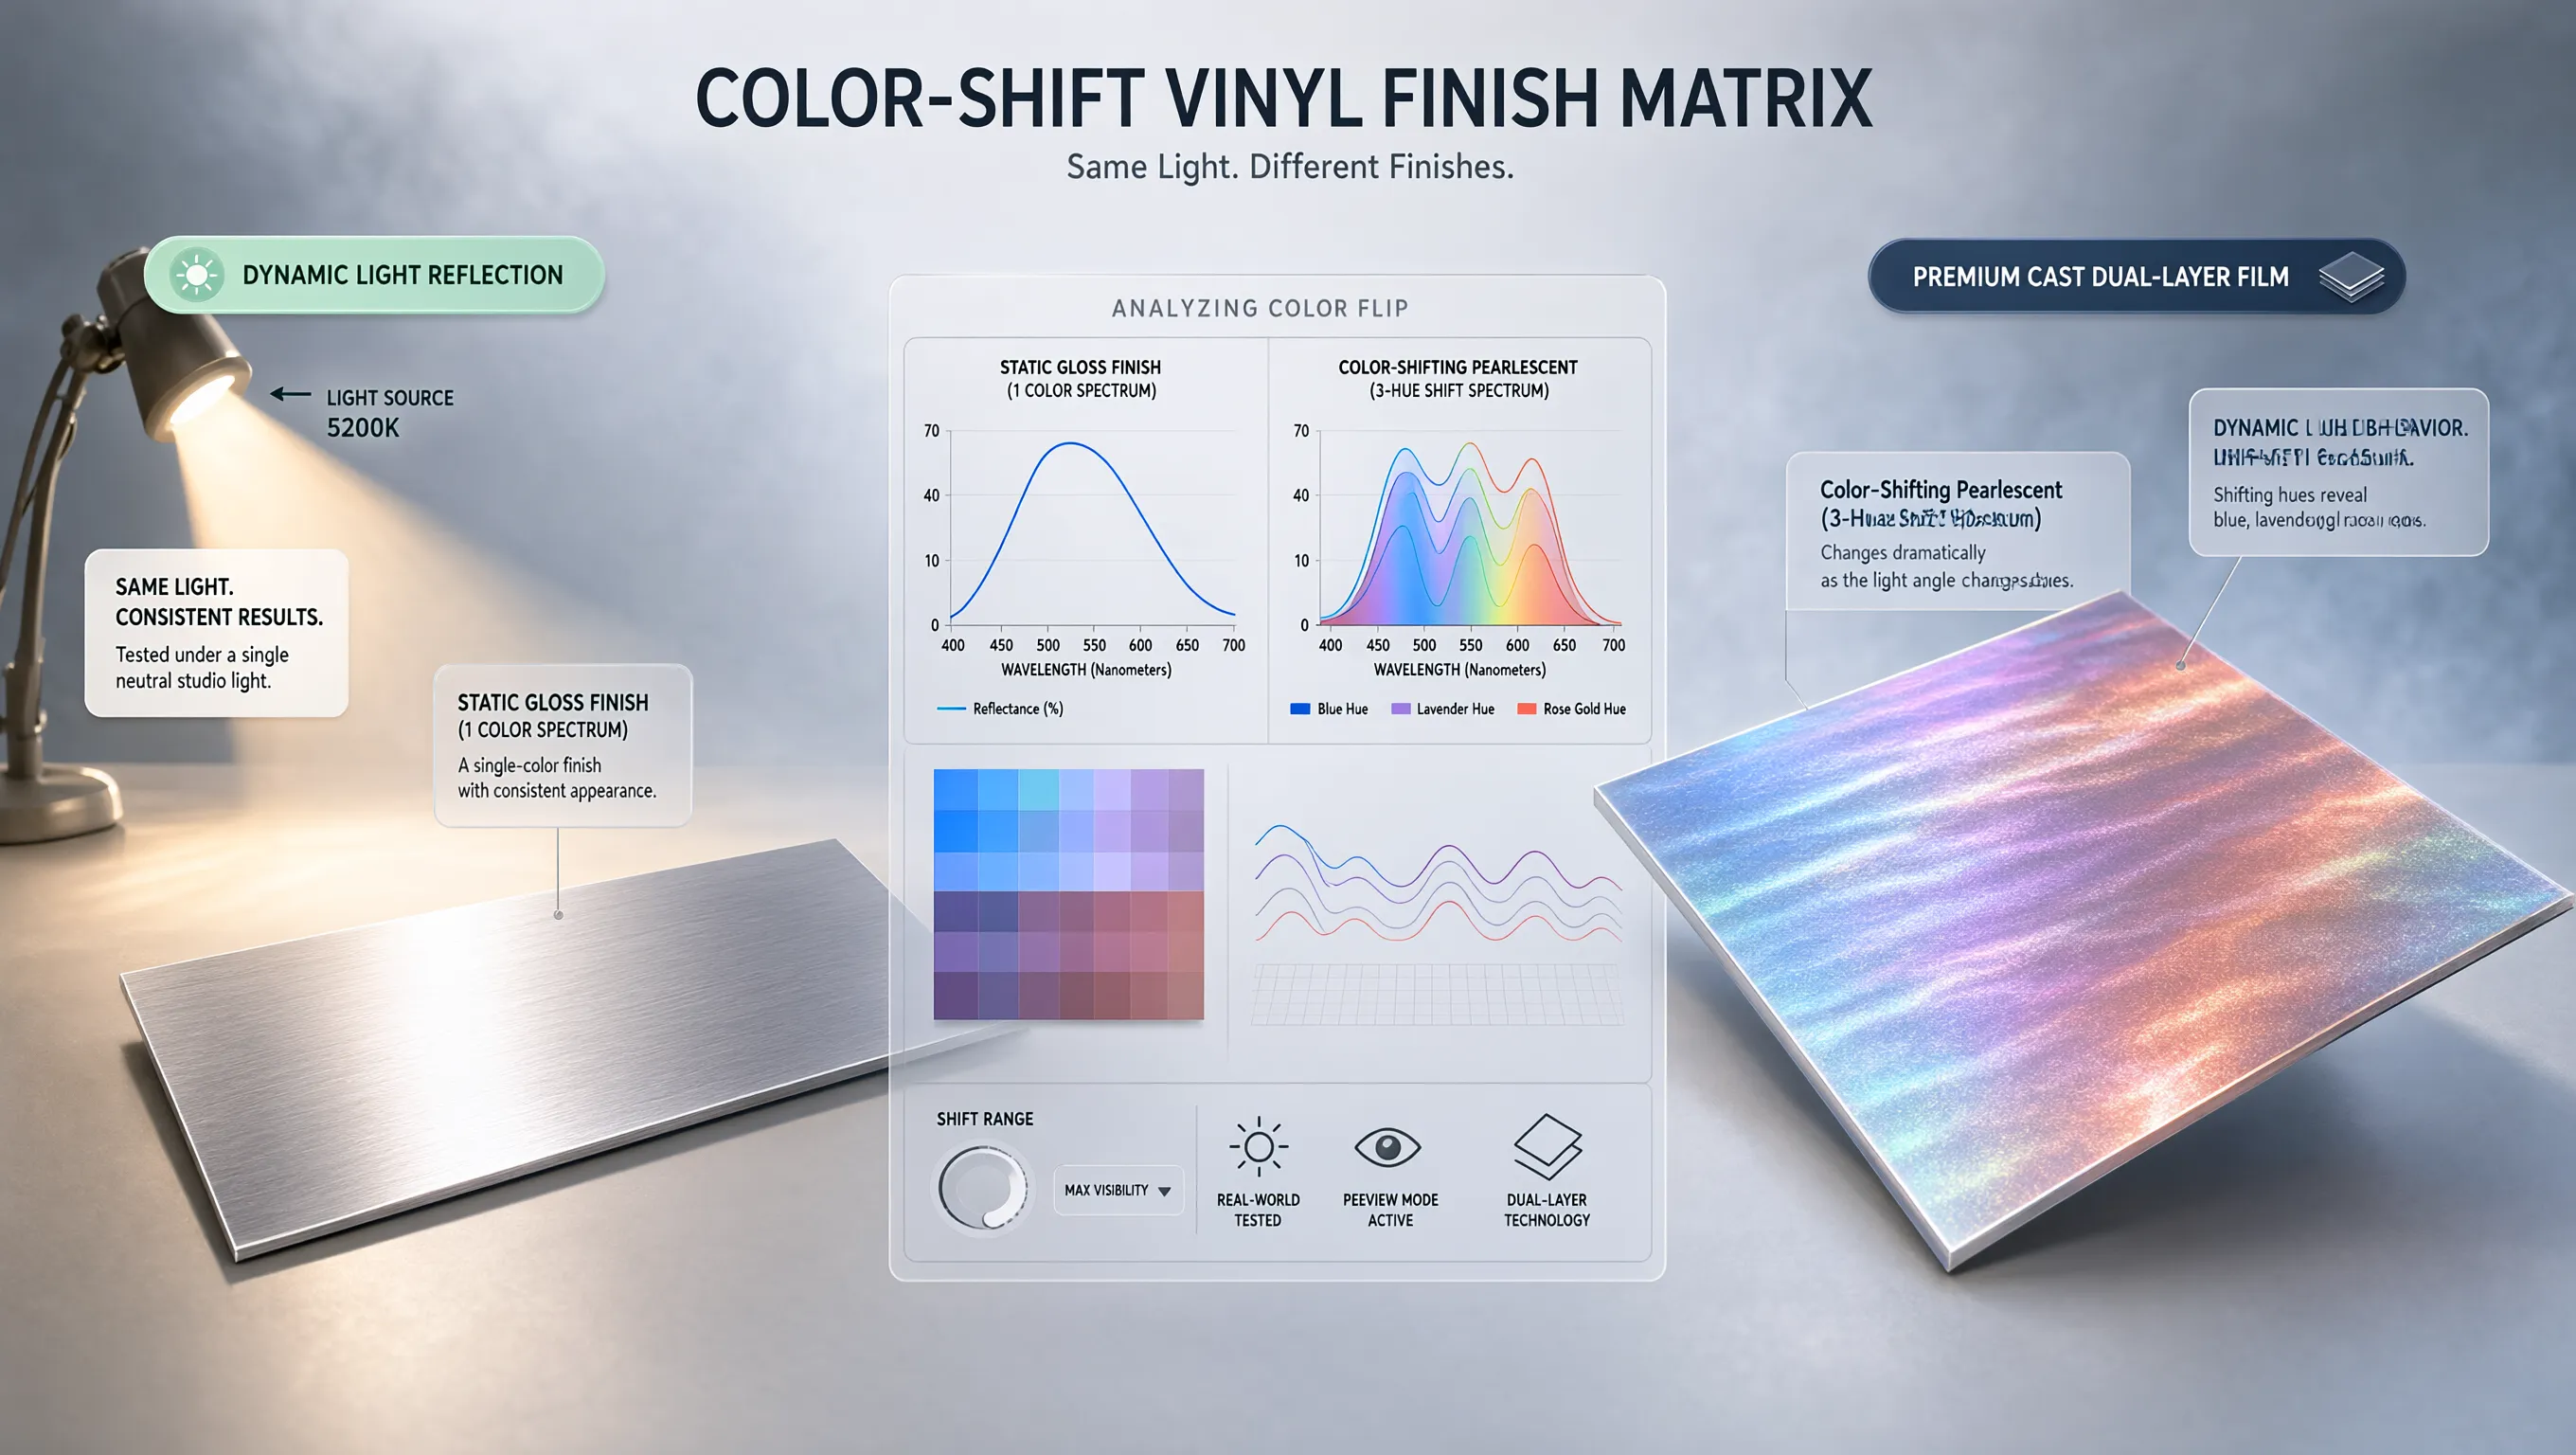
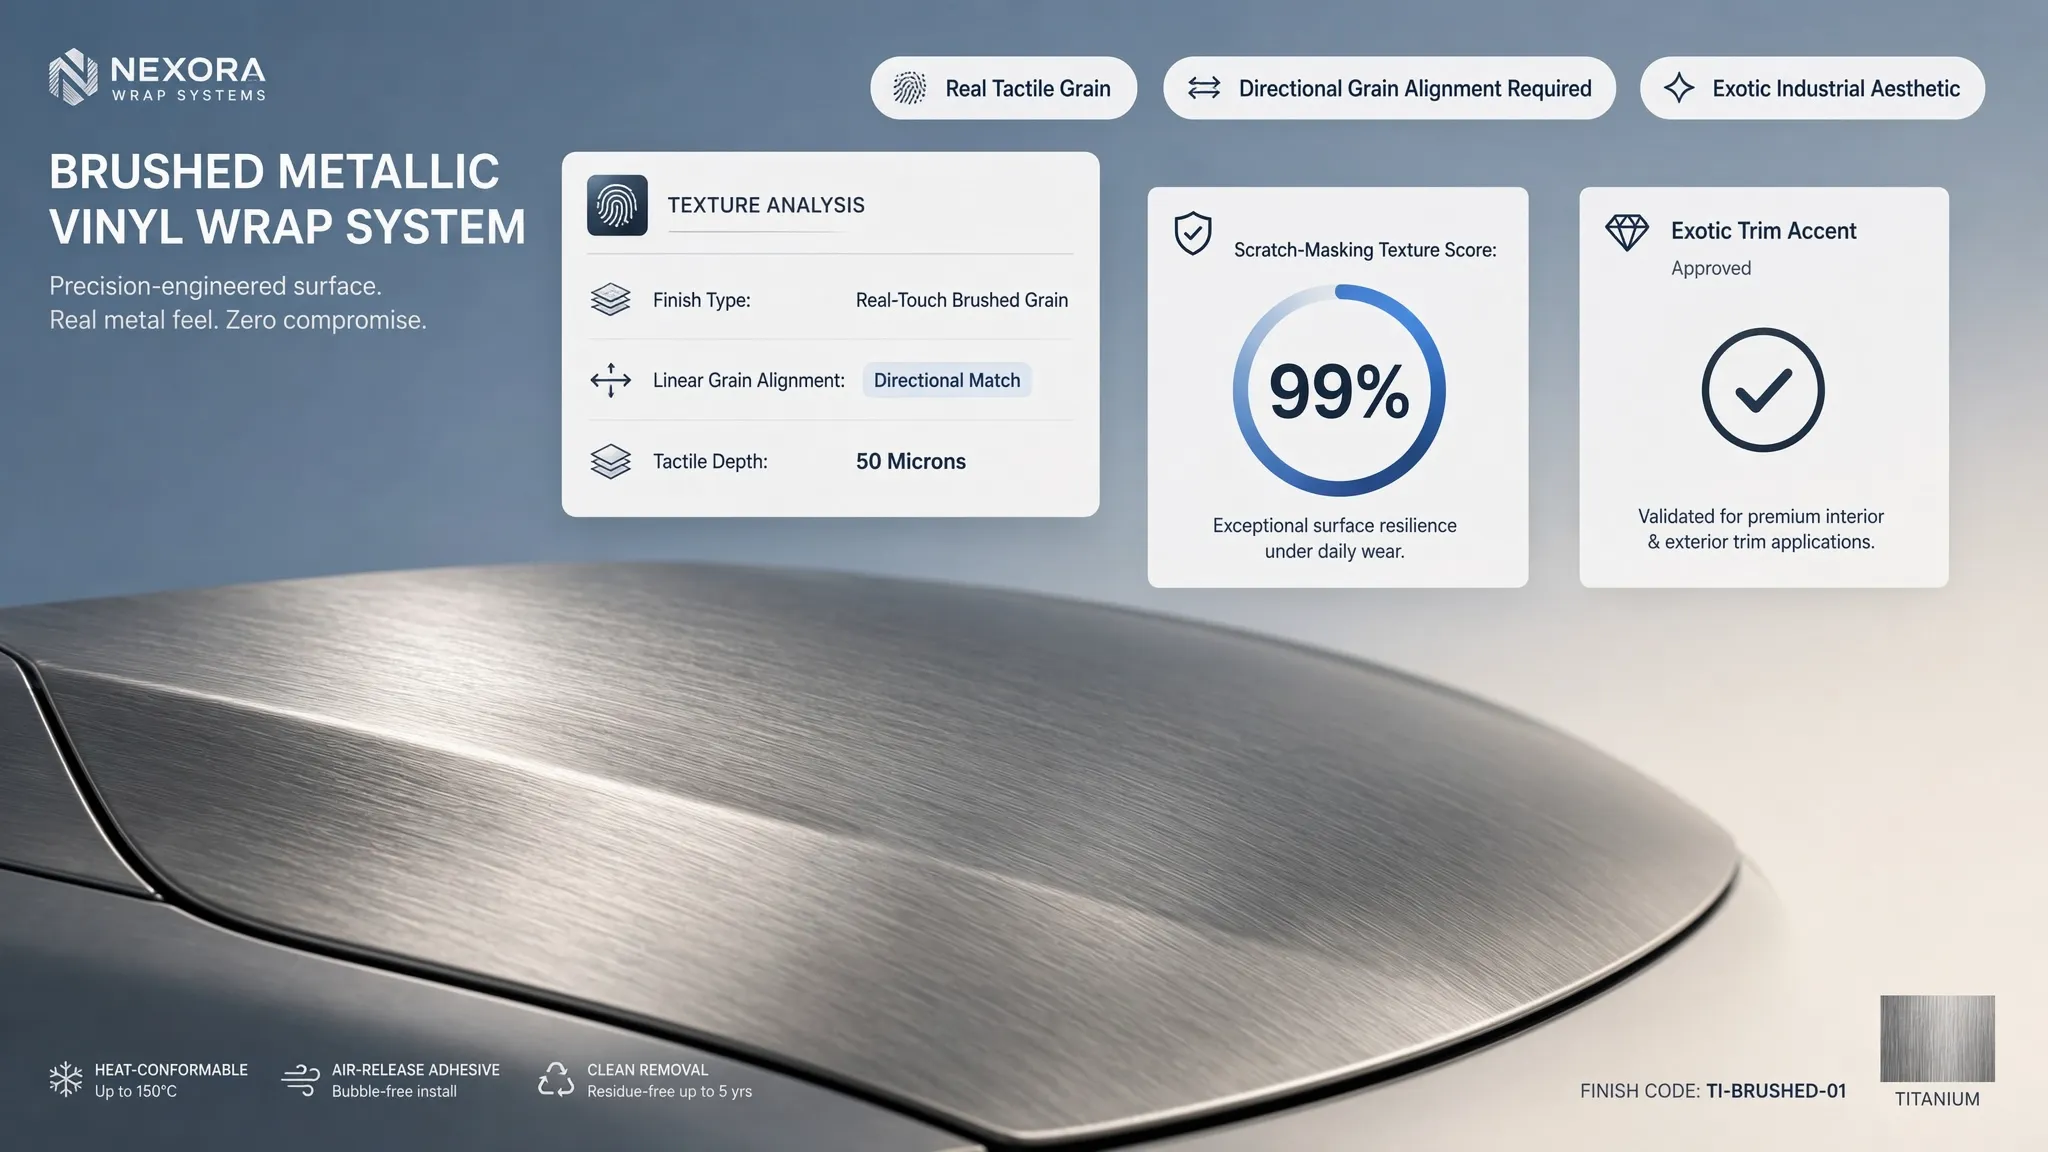
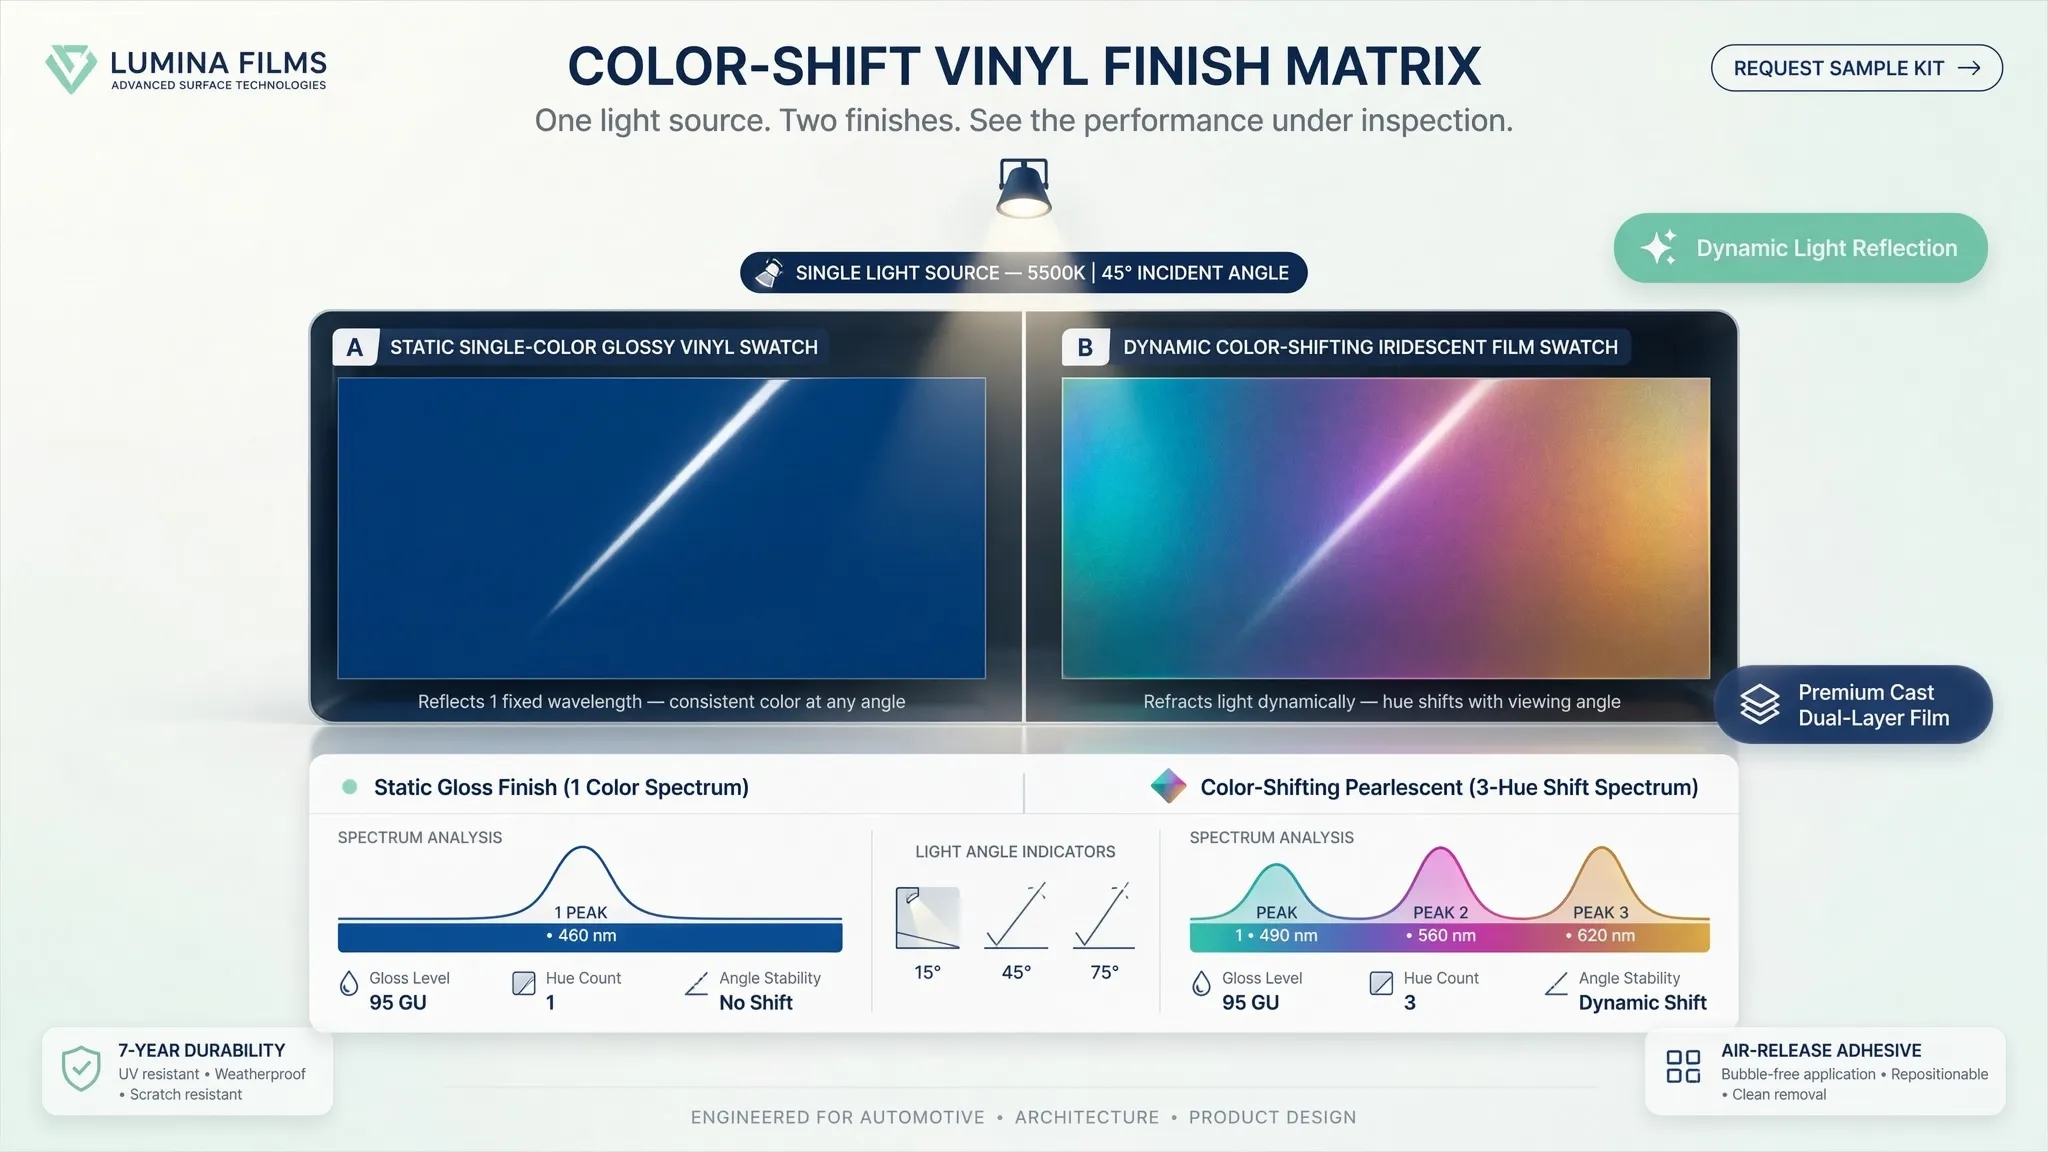
Directional films—especially metallic, satin, and flip shade colors—carry a specific manufacturing grain.
If an installer rotates a piece of film 90 degrees to save roll space on a fender, that panel will reflect light differently under direct sunlight, appearing off-color compared to the adjacent door.
GRAIN ORIENTATION & SHADE CONSISTENCY [ Panel A: Hood ] =========> Rolled Out (0° Grain Alignment) [ Panel B: Fender ] =========> Rolled Out (0° Grain Alignment) --> Uniform Reflection [ Panel C: Door ] ║║║║║║║║║ Rotated (90° Misalignment) --> Color Shift / Mismatch
A professional car wrap finish maintains strict directional grain alignment across every body panel from bumper to bumper. Stand ten feet back in bright daylight and walk a slow circle around the car: metallic flakes should glitter with identical warmth and depth across every panel junction.
6. Trim, Sensors, Lights, and Panel Gaps Are Handled Carefully
A rushed installer simply lays film over factory trim, cutting around parking sensors and emblems with a loose handheld blade. A master technician takes the time to unfasten hardware properly.
┌────────────────────────────────────────────────────────────────────────┐ │ HARDWARE DISASSEMBLY STANDARDS │ ├────────────────────────────────────────────────────────────────────────┤ │ • Emblems & Badges: Removed cleanly & re-applied with factory tape │ │ • Parking Sensors: Wrapped individually so active safety functions work│ │ • Door Trim/Handles: Disassembled so film tucks deep behind gaskets │ └────────────────────────────────────────────────────────────────────────┘
Inspect the small finishing details:
Parking Sensors: Ultrasonic bumper sensors should be wrapped as separate face rings so safety warning systems fire accurately without false alerts.
Body Gaskets: Window trim and rubber weatherstripping should sit flat over tucked film edges rather than showing crushed, pinched rubber lines.
Proper hardware teardown requires extensive shop time. If you want to understand how disassembly impacts labor costs, review our guide on estimating professional wrap installation quotes.
7. The Installer Prepares the Vehicle Before Applying Vinyl
The quality of a wrap is determined long before the vinyl backing paper is peeled off.
Applying film over bare paint that hasn't undergone chemical iron decontamination or clay bar treatment seals road tar, tree sap, and brake dust underneath the adhesive.
THE 5-STAGE DECONTAMINATION PREPARATION PROTOCOL [ Step 1 ] --> High-pressure wash with wax-free degreasing auto shampoo [ Step 2 ] --> Chemical iron fallout spray to melt embedded brake dust [ Step 3 ] --> Physical clay bar treatment across every square inch [ Step 4 ] --> 70% Isopropyl Alcohol (IPA) panel wipe to strip oils [ Step 5 ] --> Deep seam cleaning inside door jambs & wheel arches
Proper car wrap surface preparation ensures the pressure-sensitive acrylic glue bonds directly to clean, bare clear coat.
Skipping these hidden steps results in premature edge curl along fender seams. Learn how complete decontamination preserves wrap life in our step-by-step breakdown on preparing vehicle surfaces before laying vinyl.

8. The Vinyl Follows the Car's Shape Without Looking Stretched or Distorted
Over-heating vinyl while pulling it into deep bumper contours thins out the PVC matrix. This causes noticeable color bleaching (dark colors turning milky or white) and ruins high-gloss reflection depth.
[ Over-Stretched Vinyl ] ---> Thinned PVC ---> Pigment Bleaching ---> Early Edge Lifting [ Controlled Glassing ] ---> Uniform PVC --> Deep Factory Color --> Permanent Adhesion
Signs of controlled, professional car wrap technique:
Color Uniformity: Deep metallic or dark pigments maintain consistent shade saturation even inside narrow bumper air intakes.
Zero Orange Peel Distortion: High-gloss finishes retain their smooth, mirror-like clarity without stretched, cloudy distortion along panel curves.
To see how proper heating technique prevents over-stretching during installation, read our guide on using a heat gun on car wraps safely.
9. The Installer Explains Aftercare, Limitations, and Warranty Coverage
A reputable car wrap installation service doesn't just hand you the keys and point you toward the exit. They walk you through aftercare protocols, hand wash procedures, and warranty terms.
┌────────────────────────────────────────────────────────────────────────┐ │ POST-INSTALLATION CARE PROTOCOL │ ├────────────────────────────────────────────────────────────────────────┤ │ • Hand Wash Only: Avoid automated brush car washes │ │ • Pressure Washer Limits: Keep nozzle 12+ inches back from seams │ │ • Sun Exposure: Limit continuous outdoor parking in high heat │ └────────────────────────────────────────────────────────────────────────┘
A shop delivering a true professional vehicle wrapping experience provides:
Written Warranty Documentation: Clear distinction between the 3M or Avery material warranty and the shop's personal car wrap installation warranty covering labor defects.
Aftercare Instructions: Specific guidance on safe wash soaps, ceramic toppers, and pressure washing distance limits.
10. What a Professional Installer Should Show You Before Handover
Before signing your final receipt or driving away from a car wrap shop, insistence on a joint walk-around inspection under bright shop lighting is essential.
PRE-HANDOVER WALK-AROUND CHECKLIST [ ] Check all outer panel corner tucks & door seam hems [ ] Verify parking sensors and camera lenses are clear [ ] Test power door handles, mirrors, and trunk latches [ ] Confirm no raw factory paint is visible along panel gaps [ ] Inspect macro close-ups of front bumper intake channels
During this walk-around, a confident professional car wrap installer will point out complex recessed areas, explain how seams were planned, and invite you to inspect the edges up close.

11. How to Use These Signs to Choose the Right Installer Upfront
Knowing how to spot quality work after an install is helpful, but using these indicators before booking your vehicle saves time and stress.
When touring prospective shops or requesting a car wrap installation quote, ask these four direct questions:
"Do you use Knifeless Tape for all panel trimming, or do blades touch the paint?"
"Will you be disassembling door handles, emblems, and lights for this installation?"
"What is your exact panel decontamination and prep routine?"
"Does your quote include a free 14-day post-install checkup appointment?"
A premier professional vinyl wrap service or top-tier best car wrap installer near me will answer these questions clearly and show you in-progress vehicles on their shop floor matching those exact standards.
12. Simulate Your Wrap Vision Before Booking Shop Time
Once you know how to identify top-tier shop craftsmanship and find a local installer you trust, you want to enter your initial consultation with clear design goals.
Handing a technician vague color ideas leads to miscommunication and wrong roll orders.
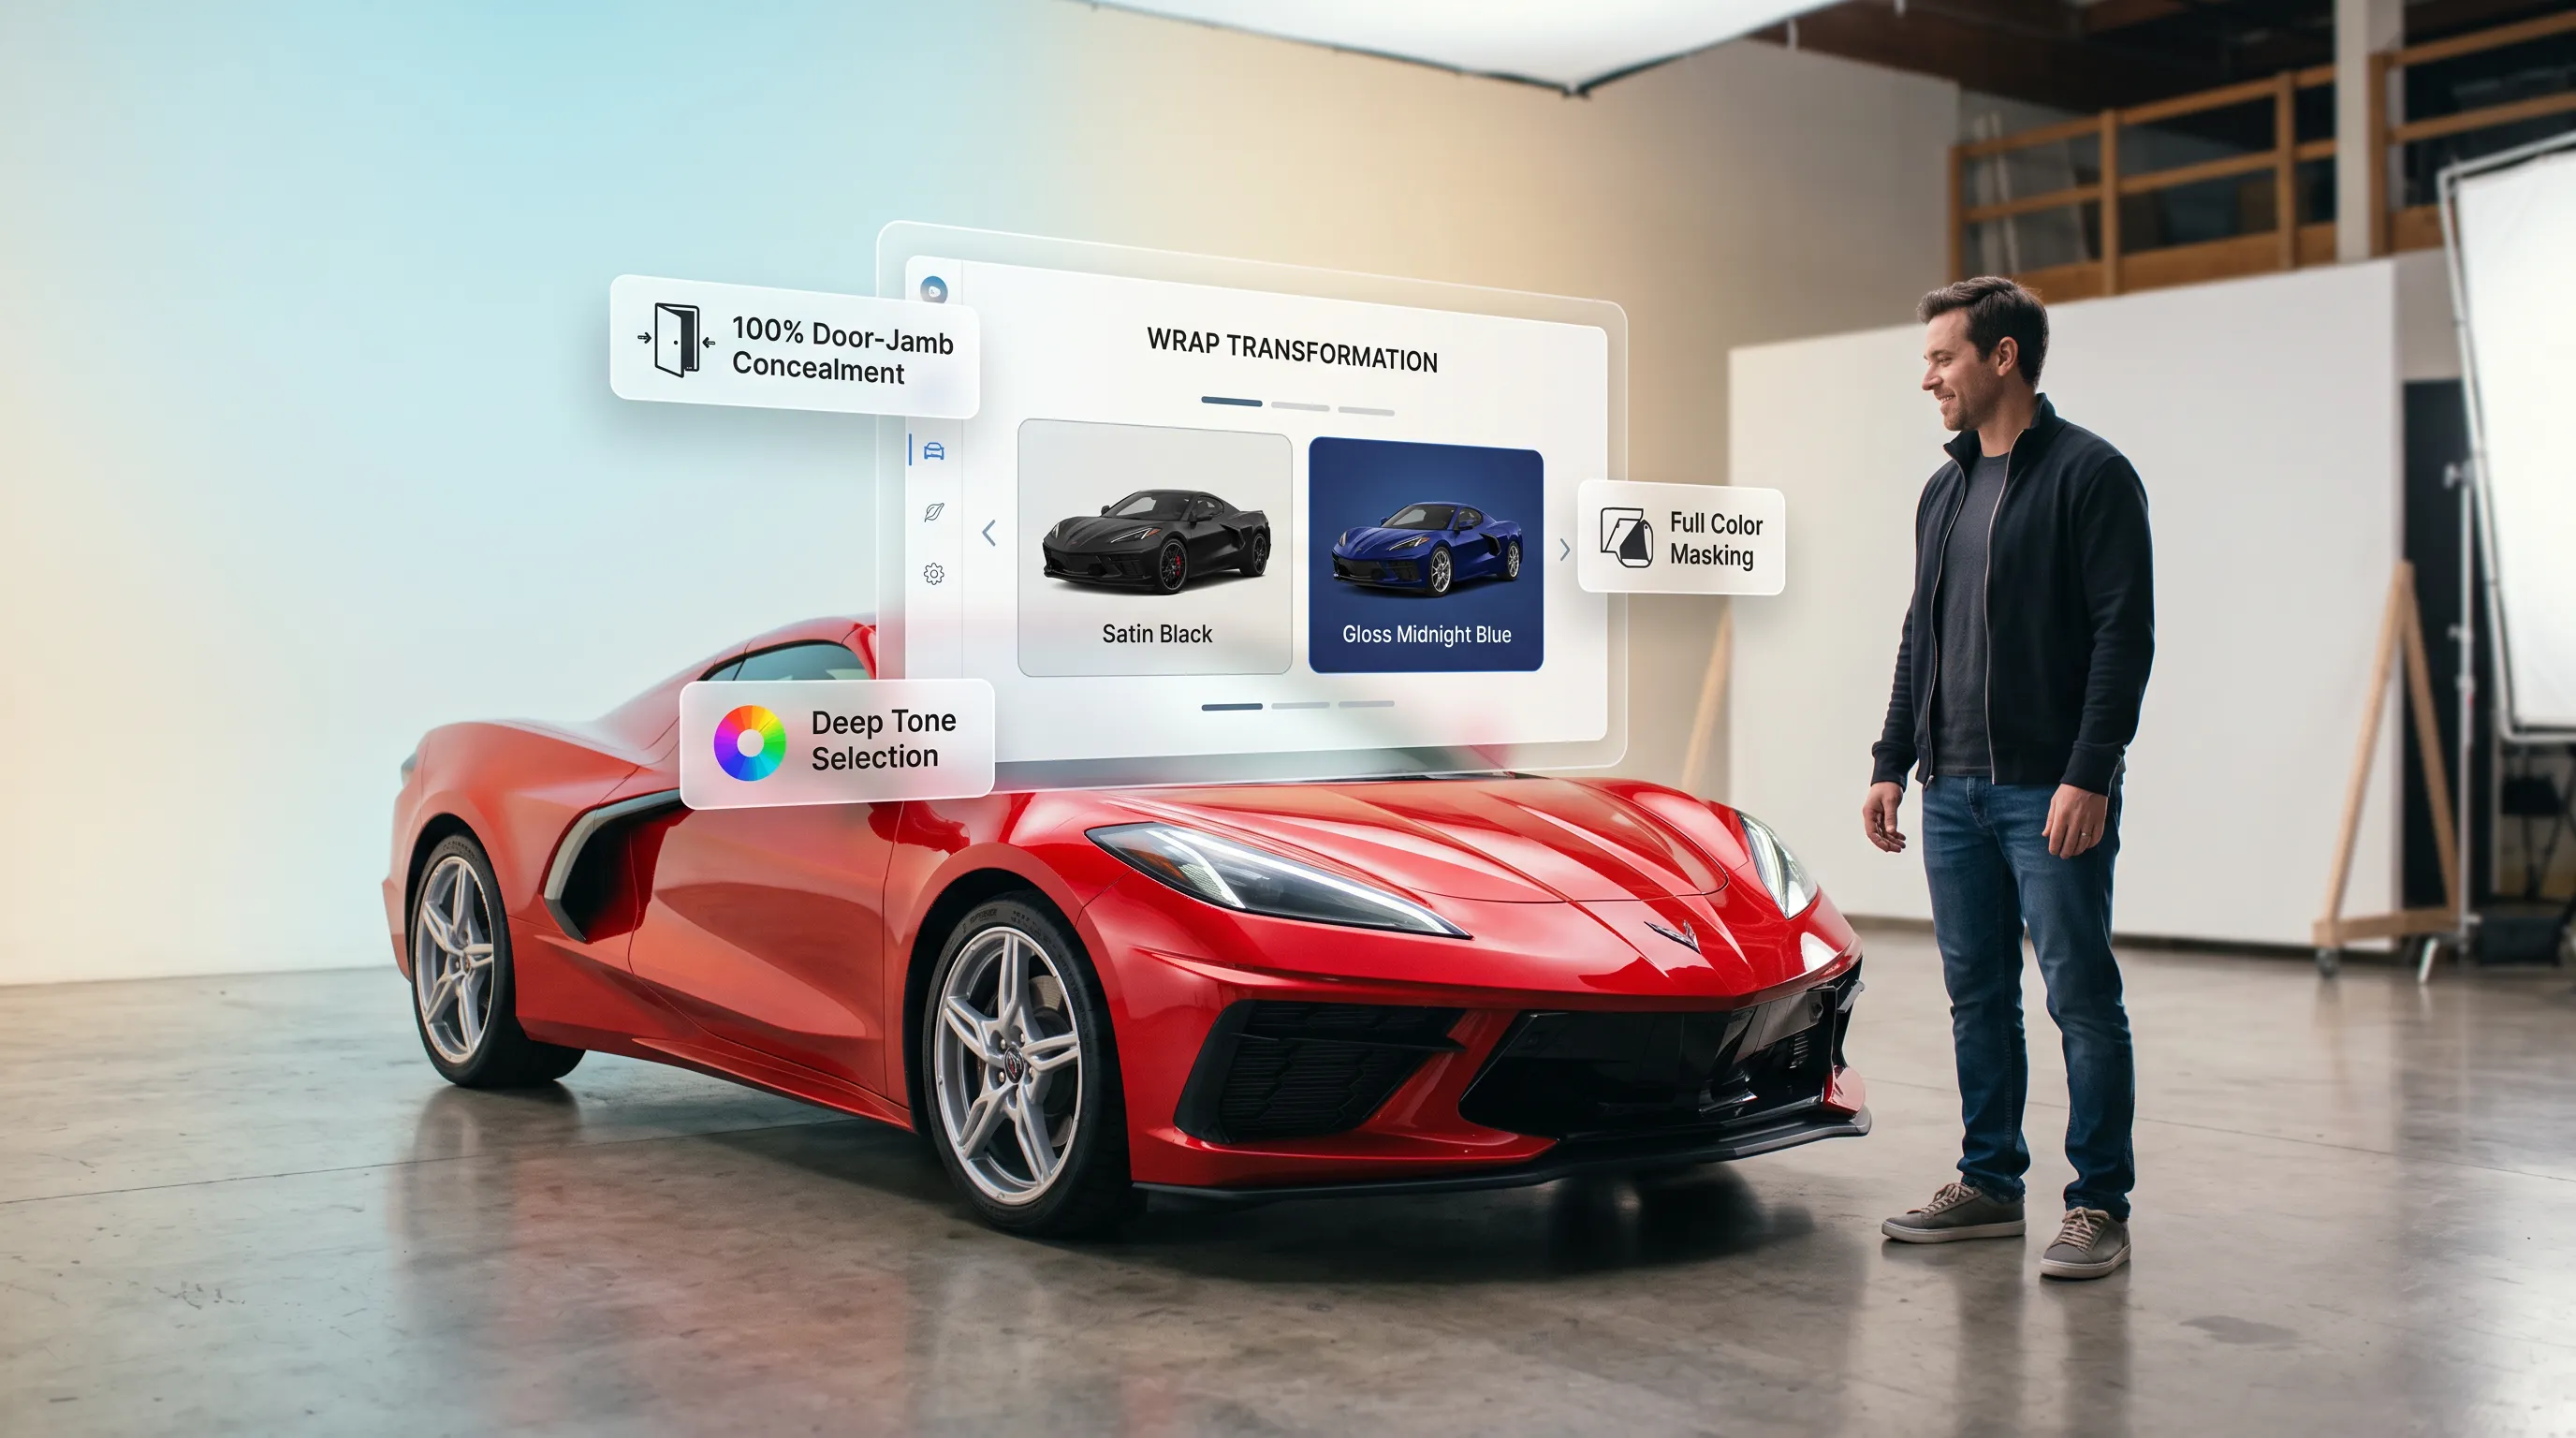
Testing different shades, gloss levels, and satin sheens across your vehicle's lines beforehand removes the guesswork.
Experiment with custom colors, test contrasting roof accents, and view high-gloss vs. satin sheens on your exact make and model. Check out our interactive vehicle wrap design tool to map out your aesthetic concept before booking your installation appointment.

FAQs: Signs of a Professional Car Wrap Installation
1. When I pick up my wrapped car, what is the very first detail I should inspect?
Step directly up to the front bumper and look into the deepest air intake pockets and mirror bases. Amateur installations show thinned, faded, or milky color streaks in deep channels because the vinyl was over-stretched under heat. A professional job maintains rich, uniform color saturation across every deep curve, with film fed naturally into channels rather than bridge-stretched across openings.
2. Should I be able to see any of my original car paint once the wrap is finished?
No raw factory paint should be visible along outer panel faces, door gaps, or headlight seams when the doors are closed. Master technicians tuck the film 1/8 to 1/4 inch around the back of every panel hem, wrapping deep into inner door jambs and fender channels so the car looks completely transformed from every exterior angle.
3. Are tiny air bubbles or surface bumps normal on a newly wrapped vehicle?
While micro air pockets smaller than a pinhead occasionally settle and vanish after a week of outdoor sun exposure, large squishy bubbles or hard, gritty bumps are red flags. Hard bumps mean the technician skipped proper chemical iron decontamination and clay bar prep, sealing road grit permanently underneath the vinyl layer.
4. How can I tell if the installer used razor blades directly on my car's paint?
Examine the panel seams around taillights and door gaps under bright light. If you see jagged, uneven vinyl edges or faint score marks in the clear coat along panel lines, the installer trimmed the film freehand with a utility knife. Professional shops use Knifeless Tape—a specialized filament string laid down before wrapping—to snap crisp, razor-free edges without ever touching a metal blade to your clear coat.
5. What should seams look like if a panel required two separate pieces of vinyl?
Seams should be almost invisible to the casual observer. Elite installers conceal necessary seams along natural body crease lines or shadow channels, ensuring the top sheet of vinyl always overlaps the lower sheet. This shingle alignment prevents highway wind and rainwater from catching the edge of the film over time.
6. How should wrapped parking sensors and door handles look?
Door handles, emblems, and taillights should sit flush and function smoothly, which happens when the shop takes the time to unfasten body hardware before laying film. Bumper parking sensors should be wrapped individually with separate vinyl rings rather than covered over with a single sheet of film, ensuring your car’s active driver-assist systems operate without false alarms.
7. Why does one side of my metallic wrap look slightly different in the sun?
If a metallic or satin panel reflects light at a different shade than the panel right next to it, the installer accidentally rotated the vinyl roll 90 degrees during layout. Metallic and directional films have a strict manufacturing grain; a high-end installation aligns that directional grain uniformly across every single panel from front bumper to rear quarter.
8. What do clean, professionally wrapped corners look like on doors and hoods?
Look closely at the tightest 90-degree corners at the top edges of your doors and hood tips. A professional technician executes a flat, rounded corner fold with zero excess material. If you see bunched-up, thick plastic knots or jagged, overlapping fingers of vinyl tucked behind the panel, the corner was rushed and is prone to lifting in heat.
9. Should the vinyl look smooth like paint, or does it have a rough texture?
A quality cast vinyl installation mirrors the smooth depth of factory paint. While some slight "orange peel" texture is natural on certain gloss films, heavy distortion, cloudy patches, or deep squeegee scratch lines mean the installer used excessive force or improper tools during the glassing pass.
10. How can I check if the installer properly post-heated the vinyl?
While you can't see heat directly, you can check high-stress areas like bumper recesses, wheel arch hems, and side mirror cups 10 to 14 days after installation. If the edges remain 100% flat without curling backward or forming raised "fingers," the installer successfully post-heated those stretched zones to 195°F–200°F to neutralize the vinyl's physical shape memory.
11. What paperwork or handover details should a top-tier wrap shop provide?
A professional shop conducts a joint walk-around inspection with you under shop lights before asking for final payment. They will provide a written warranty detailing both the material manufacturer coverage and their in-house labor guarantee, along with explicit aftercare instructions covering safe wash soaps, pressure washing distance limits, and curing times.
12. What is the difference between a shop that offers a free 14-day checkup and one that doesn't?
Top-tier installation centers schedule a mandatory, complimentary 14-day post-install inspection checkup. Because vinyl undergoes an initial thermal expansion cycle when exposed to outdoor sun heat, professional shops expect to inspect all panel edges, adjust any tiny tension spots early, and verify that the installation has cured perfectly for long-term durability.