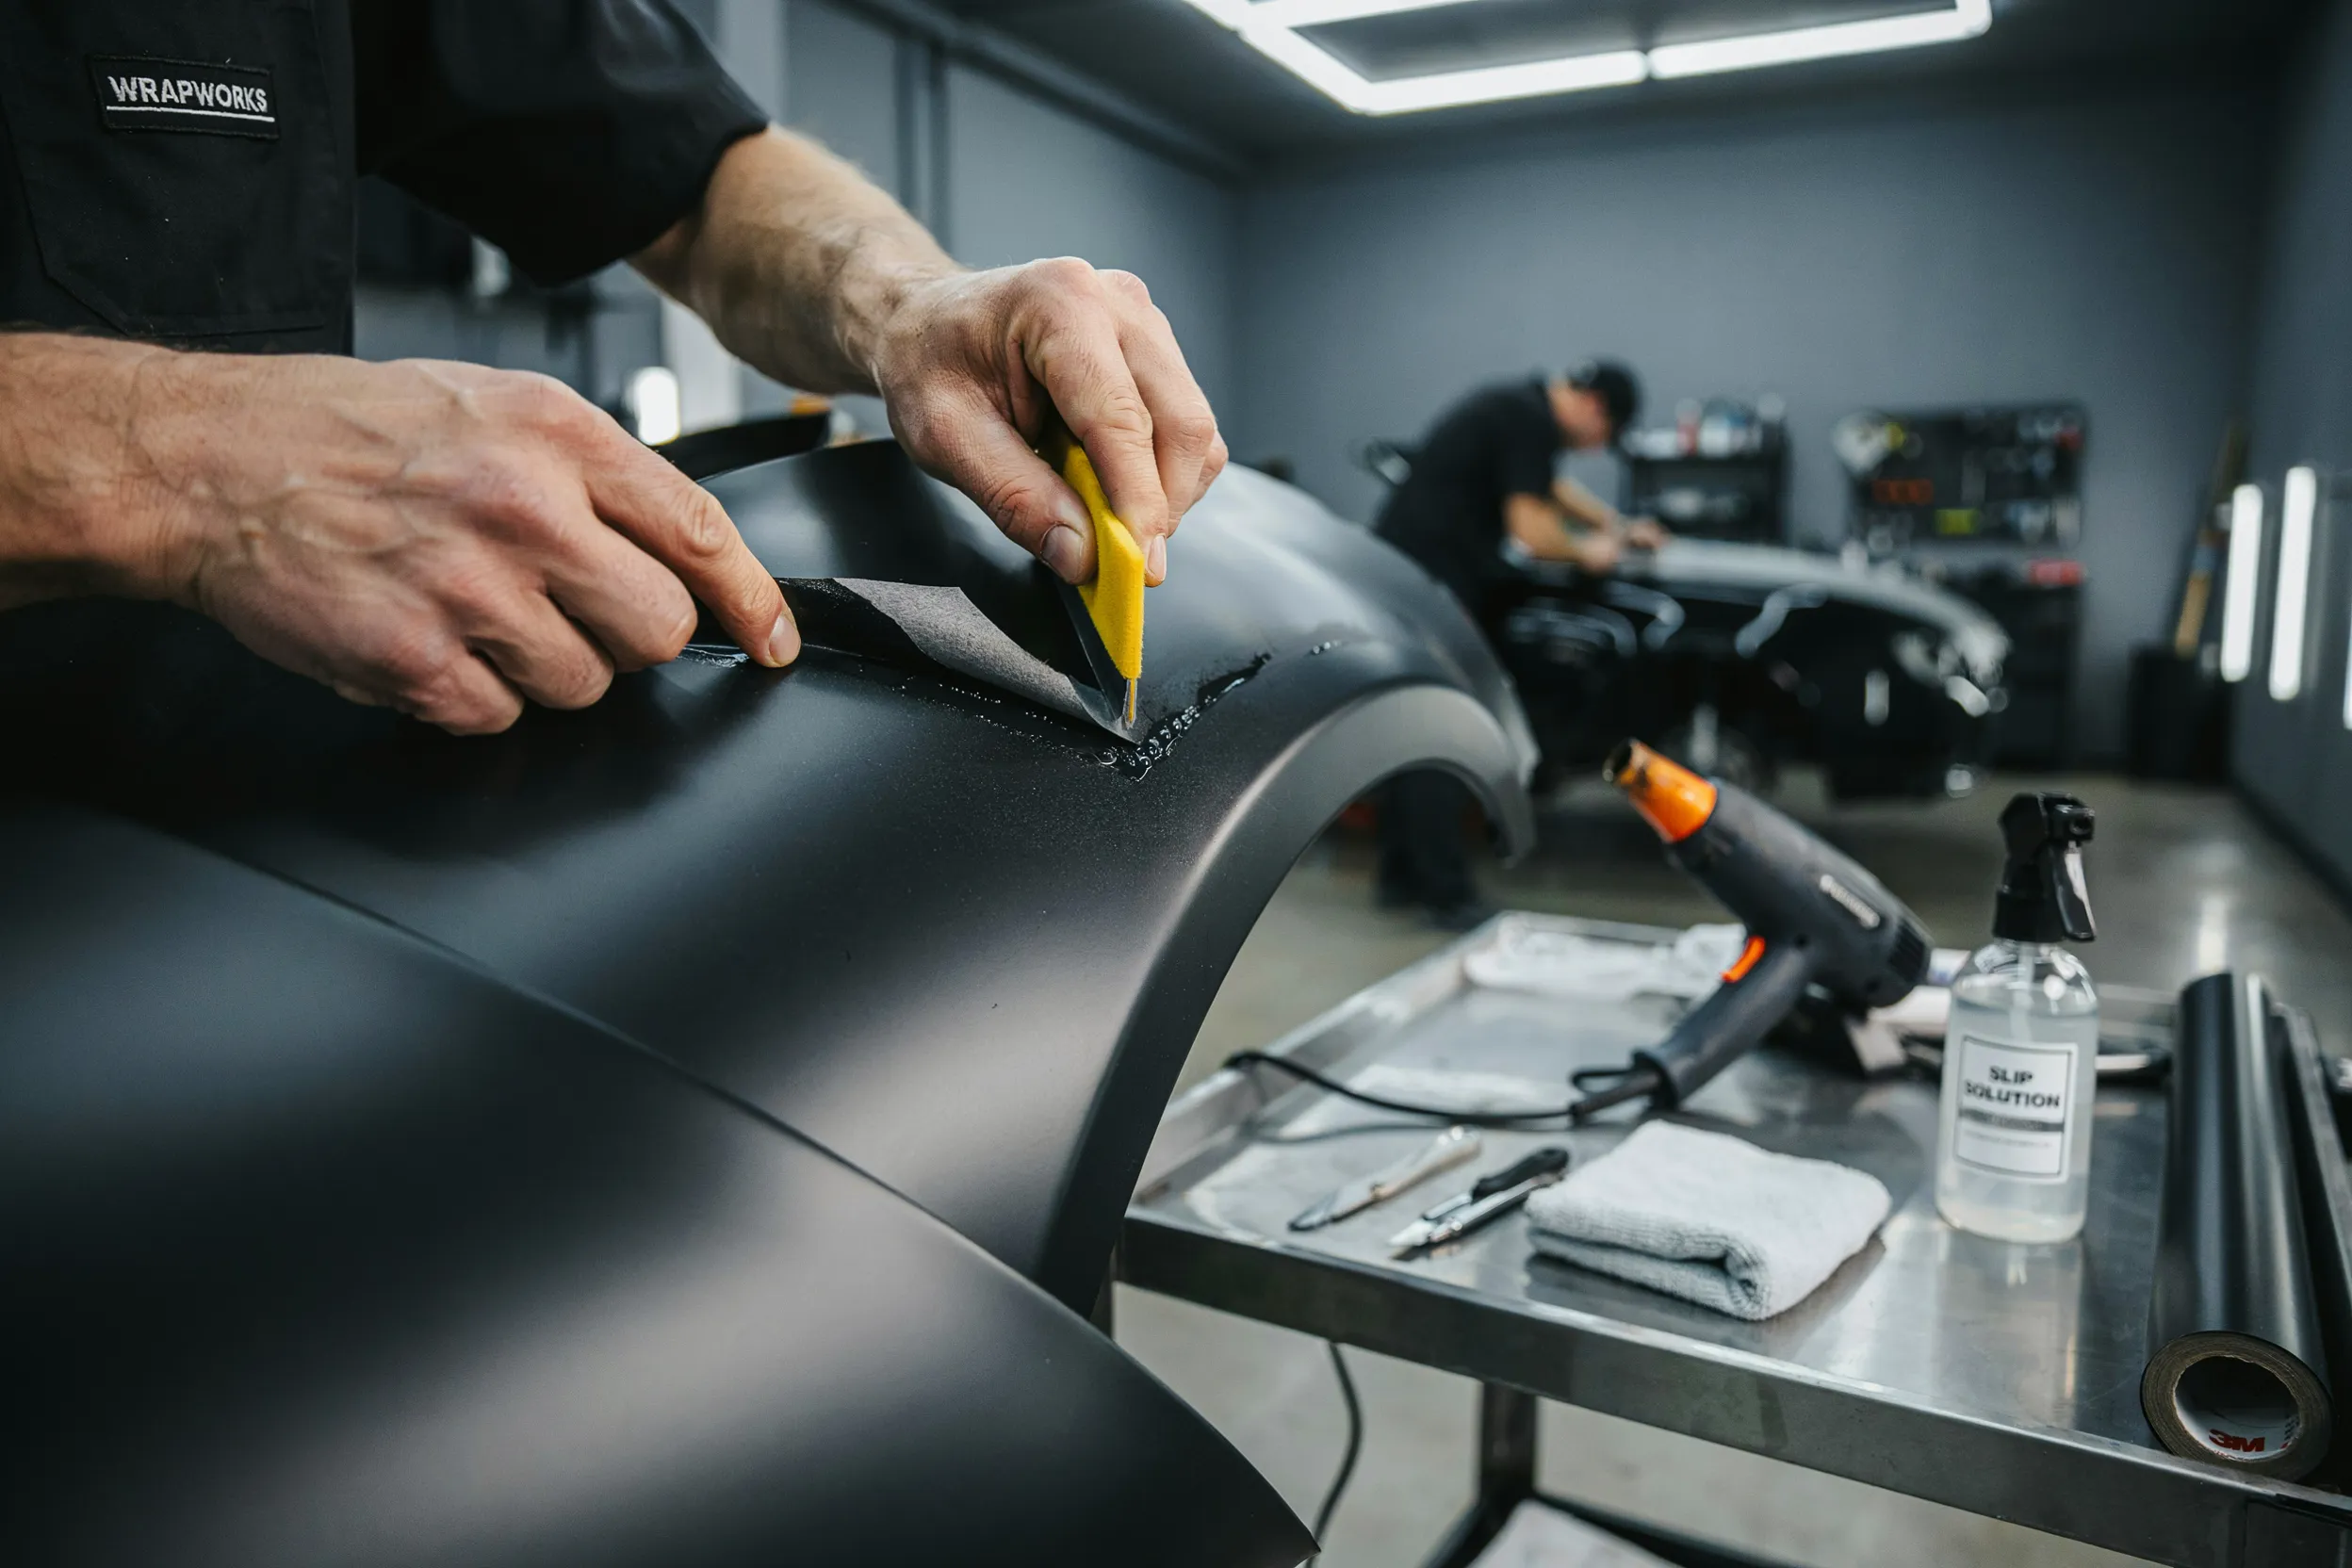

You walk up to your car, and there it is—a fresh scratch, a lifted seam, or a tear across the fender. Your heart sinks. Your immediate thought is: "Can I repair this myself, or am I going to have to shell out hundreds of dollars to re-wrap the whole panel?"Here is the quick truth: Yes, many types of vinyl wrap damage can be repaired without replacing the entire wrap. Minor cuts, peeling edges, small tears, and isolated air bubbles can often be stabilized, fixed, or patched right in your driveway. However, if the damage is widespread, heavily contaminated, or deeply torn, replacing that specific section will yield a much cleaner, longer-lasting result.Below is your complete guide to identifying the damage, deciding whether to fix or replace it, and executing a seamless repair step by step.

First, Identify What Damaged Your Vinyl Wrap
Before grabbing a heat gun or peeling back film, you need to diagnose exactly what you are dealing with. Treating a cut like a simple scratch—or heating a contaminated lifting edge—will only make the problem worse.Group your damage into one of these distinct categories:
| Damage Type | Visual Signs | Primary Cause | Repairability |
|---|---|---|---|
| Surface Scratch | Light white marks or dull lines; film remains intact | Scrapes, automated car washes, minor abrasion | High (Heat self-healing or light polish) |
| Small Cut / Puncture | Clean break or tiny hole through to the paint below | Flying road debris, sharp stone chips | High (Needs stabilization or micro-patch) |
| Peeling / Lifted Edge | Film pulling away along panel seams, door jams, or wheel wells | Low surface tack, improper post-heating, dirt intrusion | Moderate (Requires cleaning & re-adhering) |
| Bubbles & Wrinkles | Raised air pockets or soft ripples on flat panels | Trapped air, improper squeegee technique, outgassing | Moderate (Air release pinhole or relief cut) |
| Tear or Deep Rip | Jagged, pulled, or jaggedly split material | Minor scrapes, door dings, high-stress stretching | Low to Moderate (Patch vs. panel re-wrap) |
| Stretched / Discolored Vinyl | Pale spots, white stress marks, or thin spots | Overstretching during initial installation | Low (Permanent structural deformation) |

Can a Small Cut in Vinyl Wrap Be Repaired?
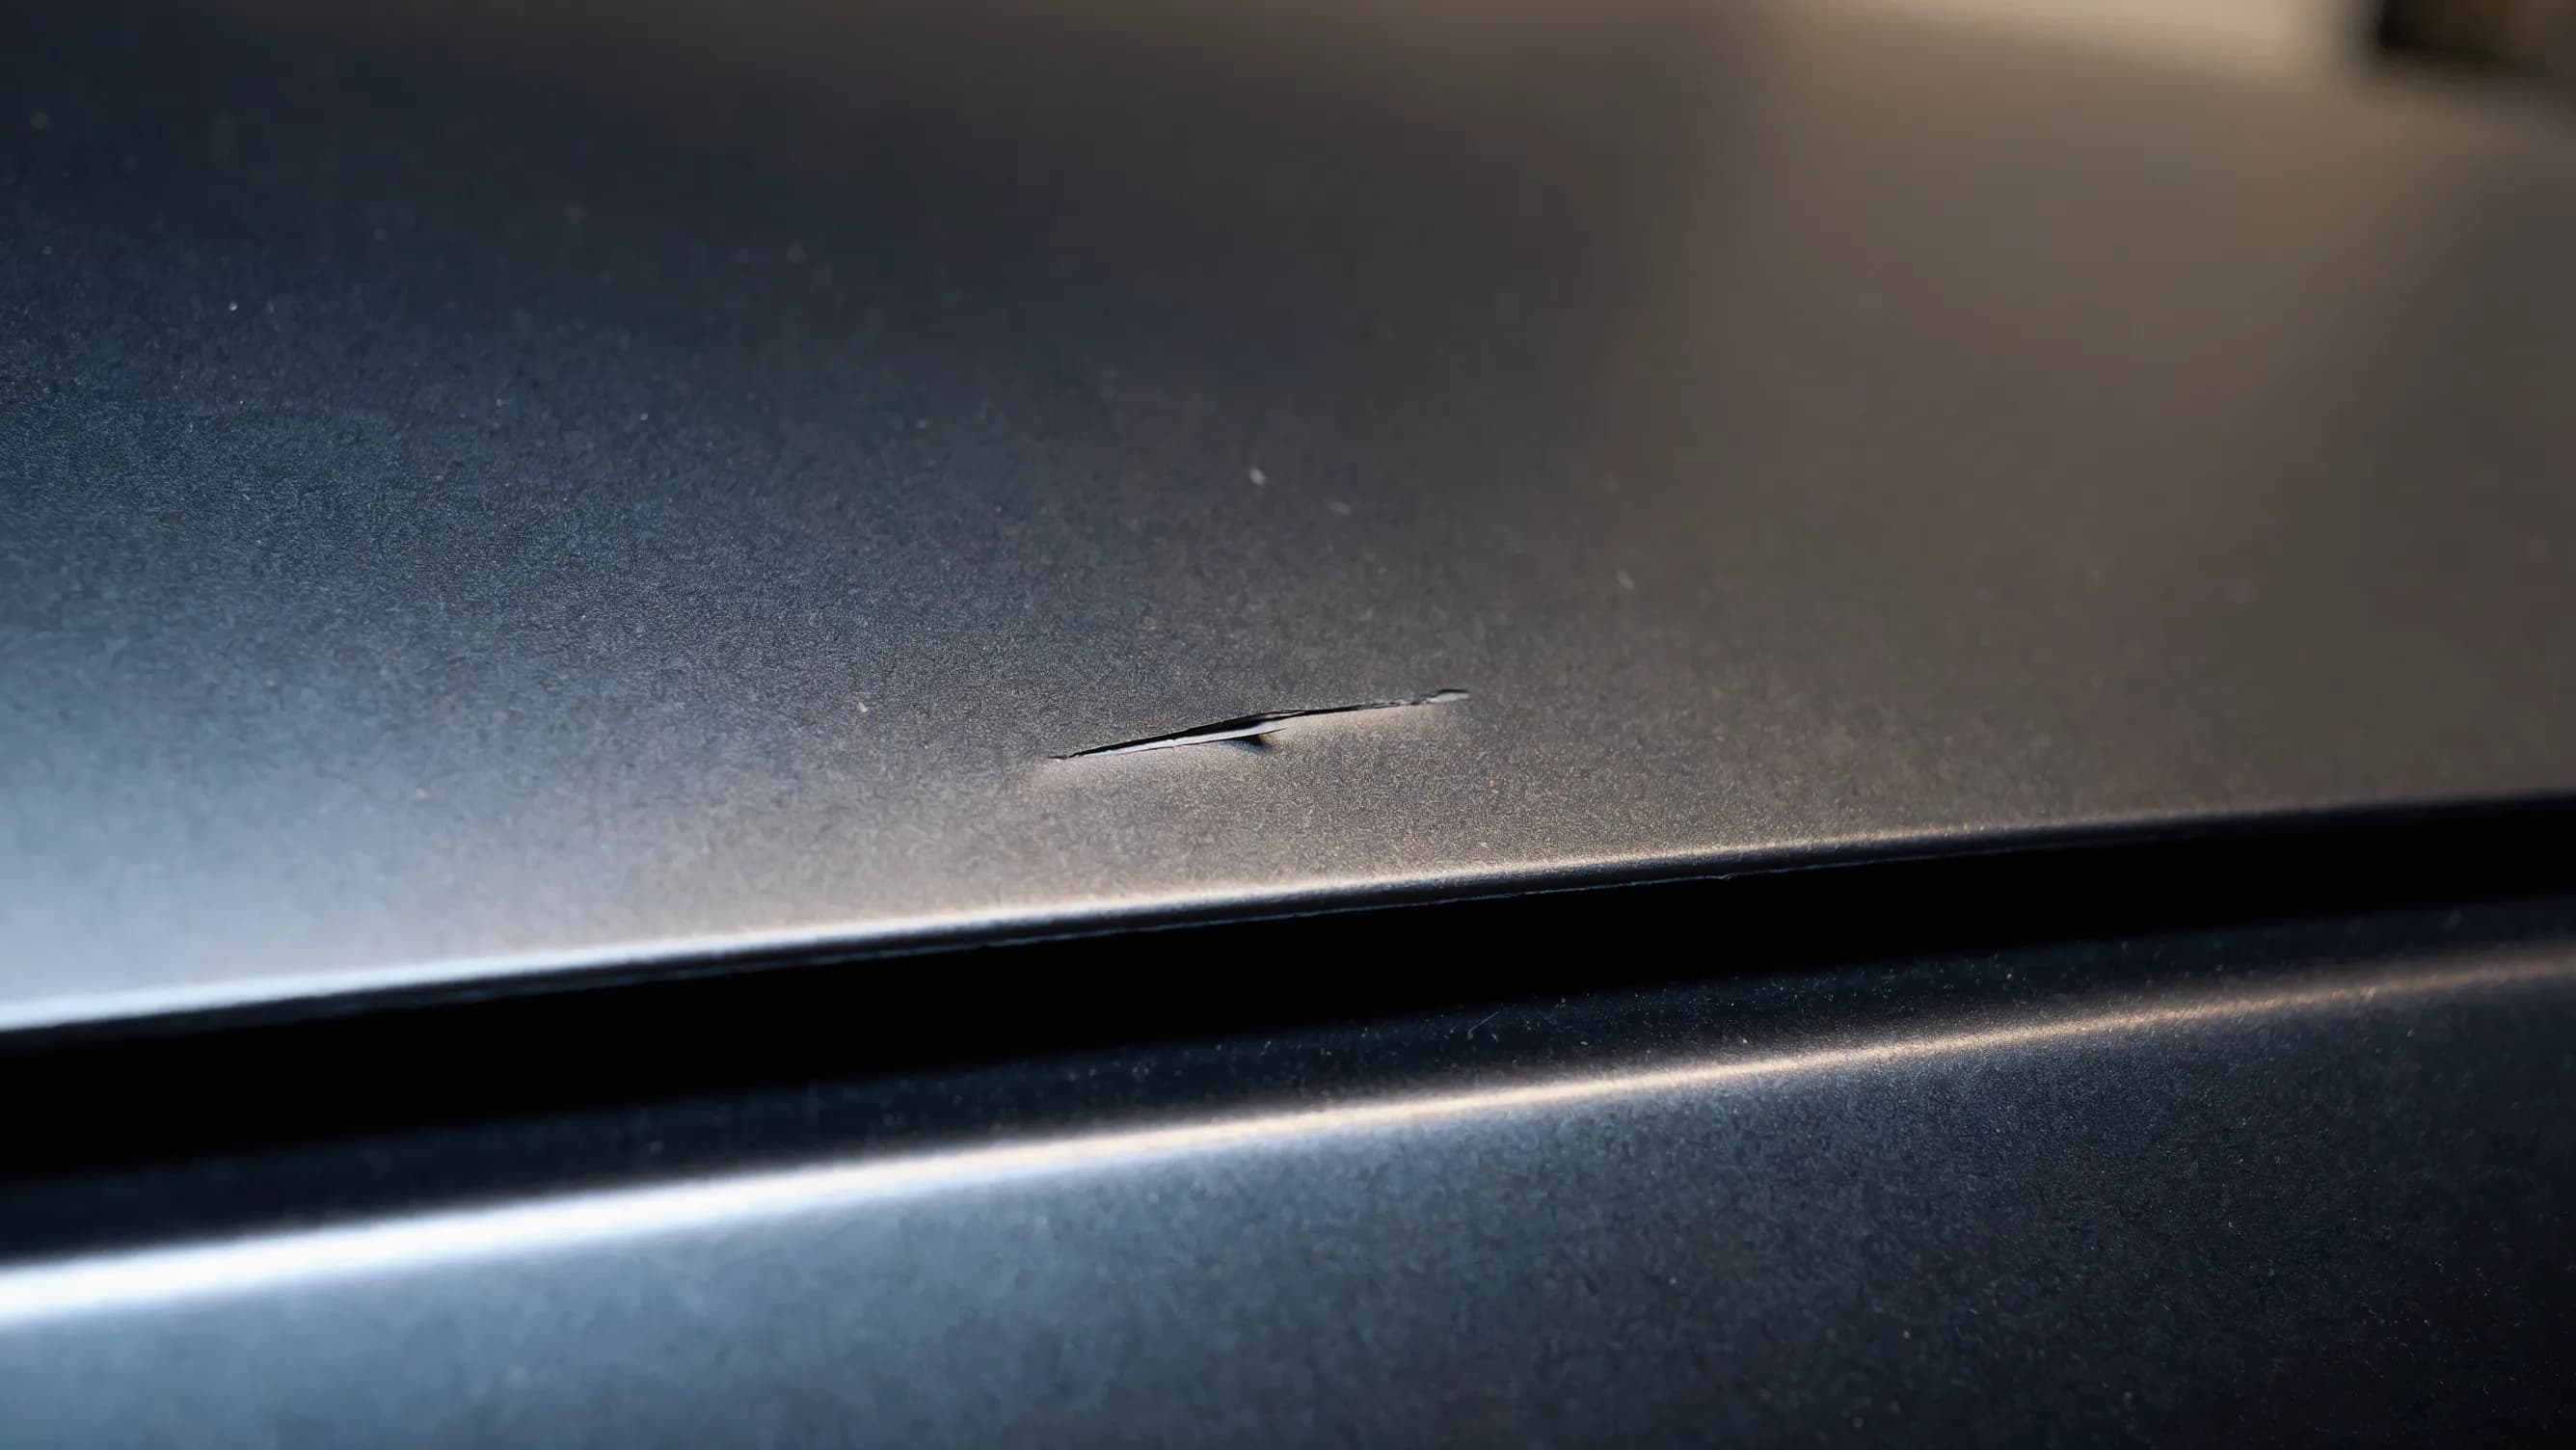
A small cut or stone puncture looks terrifying, but it rarely requires stripping an entire panel. Your main goal here isn't just cosmetic—it's preventing water, road salt, and air from getting underneath the cut and lifting the surrounding material.When to repair it:The cut is smaller than 1 inch.The edges of the cut sit flat against the paint.The factory paint beneath the cut is clean and undamaged.How to handle it:If the cut is tiny and clean, you can stabilize the perimeter with a drop of clear edge sealant or apply a micro-patch. However, if the cut has frayed edges or dirt has crept underneath the opening, replacing the vinyl strip or panel section will give you a far cleaner finish.
How to Repair a Peeling Vinyl Wrap Edge
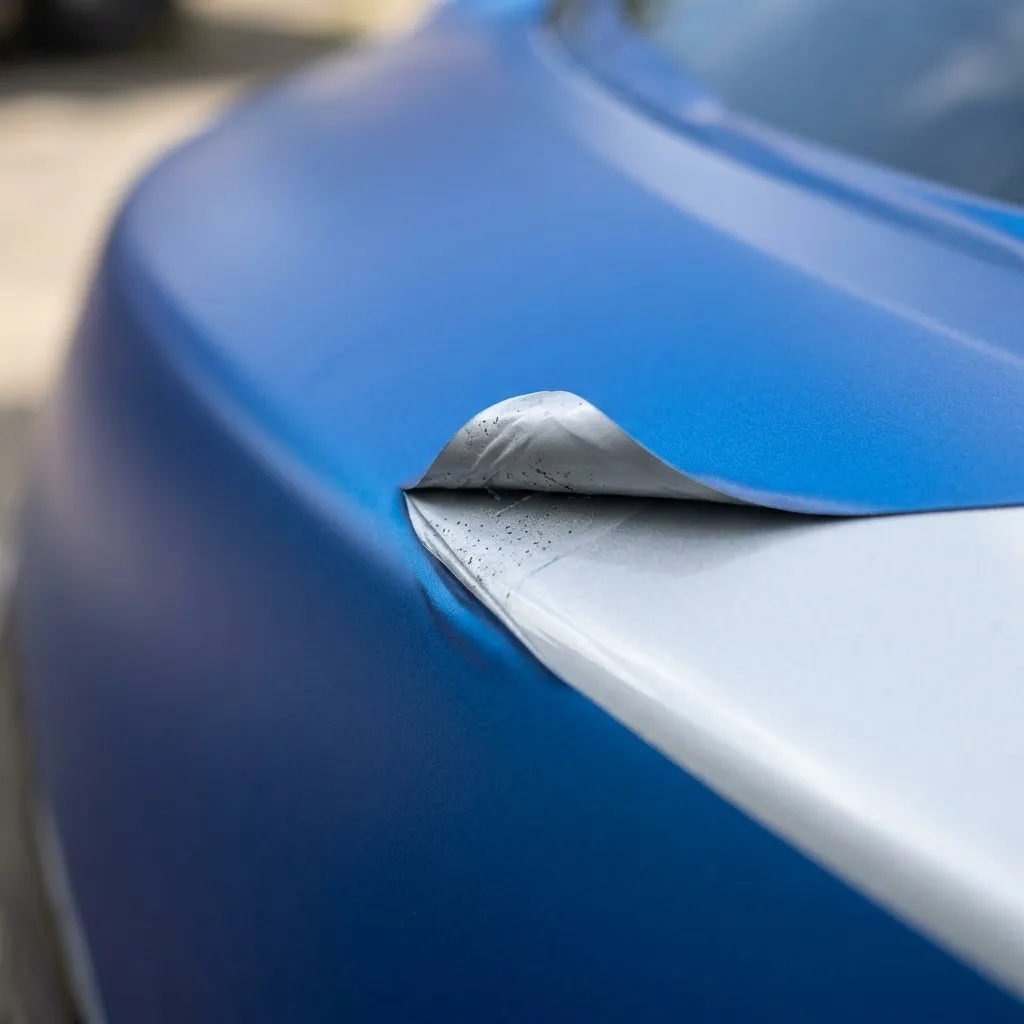
Picture this: You are driving down the highway, and high-speed wind catches a tiny 2-millimeter lifted corner along your door seam. By the time you park, that tiny corner has peeled back an inch, collecting road dust and moisture along the way.Why lifted edges get worse fast:Ignoring a lifting edge creates a continuous cycle. Dirt settles onto the exposed adhesive, instantly killing its sticky tack. Rain and wash soap then seep under the film, loosening the surrounding vinyl until the seam fails completely.
Lifted Edge Exposure ➔ Dirt & Dust Contamination ➔ Adhesive Breakdown ➔ Widespread Panel Separation
The cautious repair process:Gently Lift & Inspect: Peel back the lifted edge just enough to check for dirt.Clean thoroughly: Use a 1:1 mixture of isopropyl alcohol (IPA) and water on a lint-free microfiber swab to strip away dust from the underside of the vinyl and the paint surface.Dry completely: Allow the alcohol solution to flash off completely.Heat & Re-tack: Apply gentle heat with a heat gun (around 120°F–140°F / 50°C–60°C) to soften the vinyl. Press the edge down firmly using a felt-edge squeegee.Post-Heat: Heat the seam to 180°F–200°F (82°C–93°C) to break the material's memory and set the new shape.Caution: If the adhesive underneath is completely covered in black road grime, re-heating it won't make it stick. You must either use a dedicated vinyl primer/edge adhesive or trim the contaminated edge back cleanly with a razor.

How to Fix a Torn or Ripped Vinyl Wrap
A tear is fundamentally different from a clean cut. Tears usually occur under tension, meaning the vinyl has been stretched, pulled, or jaggedly ripped open.Can a torn wrap be saved with a patch? Sometimes—but patches have strict limits.The Micro-Patch Method: For small tears in hidden areas (like the bottom of a front bumper or inside a door jamb), you can cut a circular or rounded patch from matching vinyl material. The patch must extend at least 0.5 inches past the tear on all sides. Always round the patch corners—sharp square corners will catch microfiber towels and lift within days.When to stop patching: If the tear is in the middle of a hood, roof, or door panel, a patch will stick out like a sore thumb. Repeatedly pressing down a torn, jagged piece of vinyl on a high-visibility surface will look messy and fail quickly. Removing and re-wrapping that single panel is usually the only way to restore a professional finish.
Can You Repair Scratches on a Vinyl Wrap?
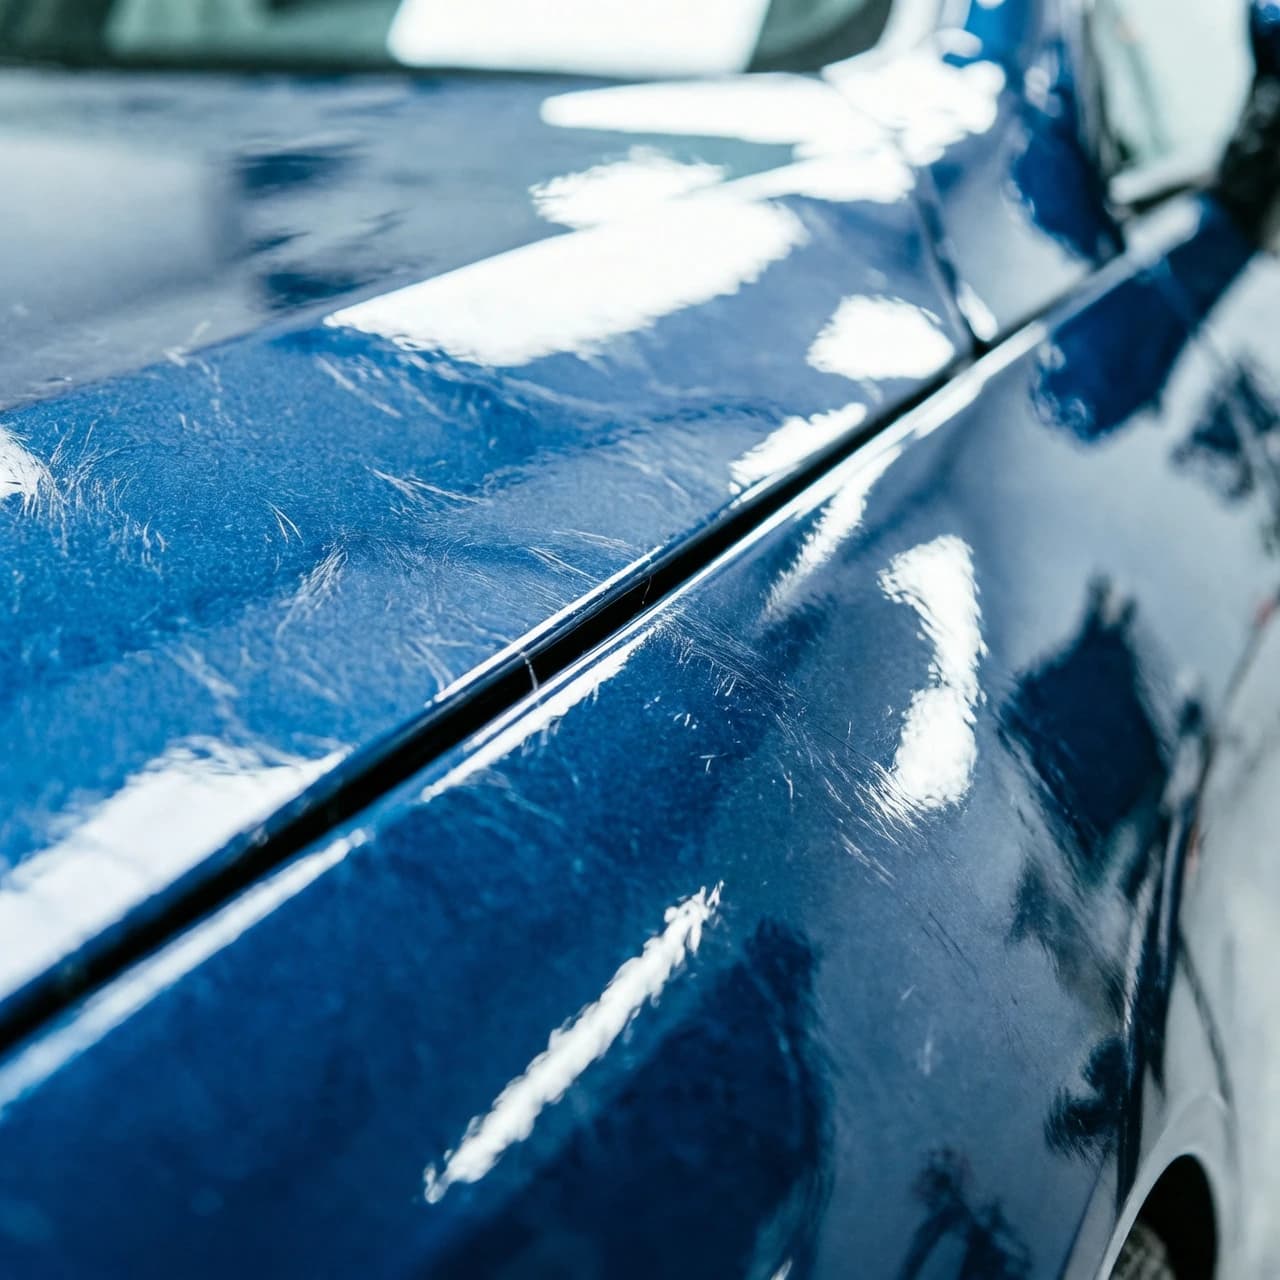
Not every mark on your wrap means the film is destroyed. Before worrying about replacement, you need to determine if you are looking at a surface scuff or a true cut.Self-Healing Cast Vinyl: Most high-grade cast vinyl films (like 3M, Avery Dennison, or Inozetek) feature self-healing clear coats. Minor swirl marks, towel scratches, and light scuffs can literally disappear under direct sunlight or gentle heat from a heat gun.The Heat Test: Hold a heat gun 8 to 12 inches away from the scratched area and warm it up gently. Watch closely: if the scratch shrinks and disappears, it was merely a surface mark in the clear topcoat.Deep Scratches: If you run your fingernail across the line and it catches deeply or shows bare paint beneath, the vinyl layer has been severed. Heat will not fix this—you must choose between patching or panel replacement.

How to Fix Bubbles and Wrinkles in Vinyl Wrap
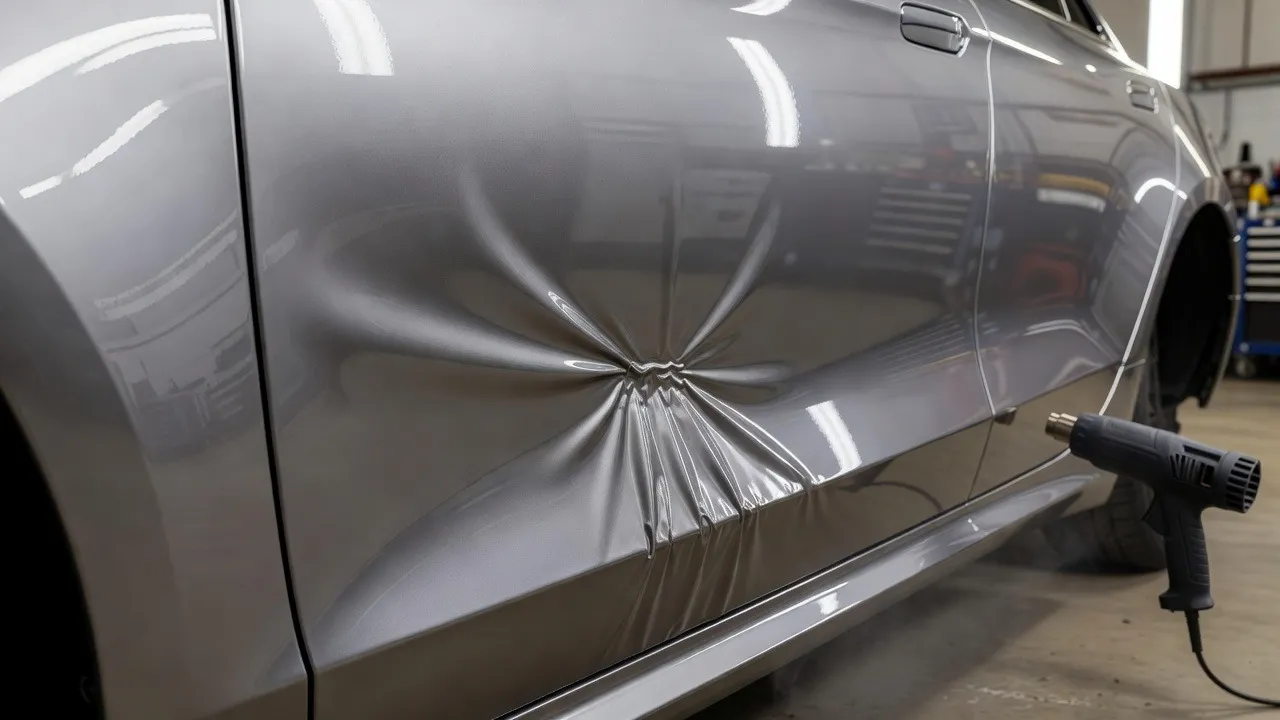
Bubbles and wrinkles ruin the smooth, paint-like finish of your vehicle. But why do they show up, and how do you get rid of them?Air Bubbles: Usually caused by air trapped during installation. Most premium wraps feature air-release technology (tiny micro-channels in the adhesive).The Fix: Try pushing the air toward the nearest edge with your thumb or a felt-edge squeegee. If it won't budge, poke a single, microscopic pinhole at the outer edge of the bubble with a fine air-release tool or sewing needle, then gently press the air out toward the hole.Wrinkles / Fingers: Occur when excess vinyl bunching up under heat or stress.The Fix: Carefully lift the wrinkled section away from the panel, apply mild heat to let the vinyl shrink back to its flat state (relying on its cast memory), and smooth it back down evenly.
What You Need to Repair a Vinyl Wrap
Don't overcomplicate your toolkit. You don't need an installer's master setup to perform a clean repair—just a few targeted essentials:Isopropyl Alcohol (IPA) & Water (50/50 mix): Essential for stripping wax, grease, and dirt without melting the vinyl adhesive.Heat Gun or Dual-Temp Hair Dryer: Used to soften vinyl, trigger self-healing properties, and post-heat edges.Felt-Edge Squeegee: Smooths film down securely without scratching the topcoat.Fine Air-Release Tool / Needle: For venting trapped air bubbles safely.Precision Precision Utility Knife (9mm 30-degree blades): Crucial for trimming patches or contaminated edges with surgical accuracy.Replacement Vinyl Scrap: Matching material from your initial installation for seamless patching.

How to Repair Vinyl Wrap Step by Step
Ready to execute your repair? Follow this strict sequential workflow to ensure your fix lasts:1.Clean and Prep the Surface:Crucial step to ensure proper adhesion.Spray your 50/50 IPA/water solution directly onto the damaged area and surrounding vinyl. Wipe thoroughly with a clean microfiber towel to eliminate all wax, grease, and road grime.2.Inspect and Stabilize the Damage:Determine whether you are trimming away loose, contaminated material or smoothing down existing film. Use your precision knife to trim away any ragged, loose tags of vinyl that won't lay flat.3.Prepare the Replacement Section (If Patching):If you are applying a patch, cut a piece of matching scrap vinyl. Important: Cut the patch into an oval or circle with smooth, rounded edges. Never leave 90-degree square corners.4.Apply Heat and Re-Position:Warm the damaged vinyl or patch section gently with your heat gun from a distance of 8–10 inches. Once pliable, squeegee the material down firmly, pushing outward from the center to expel all air.5.Seal the Edges and Post-Heat:Pass the heat gun over the finished repair until the surface reaches 180°F–200°F (82°C–93°C). This locks the adhesive in place and breaks the material's structural memory, preventing future lifting.

When Should You Replace the Damaged Vinyl Instead?
Sunk-cost fallacy causes many car owners to waste hours trying to patch an unfixable wrap. Save yourself the headache and go straight to panel replacement if you notice any of these warning signs:Extensive Tearing: Damage spanning more than 2 to 3 inches across high-visibility panels.Severe Vinyl Discoloration or UV Baking: If the wrap is sun-baked, dry, or chalky, a fresh patch will look completely different in color due to fading.Widespread Contamination: Dirt, oil, or water has saturated more than 20% of the adhesive backing.Damaged Factory Clear Coat: If the underlying paint coat is flaking or peeling beneath the vinyl, the wrap has nothing structural to stick to.
How to Prevent Vinyl Wrap Damage From Getting Worse
Once your repair is complete, protect your hard work with proper maintenance habits:Avoid Automatic Brush Washers: Spinning bristles can snag patch edges and peel back seams instantly.Keep Pressure Washers at a Distance: Spray at least 12 to 18 inches away from seams, patches, and panel edges.Clean Contaminants Immediately: Bird droppings, tree sap, and bug splatter contain acids that eat through clear topcoats—wipe them off with a quick detailer right away.Apply Protective Sealants: Use a dedicated vinyl detail spray or ceramic coating every few weeks to restore UV inhibitors and keep the film soft and supple.

Thinking About a New Wrap? See the Finish on Your Car First
If extensive damage, severe sun exposure, or color fading means your current wrap has reached the end of its lifespan, don't rush into buying another roll of film blindly. Guessing how a shade or finish will look based on a tiny 2-inch paper swatch often leads to disappointing visual mistakes.Instead of guessing, test your ideas virtually first. Upload a photo of your vehicle to Carwrap.style to preview gloss, matte, satin, metallic, or custom color-shift finishes directly on your car's exact body lines under realistic outdoor lighting before spending a dime on your next installation.

Preview Your Next Wrap Design Before Spending a Dollar
Stop guessing how colors will look. Use the Carwrap.style visualizer to test gloss, satin, and matte finishes directly on your exact vehicle model.
How to Repair a Damaged Vinyl Wrap: 12 Frequently Asked Questions
Below are 12 targeted, SEO-optimized FAQs addressing vinyl wrap repair, damage troubleshooting, and maintenance.
Can you fix a damaged vinyl wrap without replacing the entire panel?
Yes, minor issues like small scratches, minor edge lifting, and localized lifting can often be repaired without stripping the whole panel. Clean the section thoroughly, use gentle heat to re-tack lifted areas, or carefully trim away contaminated material. However, if the film has extensive tears or widespread adhesive failure, re-wrapping the individual panel is required for a seamless look.
How do you repair peeling or lifting vinyl wrap edges?
To fix peeling edges, start by cleaning beneath the lifted film with a 70/30 Isopropyl Alcohol (IPA) mixture to remove dirt and oils. Once dry, use a heat gun on low heat to soften the glue backing, then press the vinyl firmly into place with a squeegee. Finish by post-heating the edge to 180°F–200°F (82°C–93°C) to break the film's mechanical memory and lock in the bond.
How do you fix air bubbles trapped under a car wrap?
Small air bubbles can often be worked out toward the nearest edge using a soft-felt squeegee and light heat. For stubborn or isolated air pockets, pierce the center of the bubble with a fine air-release tool or pin (never a razor blade) and gently press the air out from the outer edges toward the hole.
Can scratches on vinyl wrap be buffed or heat-healed?
Many premium Cast vinyl films feature self-healing properties. Light surface scuffs and swirl marks can often be removed by applying indirect heat with a heat gun or pouring warm water over the affected area, allowing the film’s top layer to reset. Deep scratches that slice through the vinyl layer down to the paint cannot be heat-healed and require a micro-patch or panel replacement.
How do you patch a hole or tear in a vinyl wrap?
To apply a seamless micro-patch:Clean the damaged zone thoroughly with IPA.Carefully trim away any frayed or torn edges with a 30-degree razor.Cut a piece of matching vinyl slightly larger than the damaged spot (rounding the corners to prevent peeling).Lay the patch precisely over the tear, squeegee it down firmly, and post-heat the perimeter to seal the edges.
Why is my vinyl wrap lifting, and how do I stop it?
Vinyl wrap lifts primarily due to poor surface preparation, over-stretching during installation, or a failure to post-heat high-stress seams. Prevent future lifting by deep-cleaning panels before wrapping, using specialized edge-primer on complex contours, and avoiding high-pressure water streams within 12 to 18 inches of panel borders.
What should you do if vinyl wrap starts cracking or hardening?
When vinyl becomes brittle, hardens, or shows fine stress cracks, the plasticizers inside the PVC have completely evaporated due to heavy heat and UV exposure. Cracked film cannot be repaired; it has reached the end of its lifespan and must be removed promptly using a heat gun or vinyl steamer before the adhesive bakes into the clear coat.
Can you apply touch-up paint over damaged vinyl wrap?
Using regular automotive touch-up paint on vinyl wrap is not recommended because paint does not flex at the same rate as PVC and will crack or flake off quickly. For small stone chips, using a tiny cut-to-fit piece of matching vinyl or specialized liquid vinyl sealant offers a cleaner, longer-lasting repair.
How do you clean around a damaged wrap section without making it worse?
Hand-wash the area gently using a pH-neutral car shampoo and a soft microfiber wash mitt. Avoid spraying high-pressure water directly into tears or lifted seams, as water pressure will force its way underneath, contaminating the remaining adhesive backing and accelerating the peel.
How much does it cost to repair a damaged vinyl wrap panel?
Minor edge re-sealing or spot patching done at home costs very little beyond basic supplies like alcohol wipes and a heat gun. Professional repairs for an individual panel (like a front bumper or hood re-wrap) typically range from $200 to $600+, depending on panel complexity, vehicle size, and material cost.
Can severe UV fading on vinyl wrap be restored?
Minor loss of sheen can sometimes be improved using dedicated vinyl restorers or ceramic spray sealants designed for wrap finishes. However, if deep UV damage has caused permanent color shift or chalkiness, the polymer structure has degraded beyond recovery, requiring the affected panel to be re-wrapped.
How do you prevent wrap damage before it happens?
Prevent premature wear by parking in shaded or garaged areas, washing your vehicle regularly to prevent contaminant buildup, and applying a ceramic coating formulated specifically for vinyl wraps. Addressing minor lifted edges as soon as they appear stops dirt from ruining the adhesive layer.