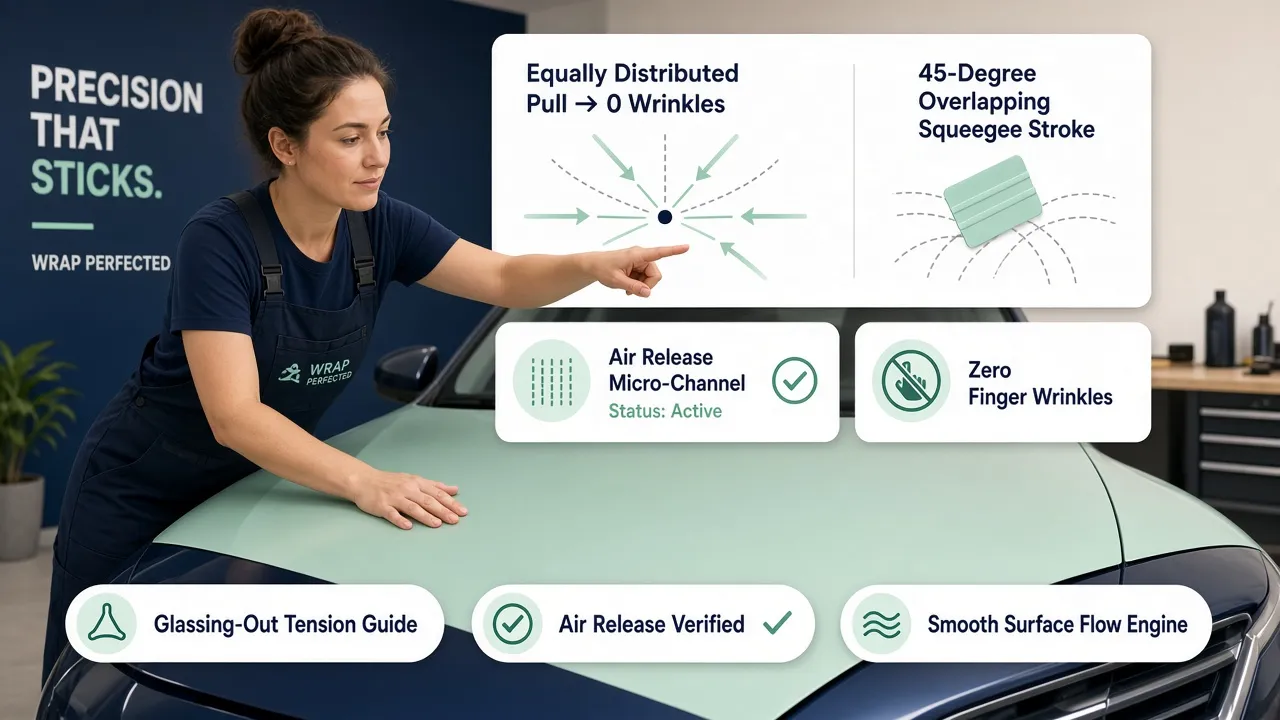

You stand beside your vehicle, holding a fresh roll of premium cast vinyl, eager to begin your color transformation.
Then hesitation sets in: Do I need to spend thousands on specialized shop equipment, or can a focused set of core tools deliver a factory-grade finish on my driveway?
It’s one of the most critical decisions in any custom restyling project.
The short answer? You don't need a commercial setup to get started.
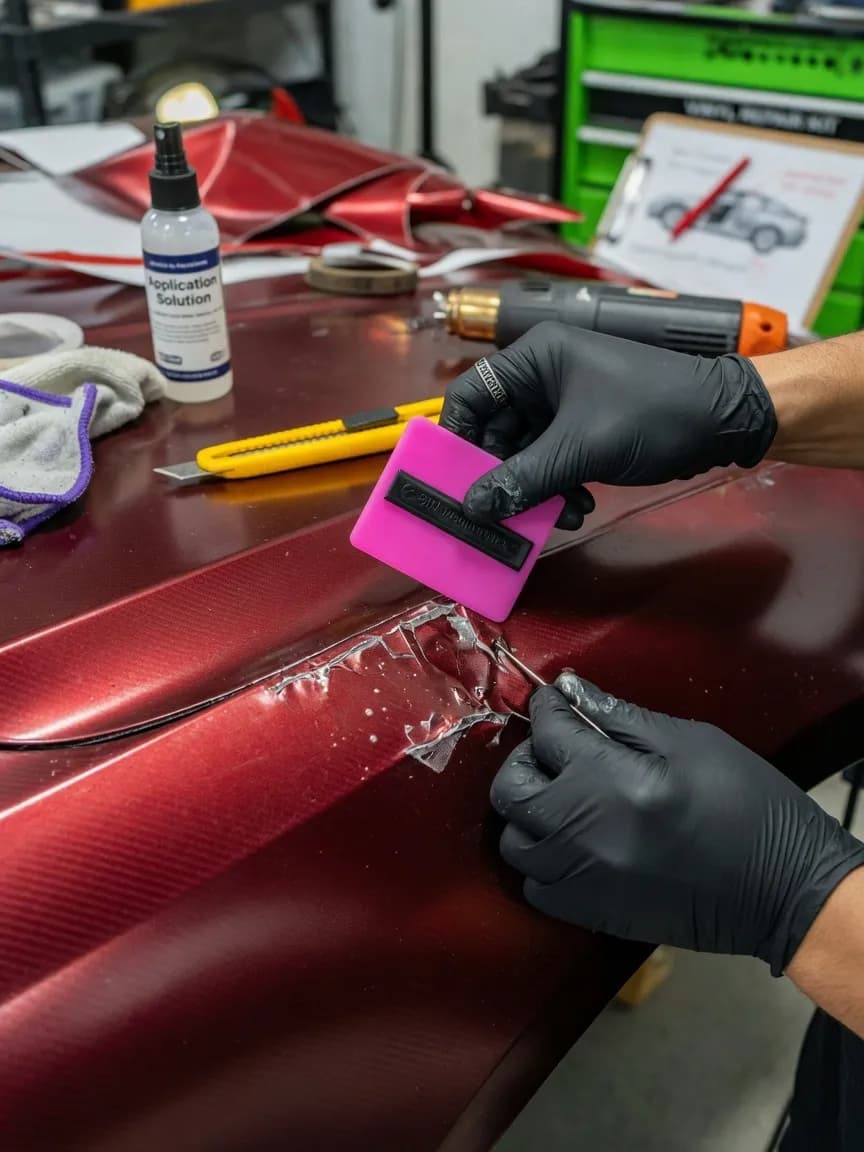
Focusing your budget on core equipment—such as a dual-temp heat gun, microfiber-felt squeegees, 9mm 30-degree precision blades, knifeless tape, and surface decontaminants—gives you everything needed to achieve smooth, bubble-free panel coverage.
Here is your complete guide to assembling an essential toolkit, mastering cutting safety, managing thermal stretching, and avoiding costly installation mistakes.

1. The Squeegee Is Your Most-Used Tool—But the Wrong Edge Can Cause Problems
Your squeegee acts as the direct link between your hands and the vehicle's bodywork. Using an unbuffered plastic edge will instantly ruin fresh film.
┌────────────────────────────────────────────────────────────────────────┐ │ SQUEEGEE EDGE SELECTION MATRIX │ ├────────────────────────────────────────────────────────────────────────┐ │ [ Bare Hard Plastic ] --> DANGER: Causes micro-marring & drag scratches │ │ [ Microfiber Felt ] --> ESSENTIAL: Glides smoothly across gloss film│ │ [ Dry Suede Buffer ] --> RECOMMENDED: Prevents burnishing on matte vinyl│ └────────────────────────────────────────────────────────────────────────┘
A medium-flex 4-inch vinyl wrap squeegee equipped with a plush microfiber felt buffer creates a protective cushion over the PVC topcoat.
Gliding a bare plastic tool across dry vinyl generates friction heat, leaving permanent drag lines.
Keeping your buffer clean and lightly misted with soapy water allows the tool to slide effortlessly without marking sensitive gloss finishes.
For deep-dive testing on squeegee flex ratings and edge buffers, explore our detailed guide on choosing the best squeegee for vinyl car wraps.
2. Which Knives and Blades Let You Cut Vinyl Without Marking the Paint?
Trimming vinyl directly against factory paint is where beginners risk causing thousands of dollars in clear-coat damage.
PRECISION BLADE GEOMETRY [ Standard 45° Utility Blade ] --> Too blunt; requires excessive downward pressure [ Precision 30° Carbon Steel ] --> Razor-sharp; slices film with zero paint contact
Professional installers use 9mm utility knives loaded strictly with 30-degree snap-off carbon steel blades.
The acute 30-degree angle lets you score the top layer of the film using light pressure—allowing the vinyl to snap cleanly along the score line without the metal blade ever touching the car's clear coat.
3. Why Knifeless Tape Matters When You Need a Clean Line
When cutting vinyl along body seams, door gaps, or two-tone accent lines, a metal blade introduces unnecessary risk.
┌────────────────────────────────────────────────────────────────────────┐ │ KNIFELESS TAPE OPERATION │ ├────────────────────────────────────────────────────────────────────────┐ │ 1. Lay high-tack filament tape along the desired cut line first │ │ 2. Apply vinyl wrap directly over the top of the tape line │ │ 3. Pull the internal filament wire UP through the film for a sharp cut│ └────────────────────────────────────────────────────────────────────────┘
Using knifeless tape for car wrapping eliminates metal blades near paint entirely.
The embedded high-strength filament wire slices through thick cast vinyl from underneath, producing a razor-sharp, burr-free edge every time.
4. Heat Gun or Torch: Which Tool Should You Use on Car Wrap Vinyl?
Heat relaxes vinyl memory, allowing it to conform around compound curves and lock down permanently during post-heating.
THERMAL TOOL COMPARISON [ Variable Heat Gun ] -> PREFERRED: Controllable temp (200°F–1000°F); safe for beginners [ Propane Torch ] -> ADVANCED: Fast surface heating; high risk of scorching film
A quality heat gun for car wrapping featuring adjustable temperature controls provides a steady stream of hot air, making it easy to warm vinyl up to its glass-transition state (120°F to 140°F).
Save propane torches for high-speed commercial production, as an open flame can instantly scorch cast vinyl if held in one spot for even a second too long.

5. How Do Magnets and Wrap Gloves Make Large Panels Easier to Handle?
Managing a 60-inch-wide sheet of film over a roof or hood by yourself often leads to accidental creases and contaminated adhesive.
┌────────────────────────────────────────────────────────────────────────┐ │ HANDLING ACCESSORIES │ ├────────────────────────────────────────────────────────────────────────┐ │ • Rubber-Coated Magnets: Anchor large vinyl sheets in place during alignment│ │ • Lint-Free Wrap Gloves: Allow fingers to feed film into tight curves │ └────────────────────────────────────────────────────────────────────────┘
High-pull car wrap magnets act as a second pair of hands, anchoring your sheet against steel panels so you can peel the backing paper cleanly.
Wearing seamless, lint-free application gloves allows you to push film into complex recesses with your fingers without transferring skin oils onto the pressure-sensitive adhesive.

6. The Small Tools That Help You Reach Mirrors, Recesses, and Tight Edges
Standard 4-inch squeegees are simply too wide to reach inside tight headlight channels, door handle cups, and grille surrounds.
SPECIALIZED TUCKING TOOLS [ Spade-Tip Micro-Stick ] --> Tucks film 1/8" behind rubber window moldings [ Hard Contour Pen ] --> Feeds vinyl cleanly into narrow 90° body seams
Adding a set of hard-plastic car wrapping tucking tools allows you to push film deep behind rubber window trim and panel gaps, guaranteeing full coverage that won't catch wind shear or peel back on the highway.
To review proper panel preparation and edge-tucking standards, check out our guide on inspecting car wrap quality and installation standards.
7. Why a Surface-Preparation Kit Matters Before the Vinyl Touches the Car
Applying premium vinyl over uncleaned clear coat leads directly to premature edge lifting and ugly surface bubbles.
┌────────────────────────────────────────────────────────────────────────┐ │ SURFACE DECONTAMINATION STEPS │ ├────────────────────────────────────────────────────────────────────────┤ │ Step 1: Wash panel with grease-stripping dish soap to break down wax │ │ Step 2: Clay-bar the clear coat to lift embedded road grit │ │ Step 3: Perform a final wipe down using a 70/30 IPA alcohol mix │ └────────────────────────────────────────────────────────────────────────┘
Equipping your kit with dedicated vinyl wrap cleaning supplies—including clay bars, citrus adhesive removers, and 70/30 isopropyl alcohol—ensures your pressure-sensitive acrylic adhesive forms a direct, airtight bond with the vehicle's paint.
8. Do You Need an Infrared Thermometer for Professional Wrap Work?
Post-heating is the single most critical step in preventing wrapped film from lifting out of deep bumper valleys.
POST-HEATING TEMPERATURE THRESHOLDS [ Cast Vinyl Conformability ] --> 120°F – 140°F (Warming for installation stretch) [ Post-Heat Memory Reset ] --> 195°F – 205°F (Permanently locks new shape)
An infrared thermometer for vinyl wrap eliminates all guesswork during post-heating.
Passing a heat gun over stretched edges until the digital pyrometer reads 195°F to 205°F (90°C to 96°C) permanently breaks the film's original flat memory, locking it into its new 3D shape.

9. The Measuring and Lighting Tools That Help You Catch Mistakes Early
Spotting tiny air bubbles, hidden dust specks, or alignment errors is much easier before post-heating locks the film down.
┌────────────────────────────────────────────────────────────────────────┐ │ INSPECTION ACCESSORIES │ ├────────────────────────────────────────────────────────────────────────┤ │ [ Flexible Cloth Tape ] --> Follows body curves for exact panel measuring│ │ [ LED Inspection Light ]--> Reveals hidden air bubbles & drag scratches│ └────────────────────────────────────────────────────────────────────────┘
High-lumen LED detail inspection lights cast low-angle illumination across freshly laid panels, highlighting microscopic dust nibs and air pockets so you can lift and squeegee them flat before the adhesive sets.
If you need help calculating exact material requirements before buying film, read our step-by-step guide on how to measure a car for vinyl wrap.
10. Beginner Car Wrapping Tool Kit vs. Professional Setup: What Can You Skip?
When building your initial setup, separate essential tools from specialized equipment you can add later.
TOOLKIT PRIORITIZATION [ ESSENTIAL STARTER SETUP ] [ ADVANCED SHOP ADD-ONS ] • 4" Felt-Edge Squeegee • Propane Torch Setup • 30° Precision Snap Knife • Commercial Roll Slitter • Variable Temperature Heat Gun• Wall-Mounted Film Racks • Knifeless Tape & IPA Spray • Castor Work Benches
Starting with a streamlined beginner vinyl wrap tools kit keeps upfront costs manageable while giving you every capability needed to handle hoods, roofs, and full doors with confidence.
To compare total tool costs against professional installer labor rates, consult our breakdown on evaluating professional car wrap installation quotes.
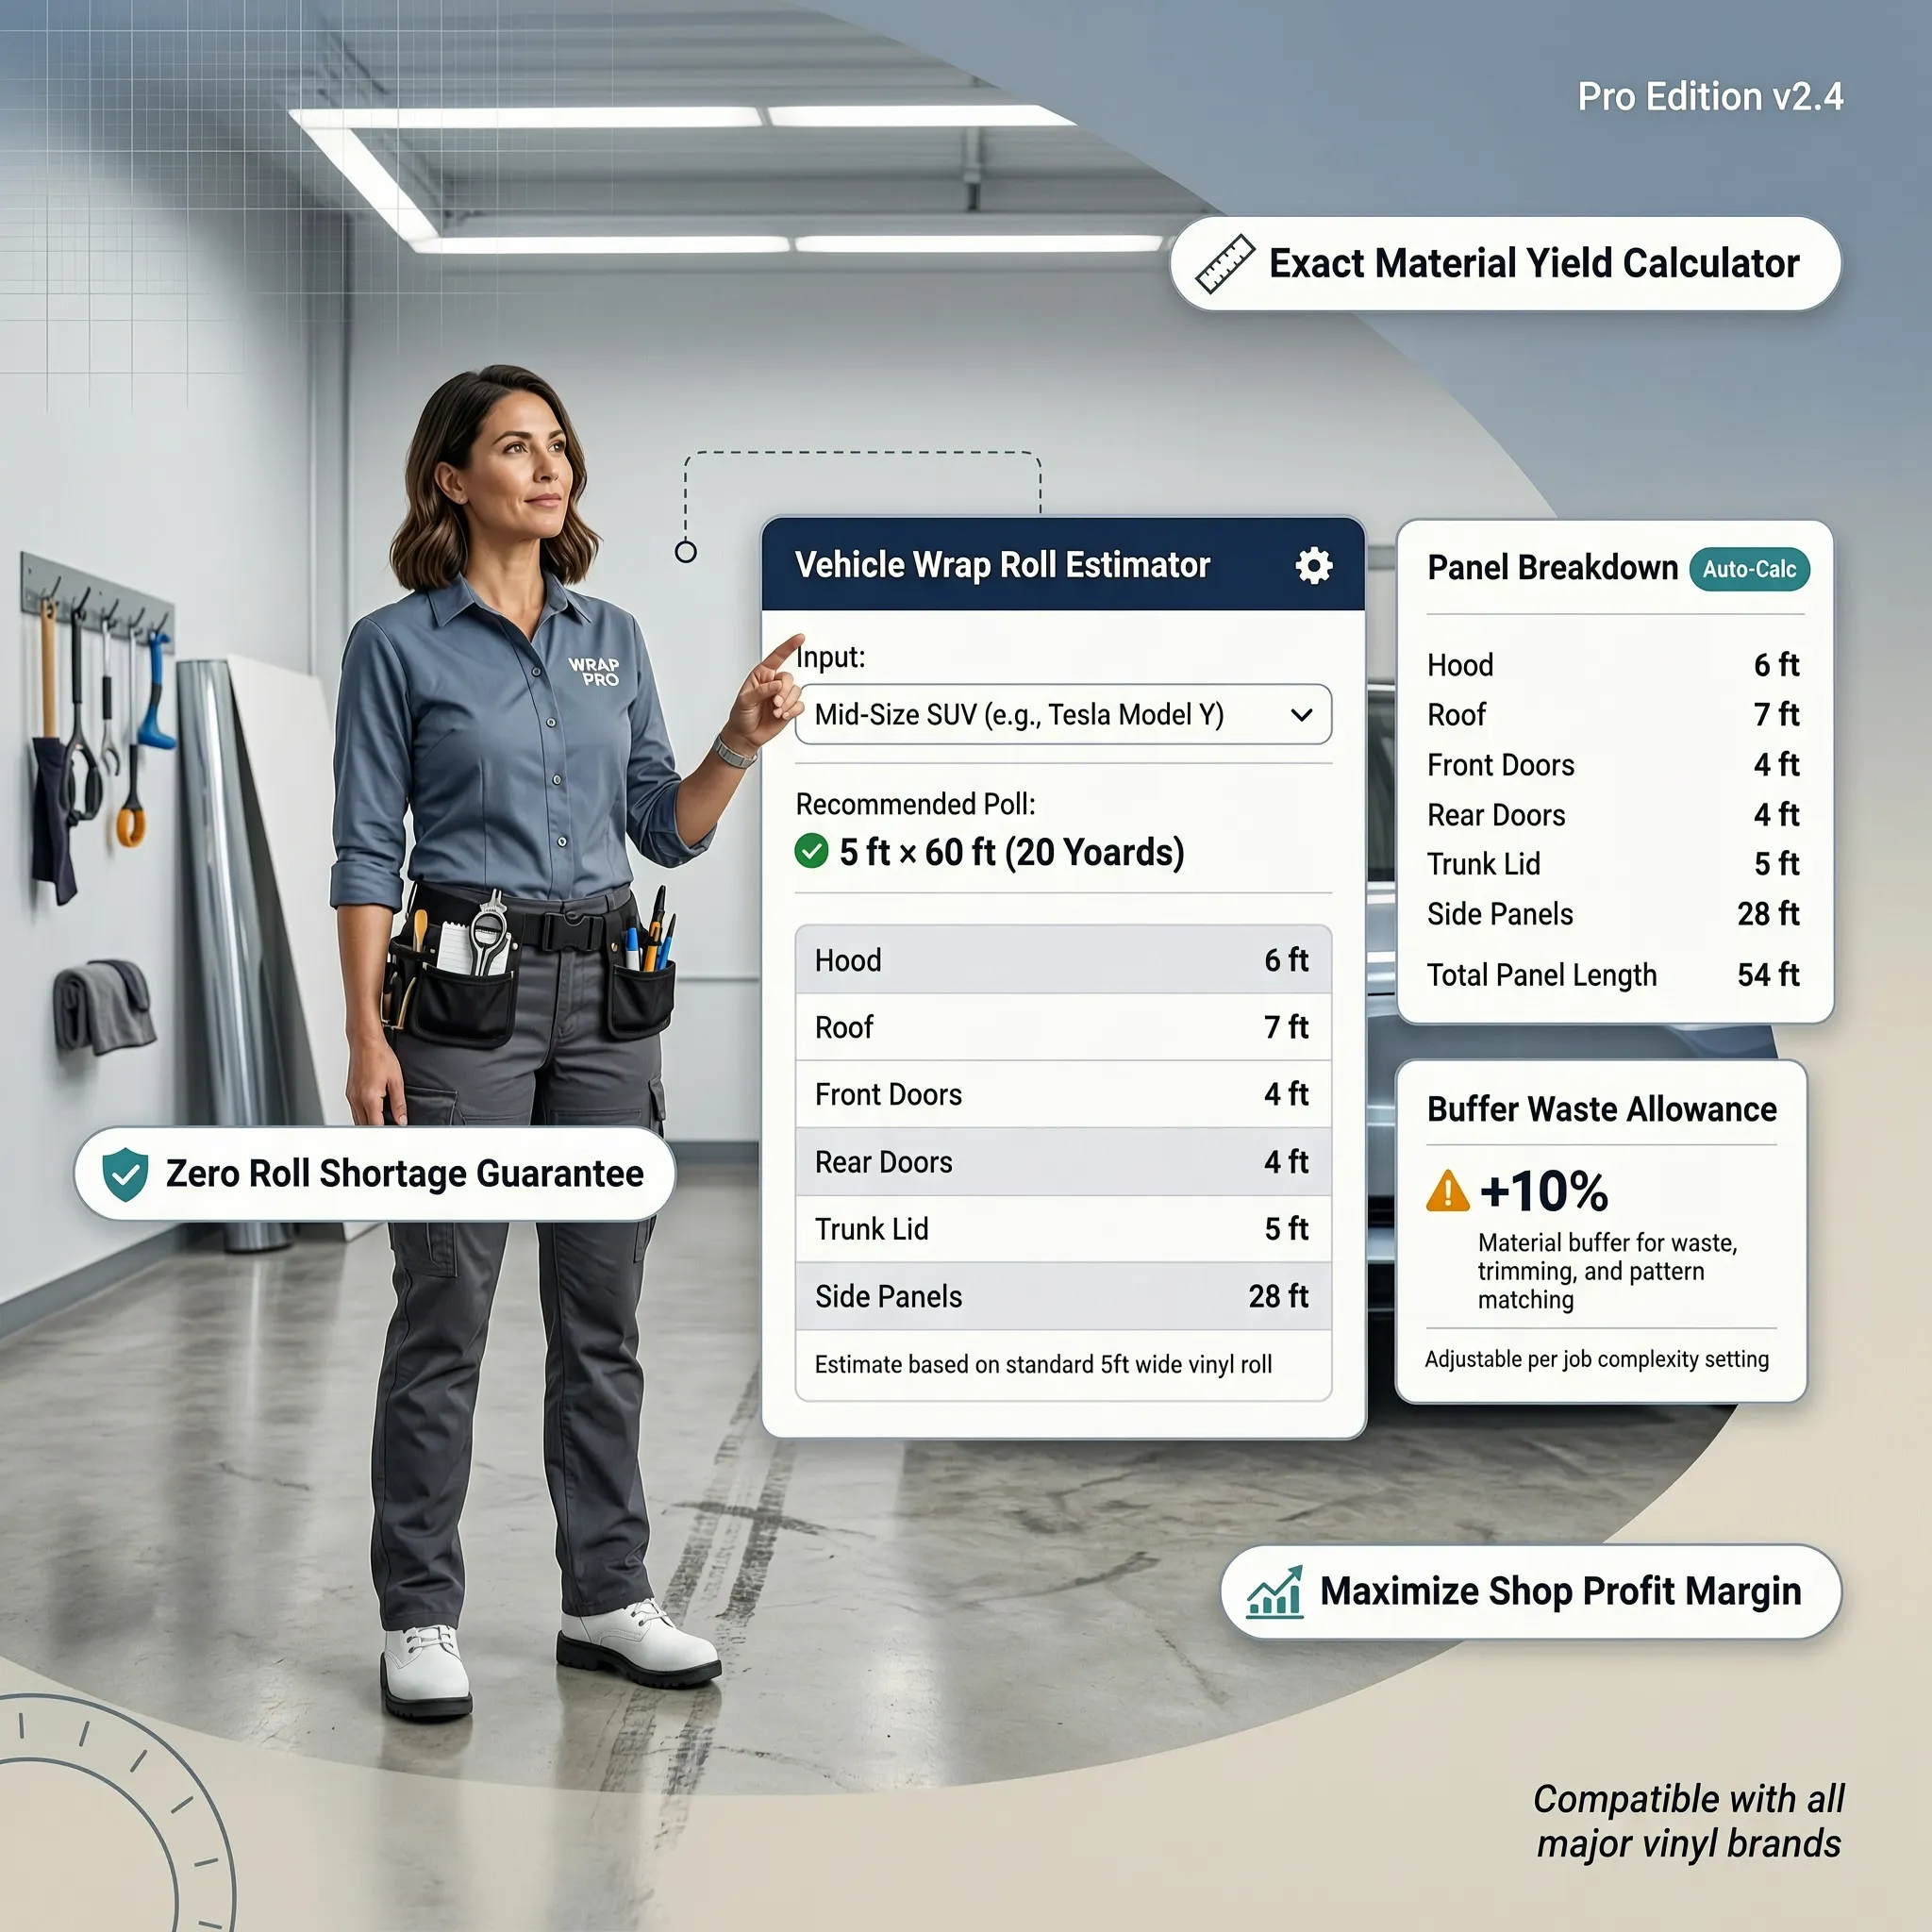
11. Run Through This Pre-Job Tool Checklist
Before making your first vinyl cut, verify that your equipment is staged and ready:
┌────────────────────────────────────────────────────────────────────────┐ │ PRE-INSTALLATION TOOL CHECKLIST │ ├────────────────────────────────────────────────────────────────────────┐ │ [ Check 1: Squeegee Buffer ] -> Lint-roll microfiber felt to remove grit│ │ [ Check 2: Fresh Blade ] -> Snap off a fresh 30-degree blade segment│ │ [ Check 3: Temp Gun ] -> Confirm infrared thermometer batteries │ └────────────────────────────────────────────────────────────────────────┘
Following these three checks ensures your installation proceeds smoothly without sudden equipment delays or material damage.
12. Build Your Custom Setup with Industry Leaders
When sourcing professional tools, relying on established industry manufacturers ensures long-term reliability and surface safety:
Equip your cutting kit with precision 30-degree utility blades from OLFA.
Secure industry-standard filament cutting tape through 3M Knifeless Systems.
Source professional heat guns and digital temperature nozzles directly from Steinel.
Upgrade your squeegees, buffers, and specialty tucking sticks through Yellotools.
Find professional automotive cast films, magnets, and cleaning supplies via Avery Dennison Graphics.
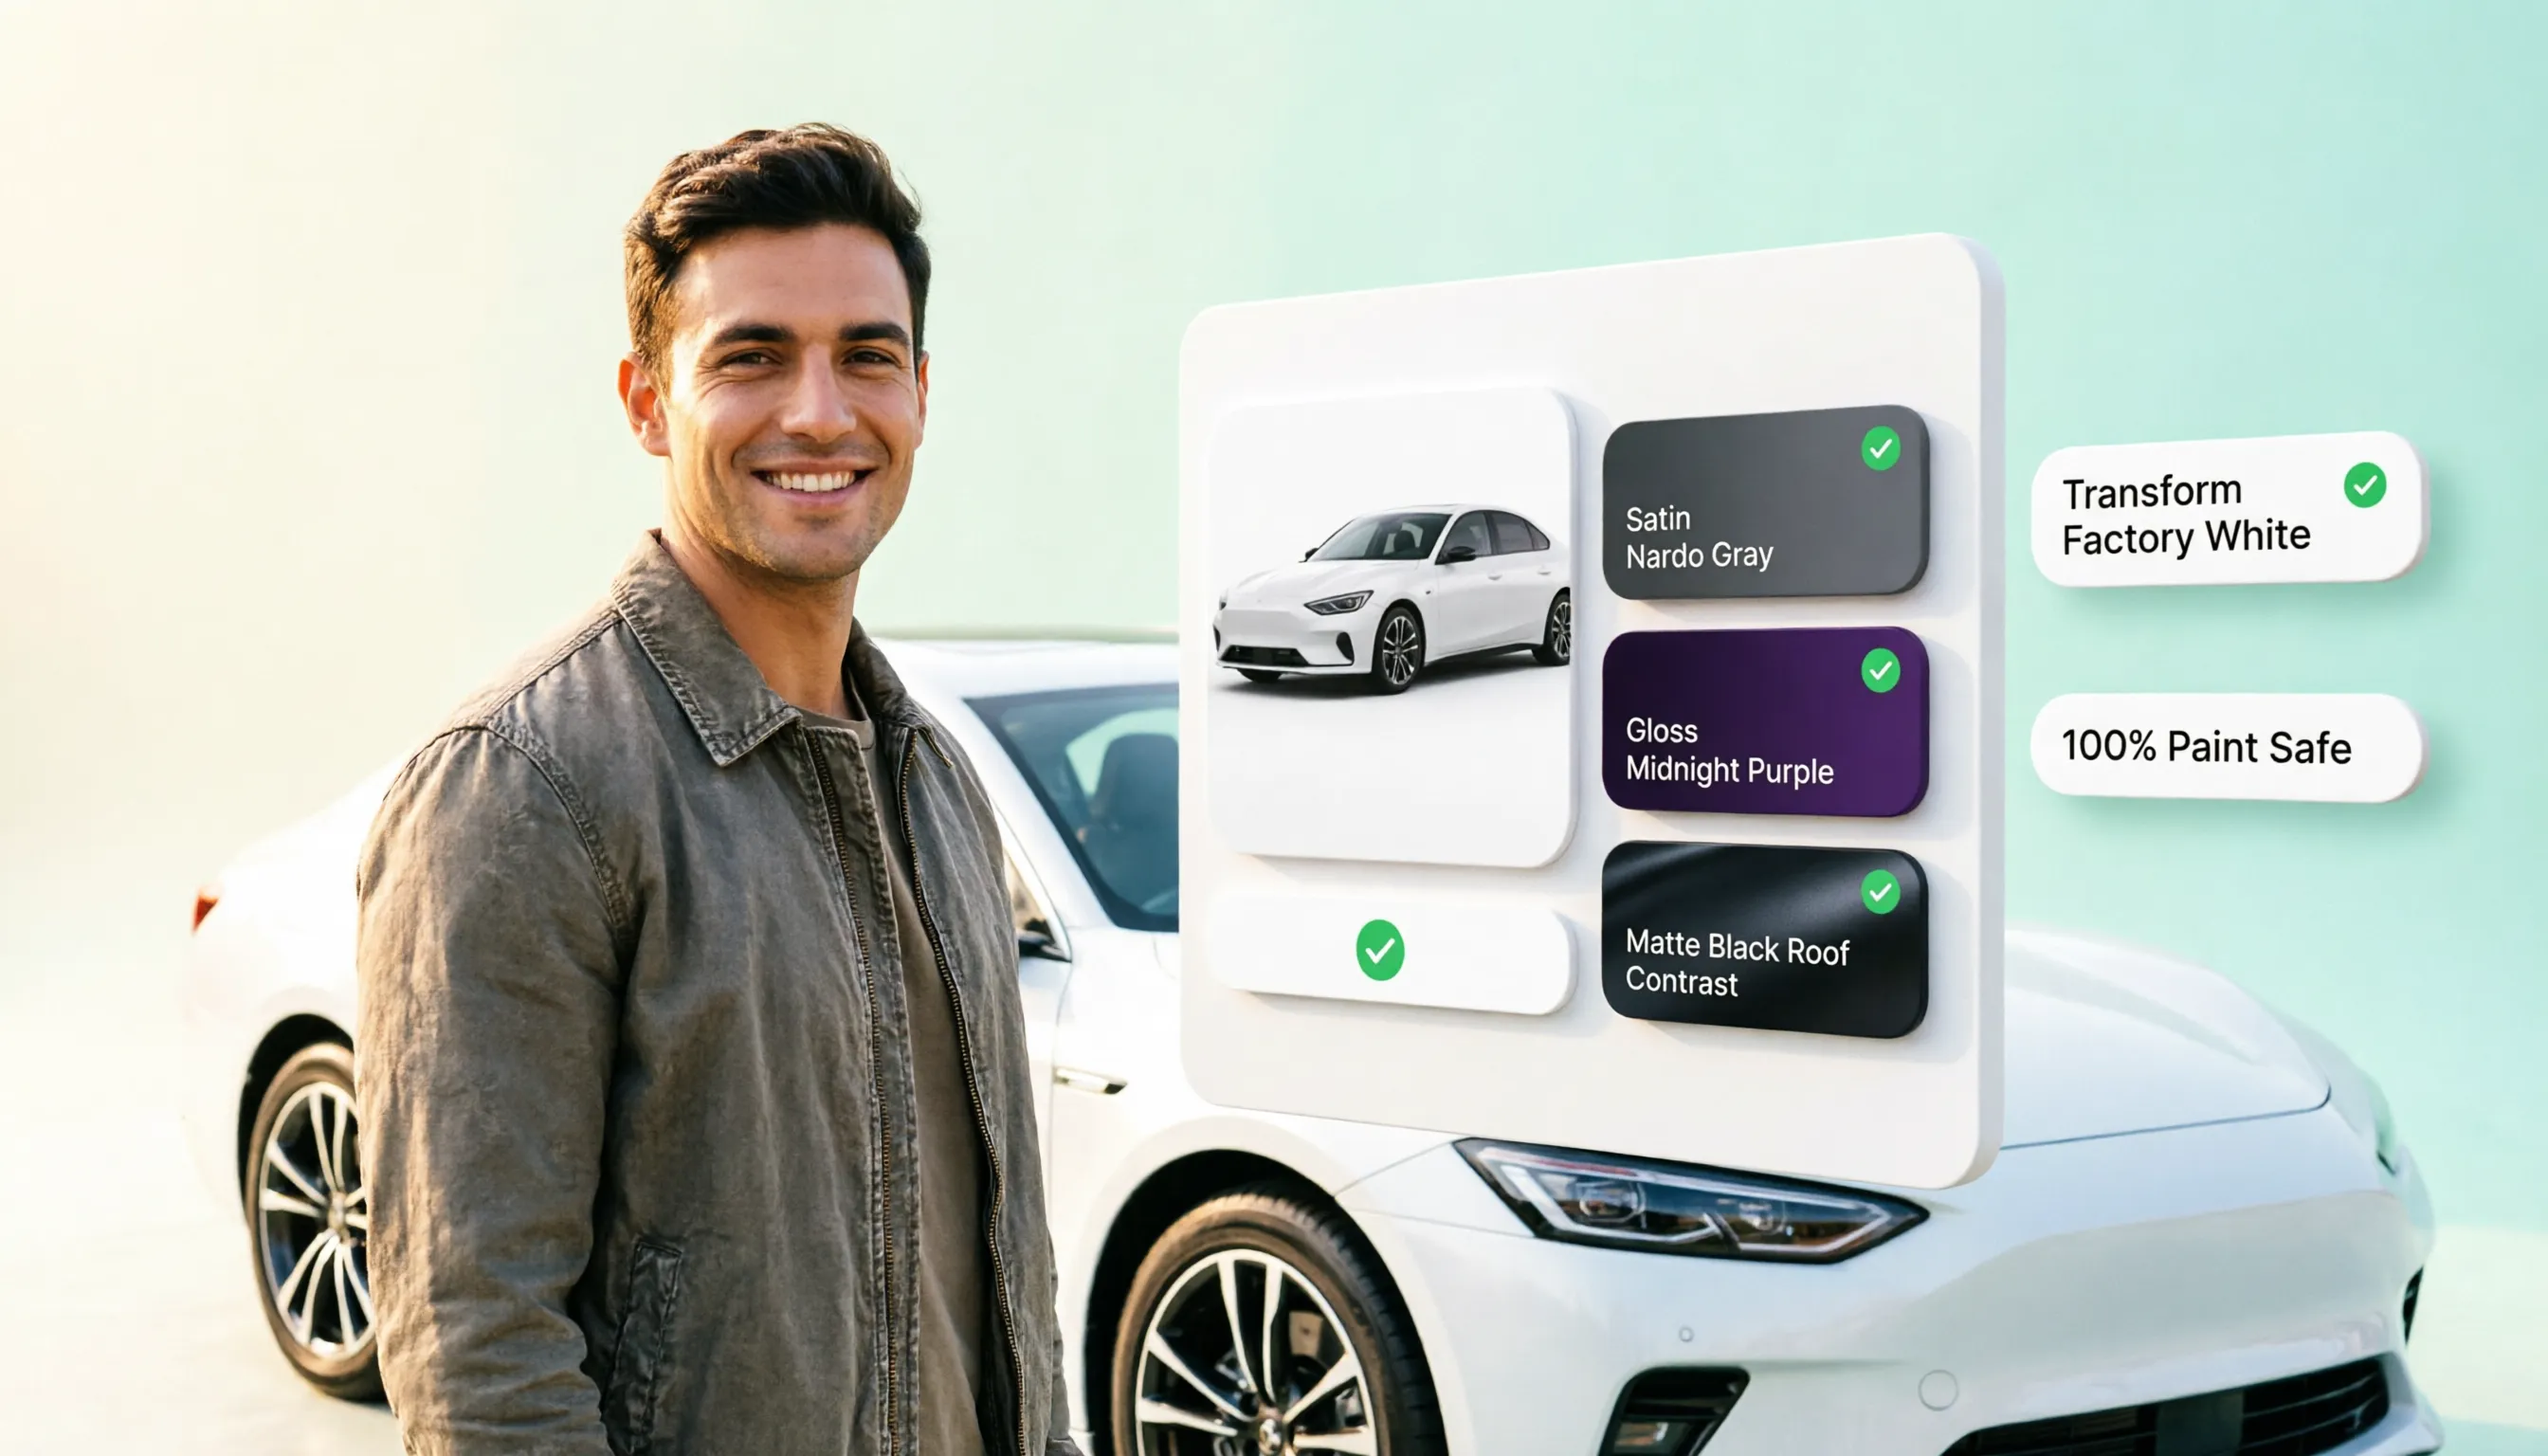
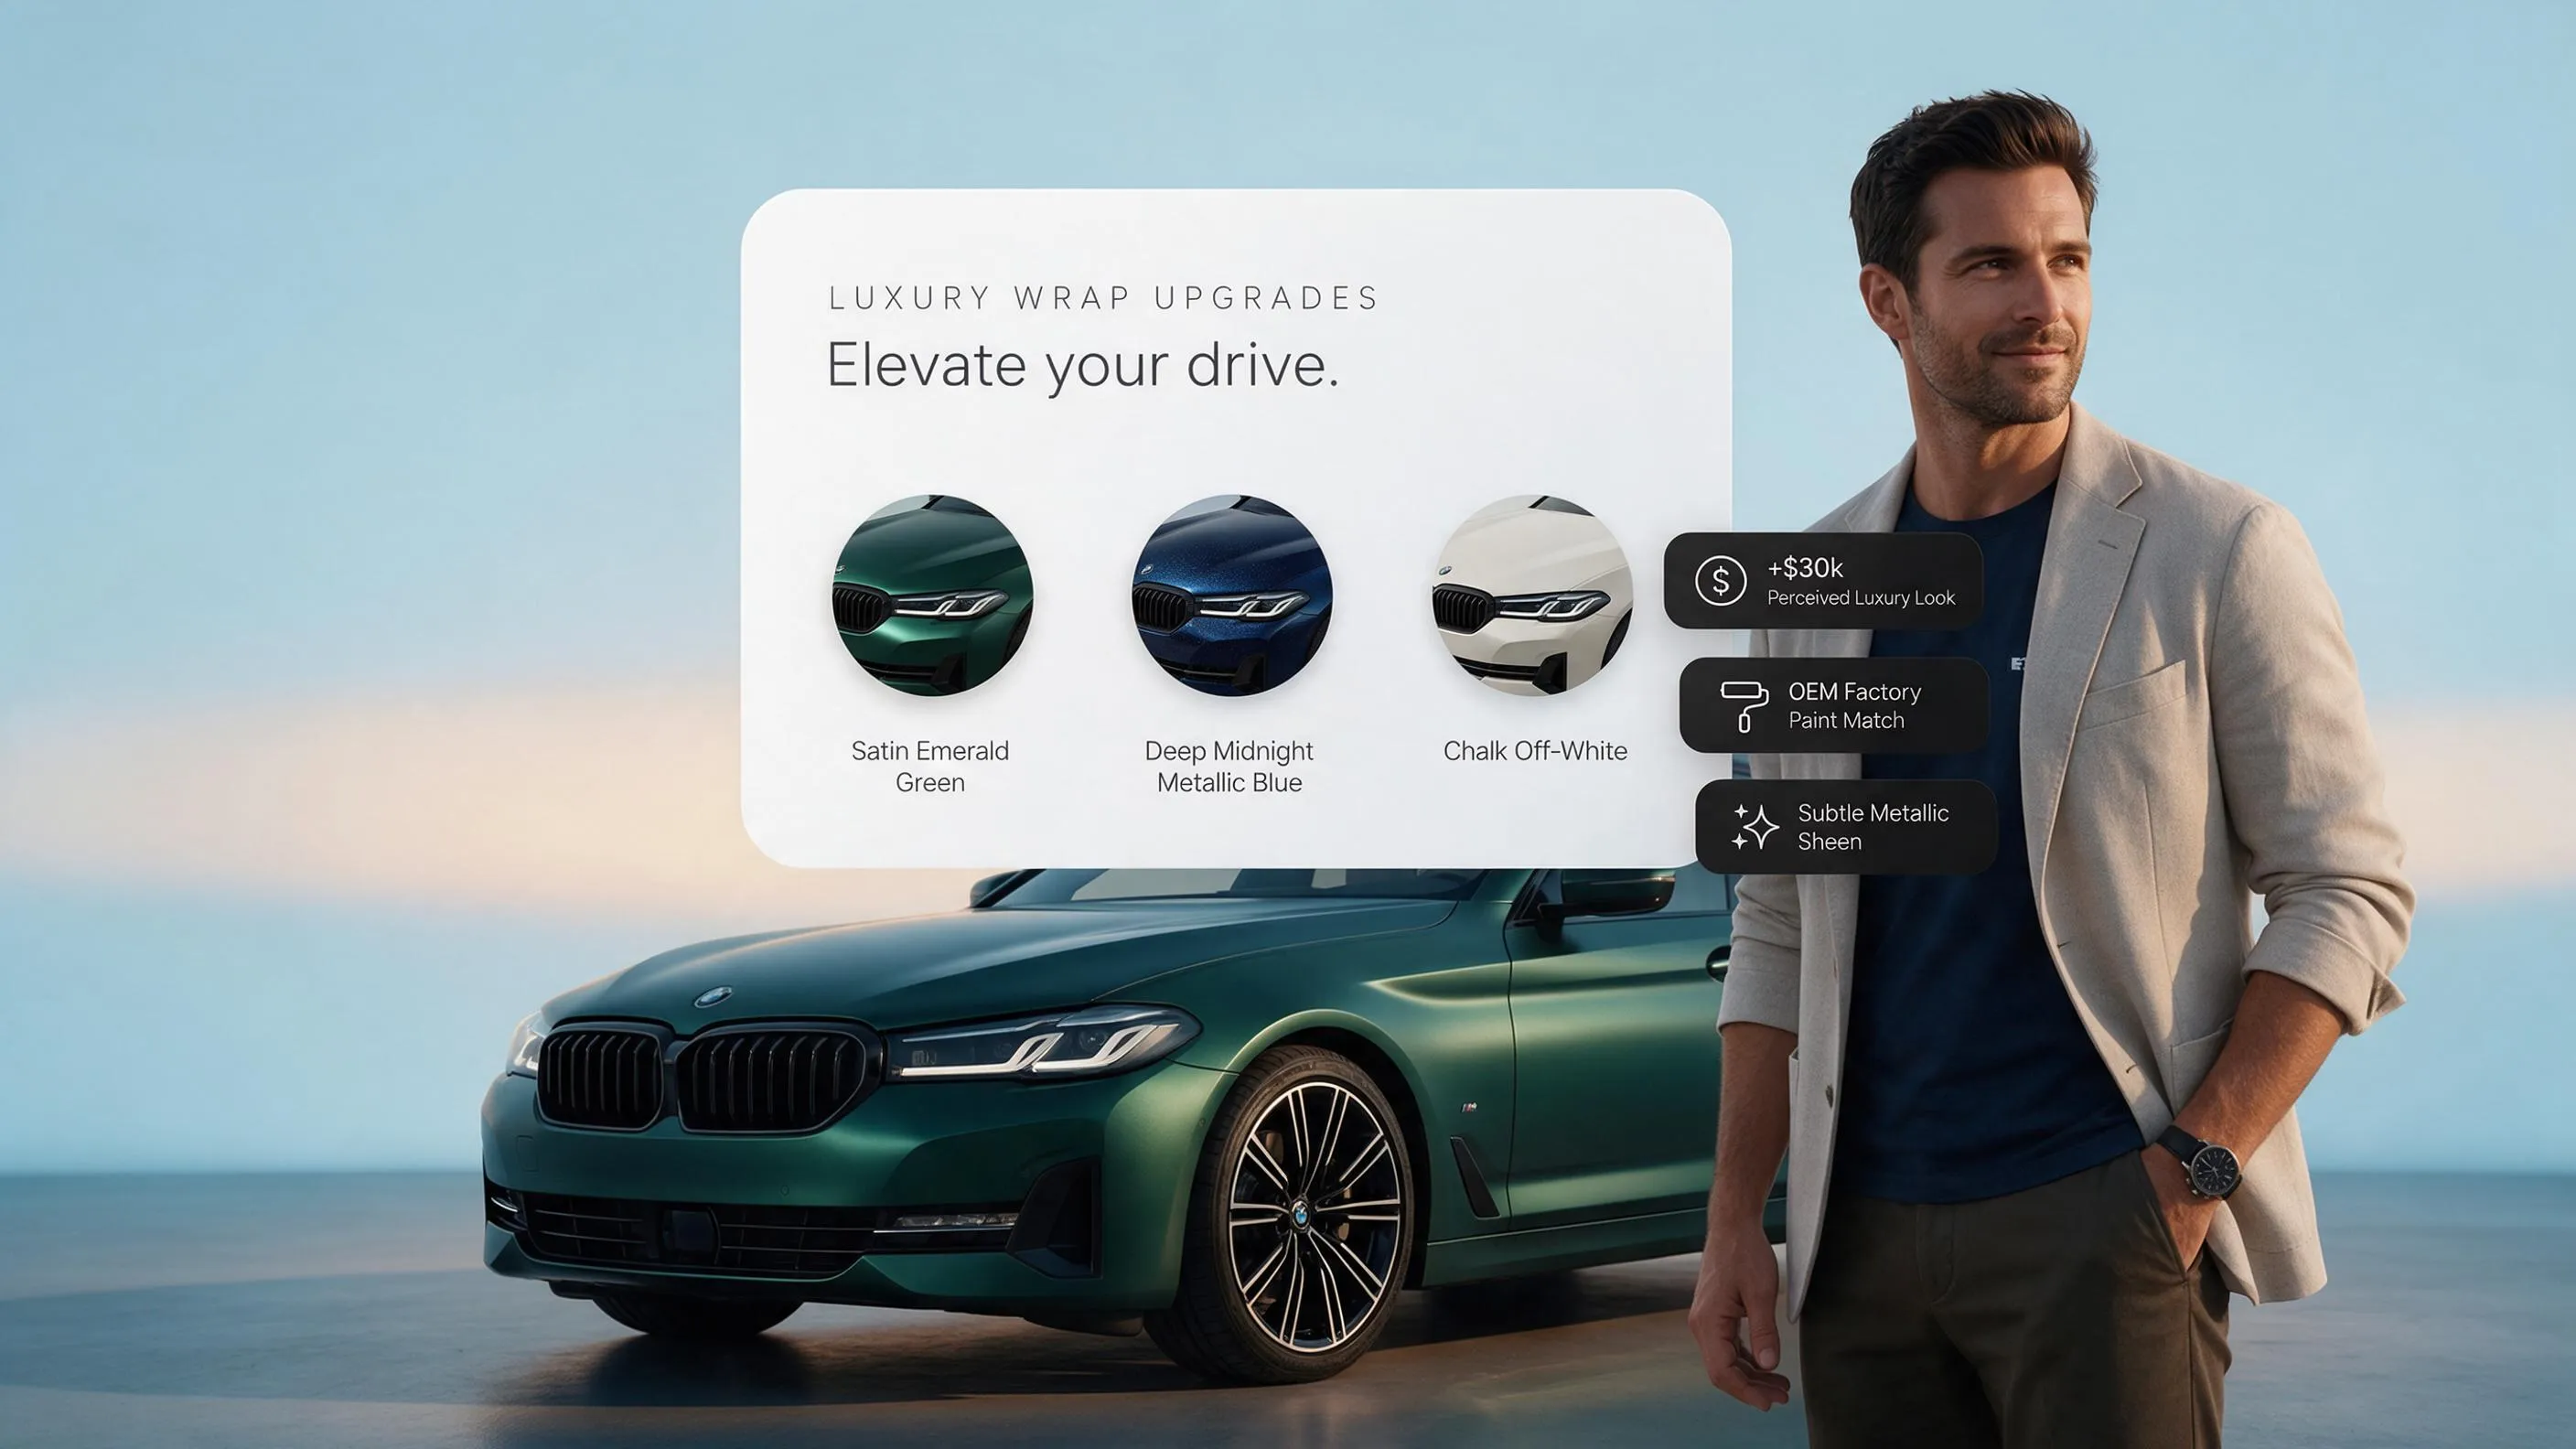
To test how custom finishes look on your vehicle before picking up your tools, try our interactive visualizer on CarWrap.style to dial in your design.
FAQs About Essential Car Wrapping Tools
1. What are the essential car wrapping tools I need to get started on my first wrap?
To wrap a vehicle successfully without buying an expensive commercial setup, you need five core tools: a variable-temperature heat gun, a medium-flex 4-inch squeegee with a microfiber felt buffer, a 9mm utility knife loaded with 30-degree carbon steel blades, knifeless cutting tape, and a 70/30 isopropyl alcohol cleaning mix. These core car wrap tools cover 95% of all installation steps, allowing you to achieve a smooth, bubble-free finish on your driveway.
2. Why is a felt-edge squeegee better than a bare plastic squeegee for vinyl wraps?
A felt edge squeegee creates a soft, cushioned barrier over the vinyl’s delicate PVC topcoat. Gliding a bare plastic edge directly across dry vinyl generates severe friction heat, leaving permanent drag marks and micro-scratches on gloss and satin finishes. Using a plush microfiber or alcantara buffer pad allows the tool to slide smoothly across the film without marking or damaging the material.
3. How do you trim vinyl wrap on a car without scratching the underlying paint?
Professional installers prevent paint damage by using 9mm snap-off utility knives loaded strictly with 30-degree carbon steel blades. The sharp 30-degree point allows you to lightly score only the top 50% of the vinyl film's thickness. You then gently pull the film to snap it cleanly along the score line without the metal blade ever coming into contact with your vehicle's factory clear coat.
4. What is knifeless tape, and why should you use it when wrapping a car?
Knifeless tape is a high-tack adhesive tape with a high-strength filament wire embedded along its center. You lay the tape along your desired cut line on the bare paint, apply the vinyl wrap directly over it, and then pull the filament wire up through the vinyl. Knifeless tape for car wrapping eliminates the need for metal blades near your paint entirely, creating razor-sharp, burr-free cuts along body seams and two-tone accents.
5. Should you use a heat gun or a propane torch for vinyl car wrapping?
For most installers, a variable-temperature heat gun for car wrapping is the safer and far superior choice. Heat guns deliver a controllable, steady stream of hot air (120°F to 140°F) to relax vinyl over compound curves, as well as higher temperatures (195°F to 205°F) for post-heating. Propane torches heat surfaces very quickly, but an open flame carries a high risk of scorching or melting the film if held in one spot for even a second too long.
6. How do car wrap magnets and wrap gloves help when installing large panels?
Rubber-coated car wrap magnets act as a second pair of hands, anchoring wide sheets of vinyl against steel body panels so you can align graphics and peel backing paper without the film shifting. Seamless vinyl wrap gloves allow you to feed material into complex curves and body recesses with your fingers without transferring skin oils onto the pressure-sensitive adhesive.
7. "Do you need special tucking tools to wrap door handles, mirrors, and tight edges?"
Yes. Standard 4-inch squeegees are too wide to fit inside narrow 1/16-inch door gaps, headlight channels, and window moldings. Adding a set of spade-tipped car wrapping tucking tools (micro-sticks) allows you to feed and tuck the vinyl deep behind rubber window weather-stripping and panel margins, ensuring complete coverage that won't catch wind shear or peel back on the highway.
8. Why is a surface-preparation kit so important before the vinyl touches the paint?
Applying premium vinyl over an uncleaned clear coat leads directly to premature edge lifting and trapped surface bubbles. A proper car wrap preparation kit—including wax-stripping wash soaps, clay bars, citrus adhesive removers, and a 70/30 isopropyl alcohol mix—strips embedded road grit, grease, and old wax, ensuring the vinyl's pressure-sensitive acrylic adhesive forms a direct, airtight bond with the vehicle's surface.
9. Why do professional installers use an infrared thermometer when post-heating vinyl?
Post-heating resets the vinyl's material memory, preventing film stretched into deep bumper valleys from shrinking back to its flat shape. An infrared thermometer for vinyl wrap measures the exact surface temperature of the film. Heating stretched cast vinyl until the digital pyrometer reads 195°F to 205°F (90°C to 96°C) permanently locks the vinyl into its new 3D shape so it never lifts or bubbles over time.
10. How can an LED inspection light help you catch vinyl wrap mistakes early?
High-lumen LED detail inspection lights cast low-angle illumination across freshly laid panels, highlighting microscopic dust nibs, trapped air pockets, and light squeegee drag lines. Catching these flaws early allows you to lift the film and squeegee it flat before the pressure-sensitive adhesive cross-links and sets permanently.
11. Is a beginner car wrapping tool kit enough, or do you need a professional setup?
A streamlined beginner vinyl wrap tools kit—consisting of a 4-inch felt squeegee, a 30-degree precision blade, a heat gun, knifeless tape, magnets, and isopropyl alcohol—is more than enough to handle hoods, roofs, doors, and full vehicle builds. You can skip expensive commercial shop equipment like roll slitters, wall racks, and propane torch systems until you run a high-volume commercial shop.
12. How can you preview your custom wrap design before buying tools and materials?
Before purchasing film, knives, and application tools, you can eliminate design uncertainty by testing your build virtually. Using an online AI car wrap visualizer tool allows you to upload a photo of your vehicle, test gloss, satin, matte, and carbon fiber finishes in real time, compare contrasting roof accents, and finalize your design before spending a single dollar on tools or materials.